If changing the look and feel of the Kodi interface is your primary intention, Durex build works excellent. It transforms the appearance of Kodi and makes it more intuitive. It is one of the best Kodi builds to add lots of new features. With the Durex addon, you will find lots of working addons like Placenta, Uranus, Neptune Rising, etc. There are addons for all your entertainment needs with Durex build. It adds scrapers and ensures you get access to all your favorite content. It works on all Kodi-compatible devices, like Firestick, Android TV, Windows PC, Mac, Linux, iOS, Android phone, etc.
Note: Durex build isn’t working any longer. So, you are recommended to use Xanax Kodi build or any other alternative Kodi builds for your streaming needs.
How to Install Durex Kodi Build on Matrix 19.4, Leia, or Krypton
The installation of the Durex Build on Krypton 17.6 is as follows. It is the same on any Kodi device like smart TV, computer, smartphone, or streaming media player.
Configure Kodi
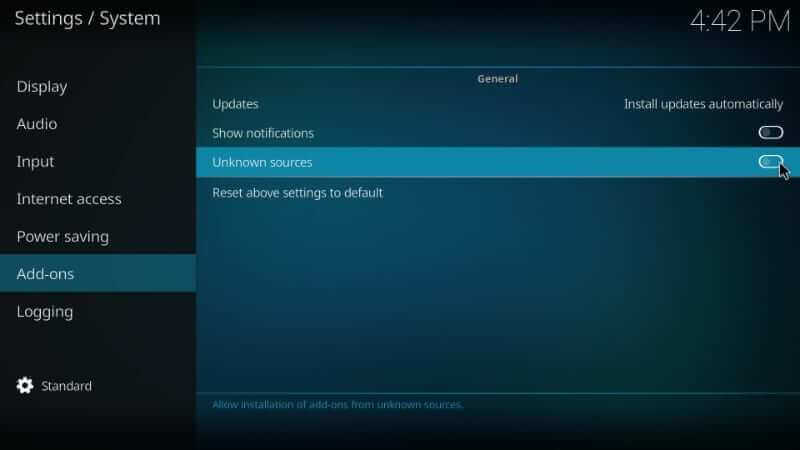
To install any third-party Kodi builds, you shall need to turn on Unknown Sources on Kodi settings.
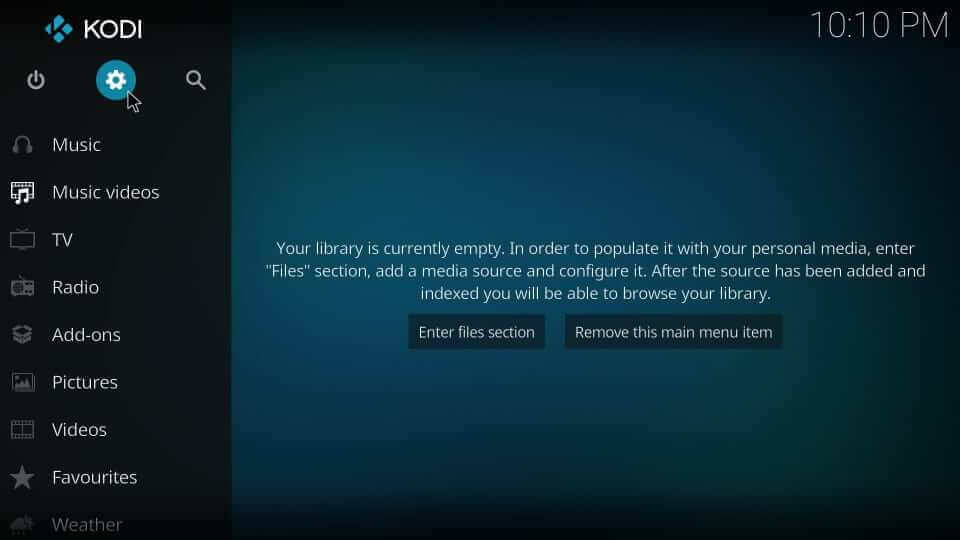
1. Go to the Kodi home screen to select the Settings icon.
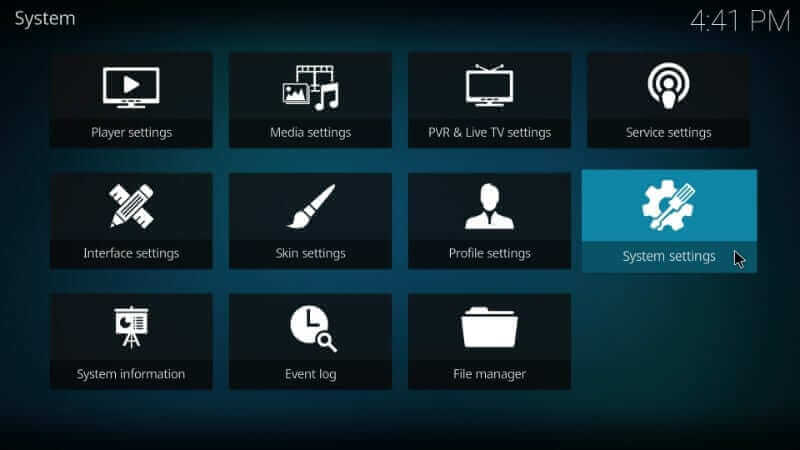
2. Choose the System tile on the settings screen.
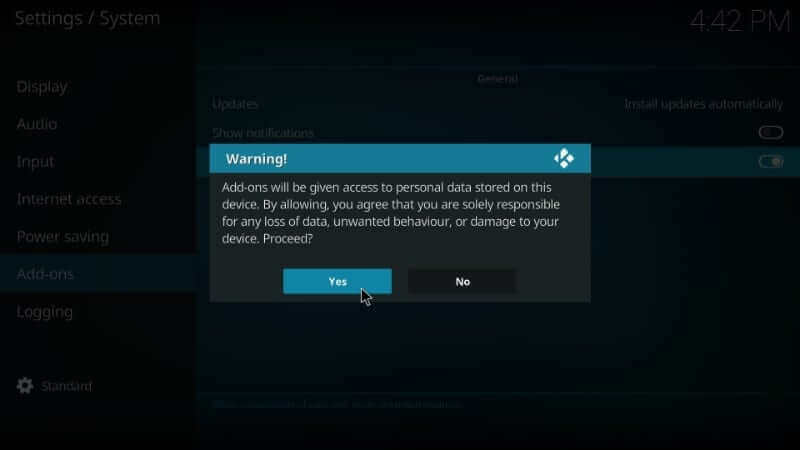
3. Select Add-ons. Click the slider next to Unknown Sources to turn it On.
4. If you get a warning prompt, select Yes to proceed.
How to Add Durex Wizard on Kodi
To access the Durex build, you should firstly add its repo source to Kodi. i.e., Durex Wizard.
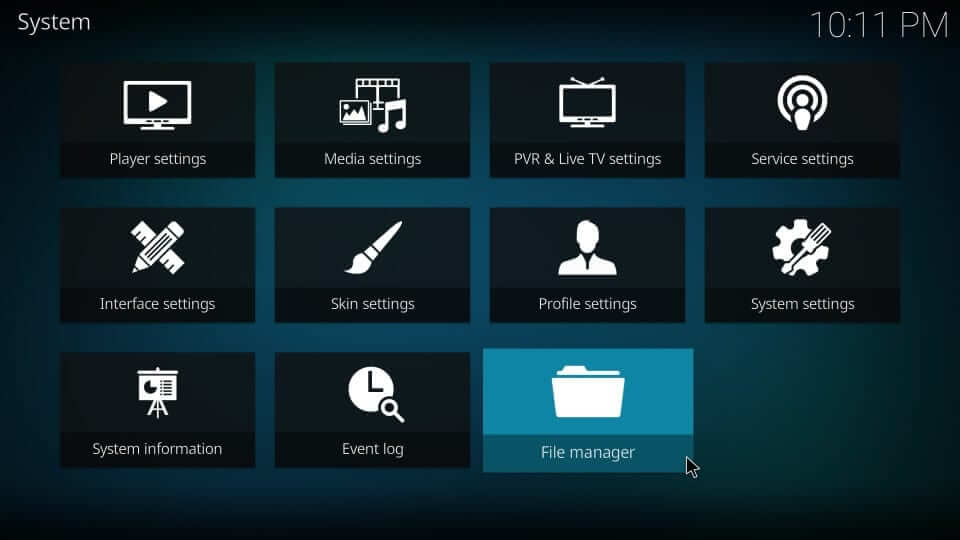
1. On the Kodi home screen, select the Settings or Cog icon available under the Kodi logo.
2. Choose File Manager on the following screen.
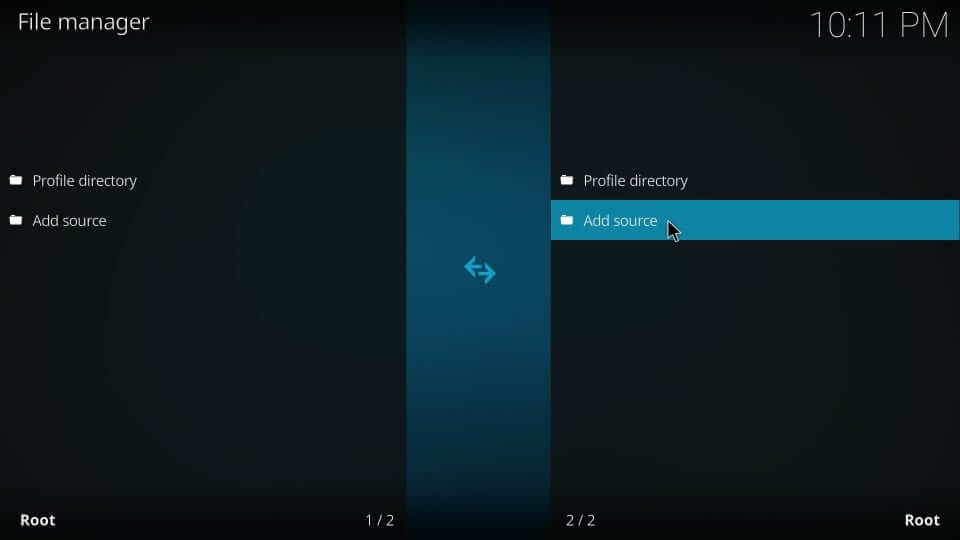
3. Scroll to select Add source option.
4. Click on <None> on the dialog box that appears.
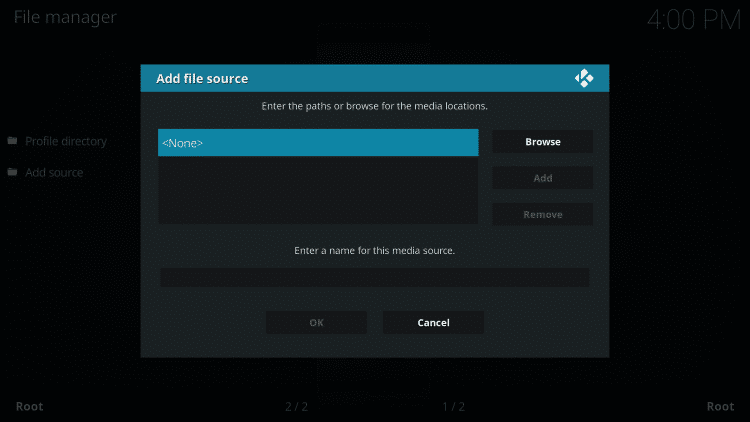
5. Enter the URL of the Durex repo source as http://www.drxbld.com/wiz using screen keys. Click OK.

6. Type the name of the source as Durex and press OK.
Steps to Install Durex Wizard on Kodi
The steps given below will help you with the installation of the Durex Wizard on Kodi Krypton 17.6.
1. Start from the Kodi main screen by selecting Add-ons.
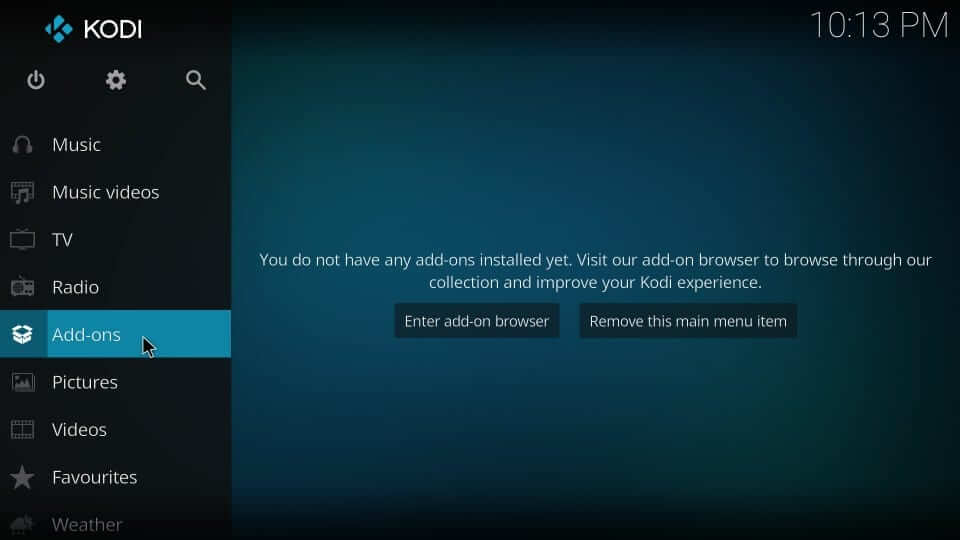
2. Select the Package Installer from the top-left corner.
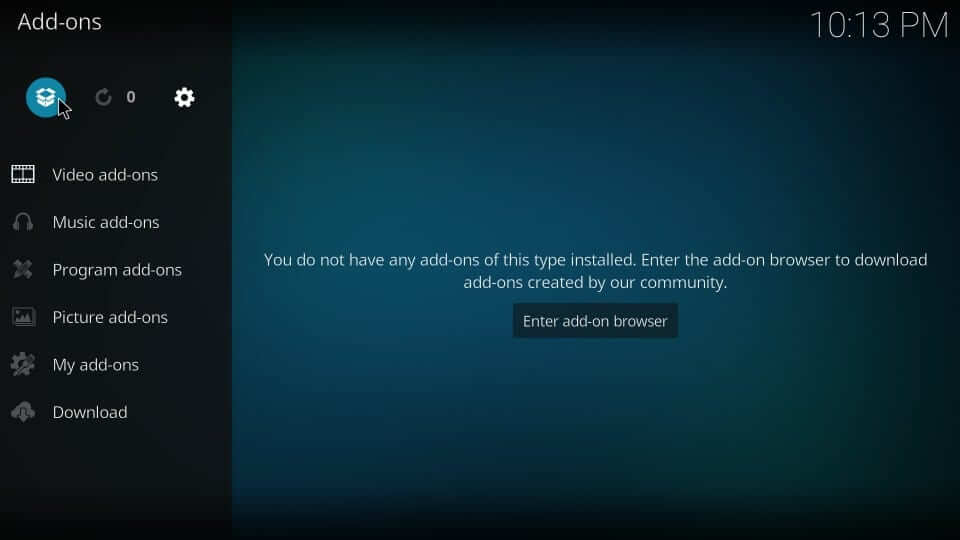
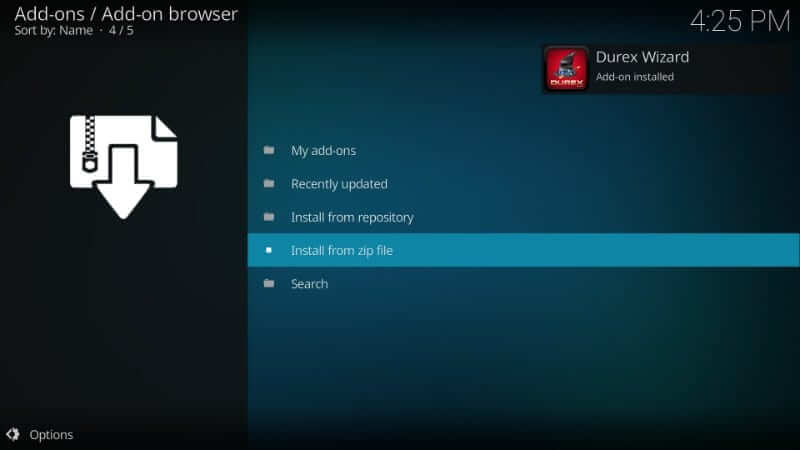
3. Now, choose the option Install from zip file.
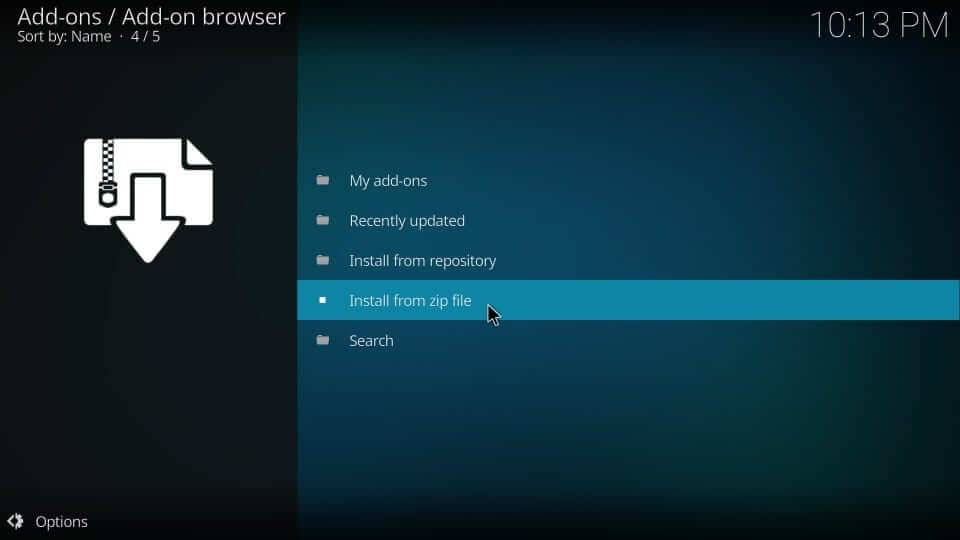
4. Look for the source name you have previously provided and select it. i.e., Durex.
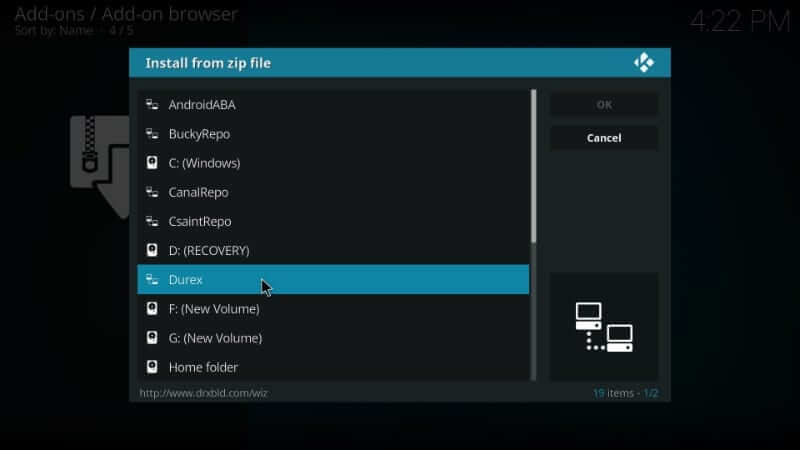
5. Choose the zip file associated with the Durex build.

6. Wait until the Durex Wizard addon installed notification appears on the screen.
7. Upon successful installation, you will get the Add-ons screen. Select Dismiss button.
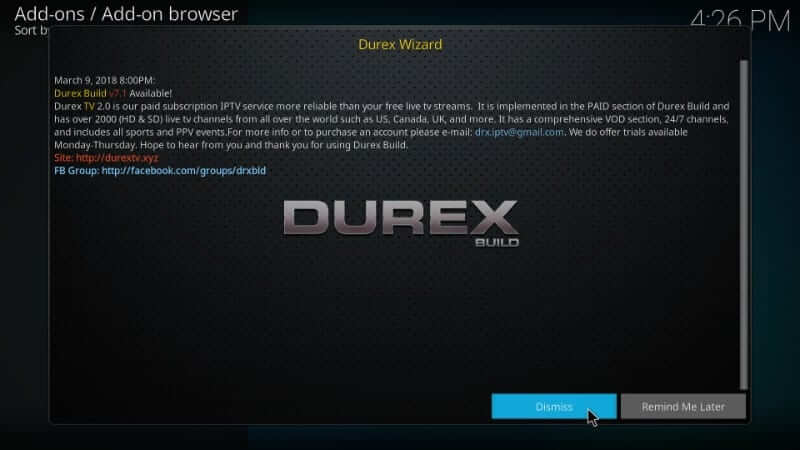
8. On the Durex Wizard pop-up, choose to Continue to run the settings selected.

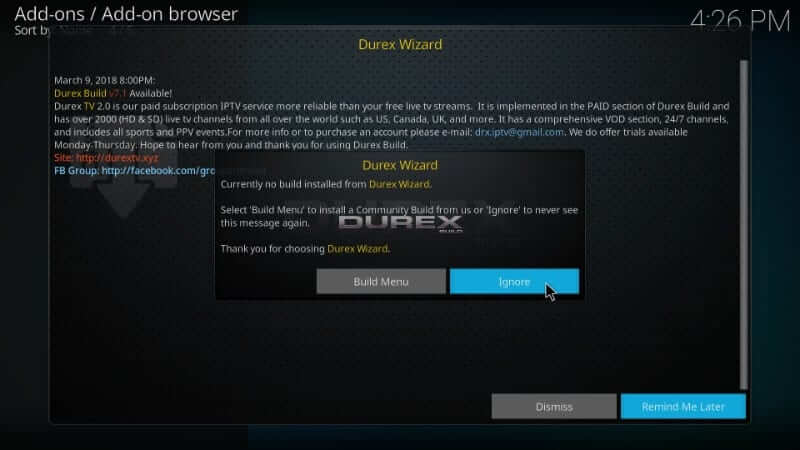
9. If you get another pop-up, click Ignore to proceed.
How to Download Durex Build on Kodi Via Durex Wizard
Once the Durex Wizard gets added, you shall proceed with the installation of Durex Build.
1. Click Addons on the Kodi home screen to select Programs addons.

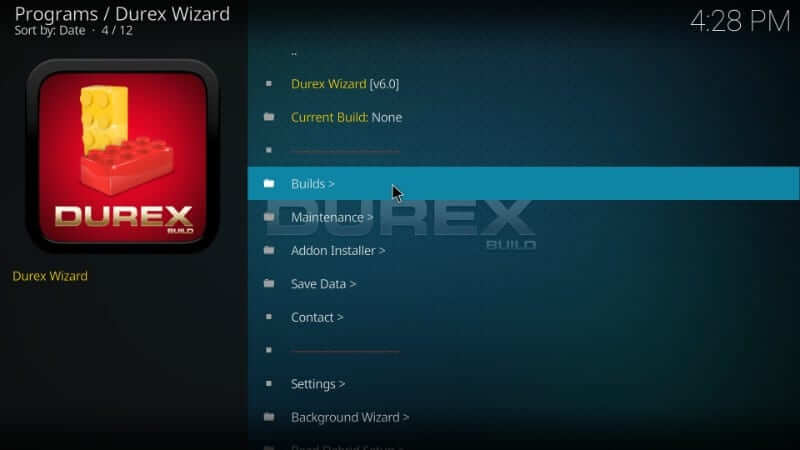
2. Navigate to select the Durex Wizard tile to open it.
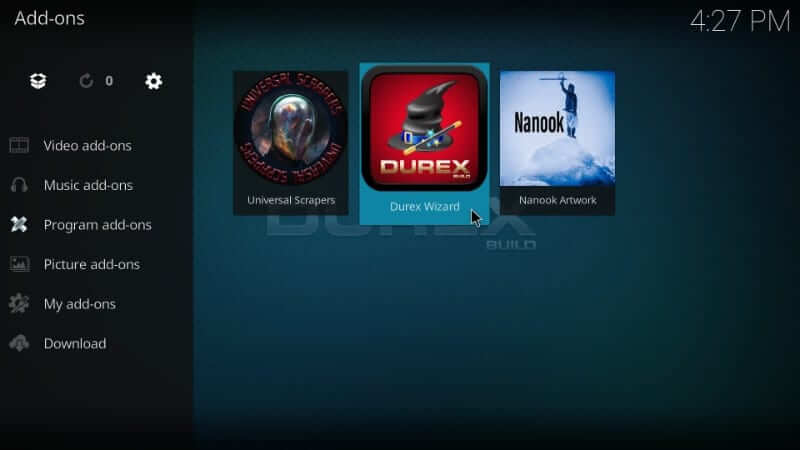
3. Select Builds on the following window.
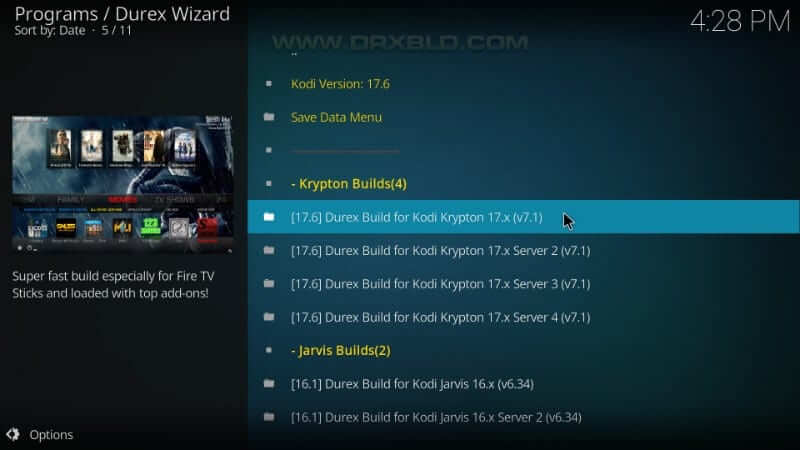
4. Choose the server based on your Kodi version. Optionally, you can choose between different servers if the one you selected fails to work.
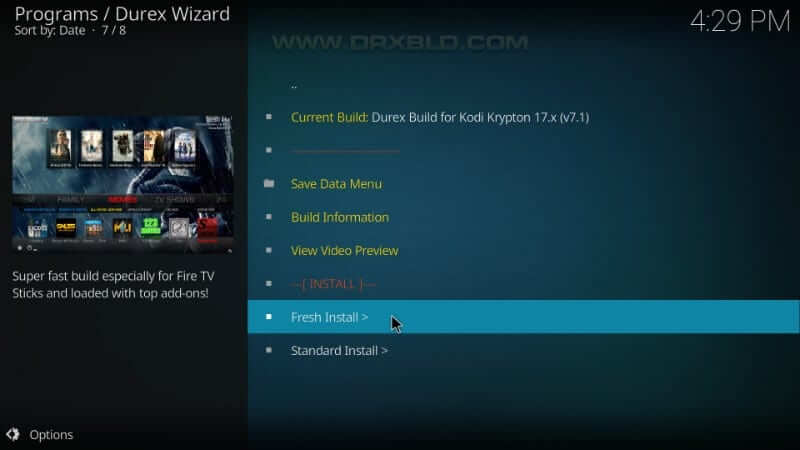
5. Click on Fresh Install if you want to wipe off Kodi data and reset it to factory default. Else, choose Standard Install.
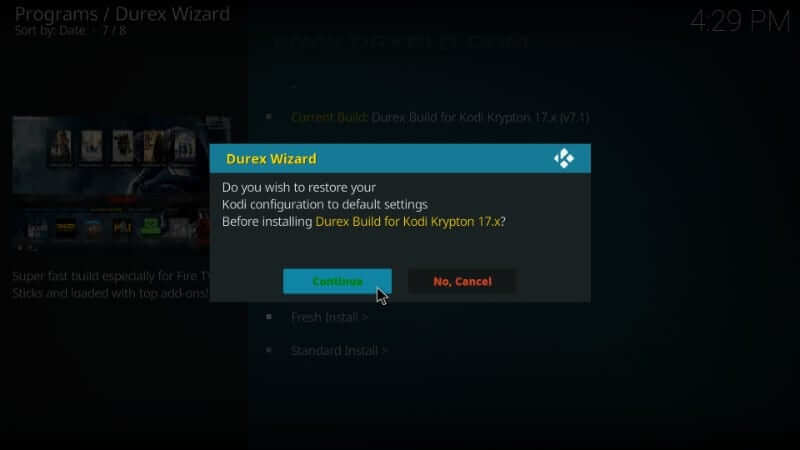
6. When prompted to reset Kodi, select Continue to proceed.
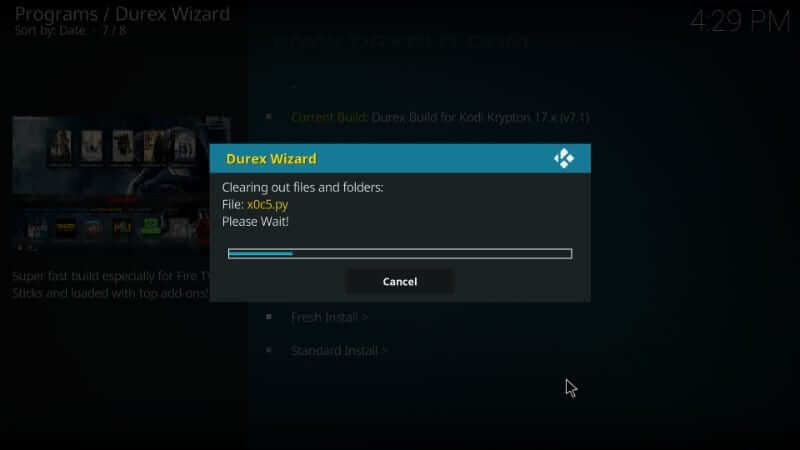
7. Durex build will begin its installation. Wait for a few minutes to let it end.
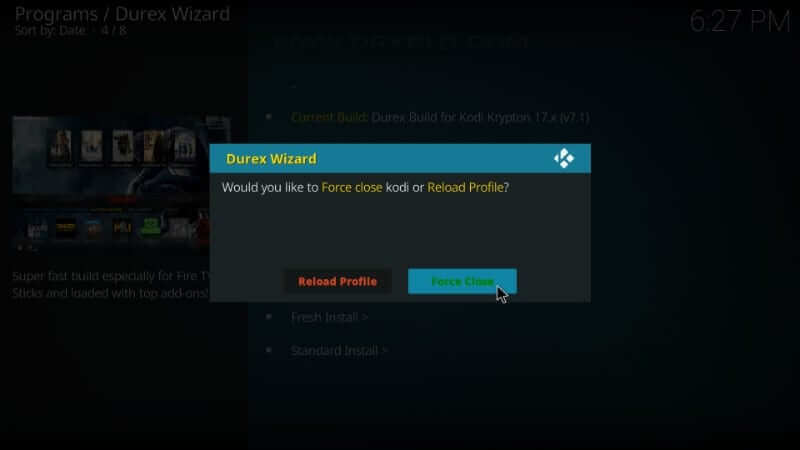
8. If you receive a prompt that asks you to reload or force close, choose Force Close.
9. Relaunch Kodi, and you will see the home screen of Kodi with Durex build.

What is on Durex Kodi Build?
With Durex Kodi Build, you can stream various movies, Tv shows, series, live sports, etc for free. Moreover, all the content available in it are HD streaming quality. It offers a user-friendly interface with different categories like
- System
- Add-ons
- Movies
- TV Shows
- Family
- Paid TV
- Free TV
- Sports
- Settings
- favorites
The list of Addons available on Durex Kodi Build includes
- Placenta
- Uranus
- The Dogs Bollocks
- Neptune Rising
- FlixNet
- Genesis Reborn
- Gears TV
- Limitless IPTV
- Flawless Tv
- DexterTV
Why Use VPN on Kodi?
Kodi is an open-source entertainment center, and there is a high chance of accessing illegal content. So, it is better to use a VPN to stay away from legal or copyright issues. Your online identity will be hidden, so the ISP, government, or hackers cannot track you with the best VPN for Kodi. It will help you get back the streaming bandwidth from ISP, and thus you will get buffer-free streaming.
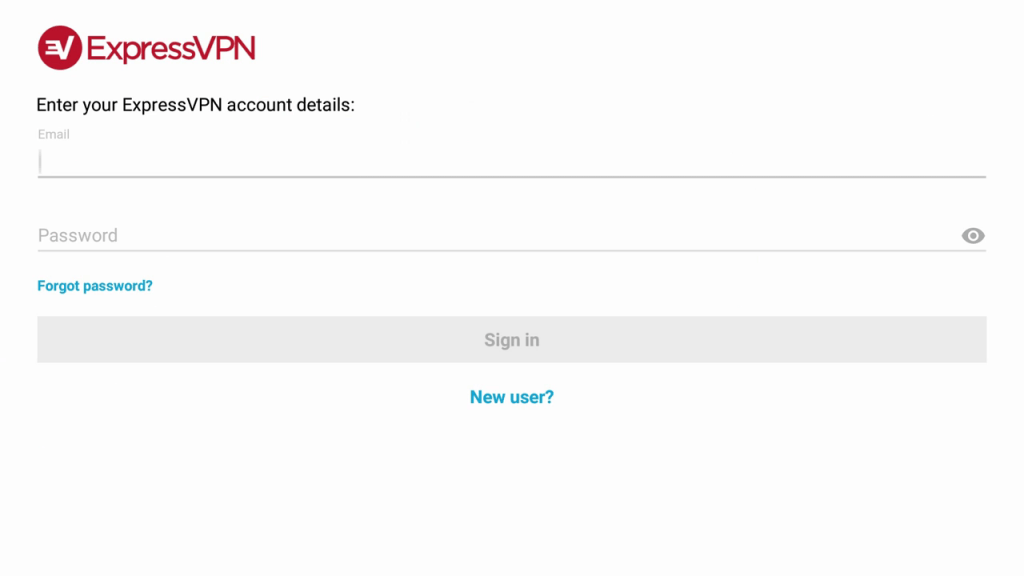
1. Launch any of the best VPNs on Kodi or your streaming device.
2. Sign in with your account credentials.
3. Select any server from the list and click Connect.
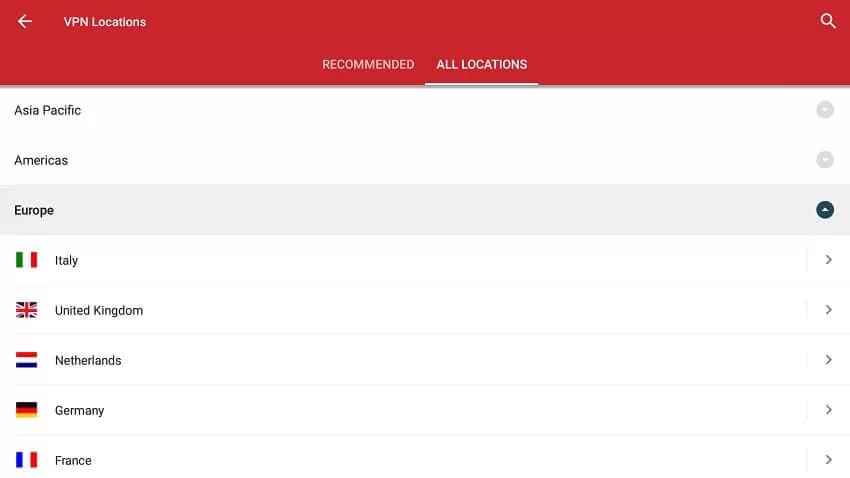
4. Click OK in the prompt to confirm.
5. Once connected, open the Durex Kodi build for Firestick and start using it.
You can install it and stream TV shows, movies, live TV, IPTV, and more. If in case you get Durex Build streams won’t connect, then try using other Kodi builds. Those low-powered devices will run slow after the Durex Build installation. In such a case, you shall use a high-powered device.
FAQ
Yes, you can install Durex Build on Kodi.
Xanx Kodi Build and Blue Magic Kodi Build are the best Durex Build alternatives.
Yes, Durex Build on Kodi is completely free to use.