Cord-cutters are not just the media streaming players but also the streaming services. If you want to cut down the cost of cable connection, you can opt for Kodi. It is an open-source home theater software that will turn into your complete entertainment center. There is a huge catalog of add-ons with which you can take advantage of anything you want to stream. Limitless Kodi Addon is one of the most popular addons to cover content in a wide range of categories. It is a helpful add-on if you don’t want to rely on multiple addons for your entertainment needs. Get into the section to know about Limitless addon and its installation in detail.
Note: Kodi interface is the same on any platform, and the installation of Limitless addon will be the same on Android TV, Firestick, Nvidia Shield, Android Boxes, and more.
What is Limitless Addon?
Limitless is an all-in-one Kodi addon to stream movies, TV shows, live TV, sports, IPTV, news, and more. It is yet another best Kodi addon used for multiple purposes. The library of Limitless addon gets updated frequently, and you will find something new to watch. Besides the categories, there are subcategories, and you can filter movies with ease. It fetches lots of high-quality links from trusted and reliable sources. You can even pair it with a Real Debrid account for even more quality links.
Important: Limitless addon is currently down or unavailable. So, we recommend you choose any other best Kodi addons.
Installation Guidelines of Limitless Kodi Addon
You need to proceed with the instructions below to install Limitless addon on Kodi Leia and Krypton.
Configure Kodi
Since Limitless addon isn’t officially available, you need to do the below changes.
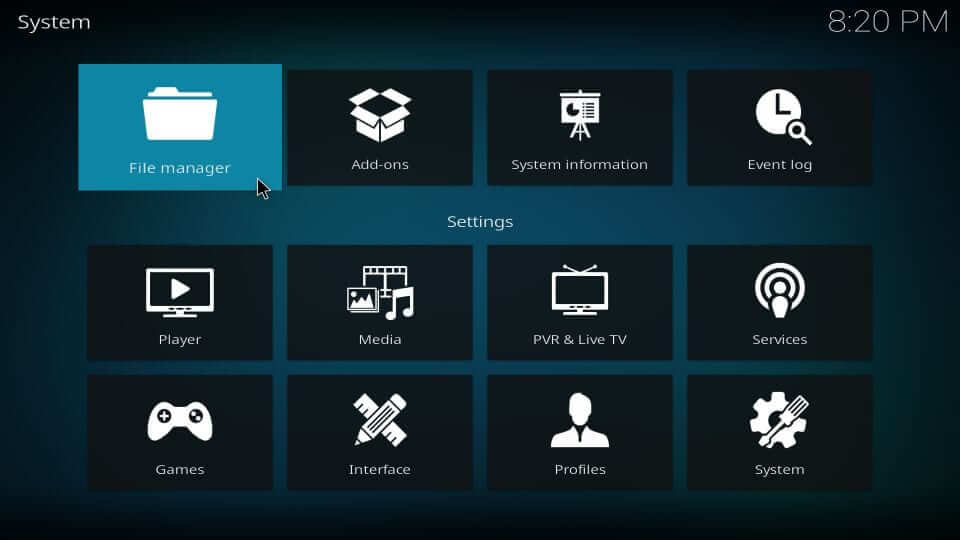
1. Launch the Kodi app on your device and select the Gear (Settings) icon on the home screen.
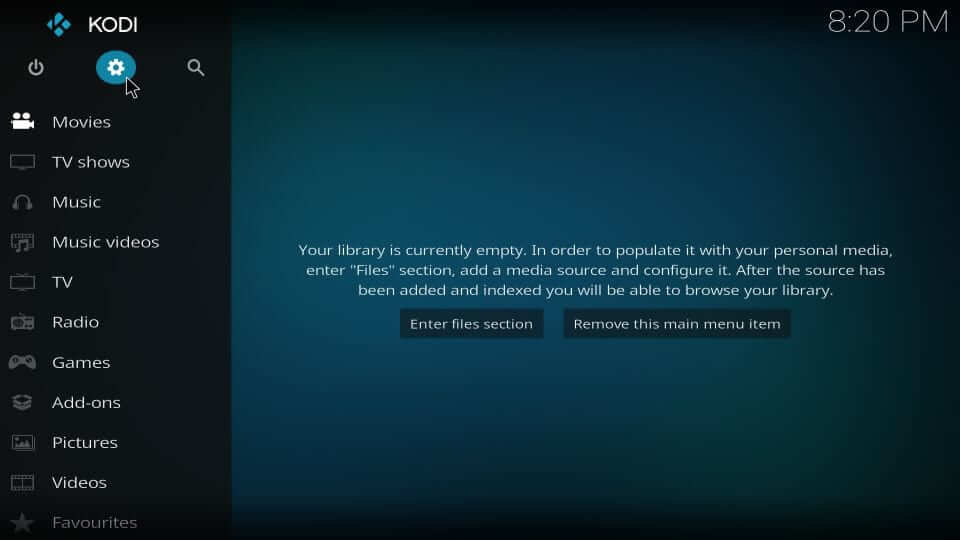
2. Choose the System or System Settings tile on the settings window.
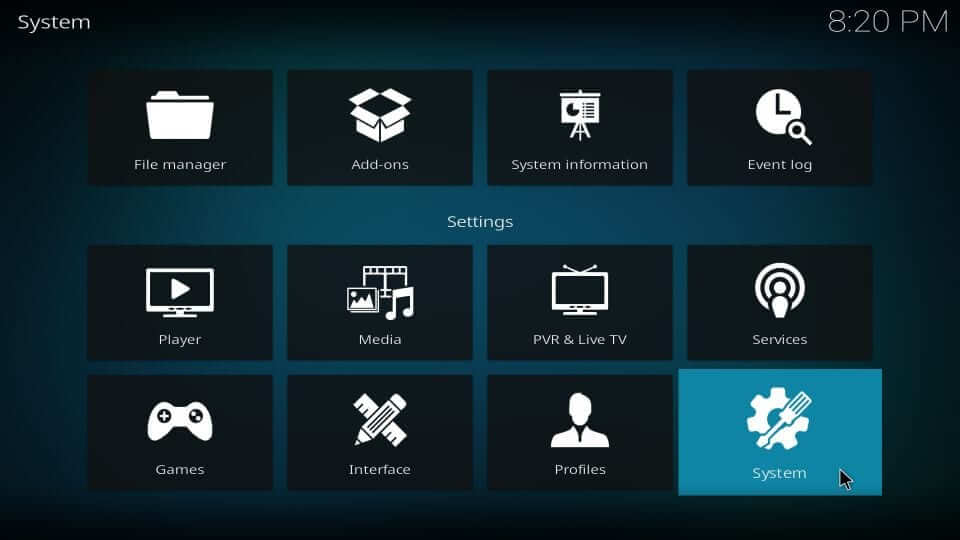
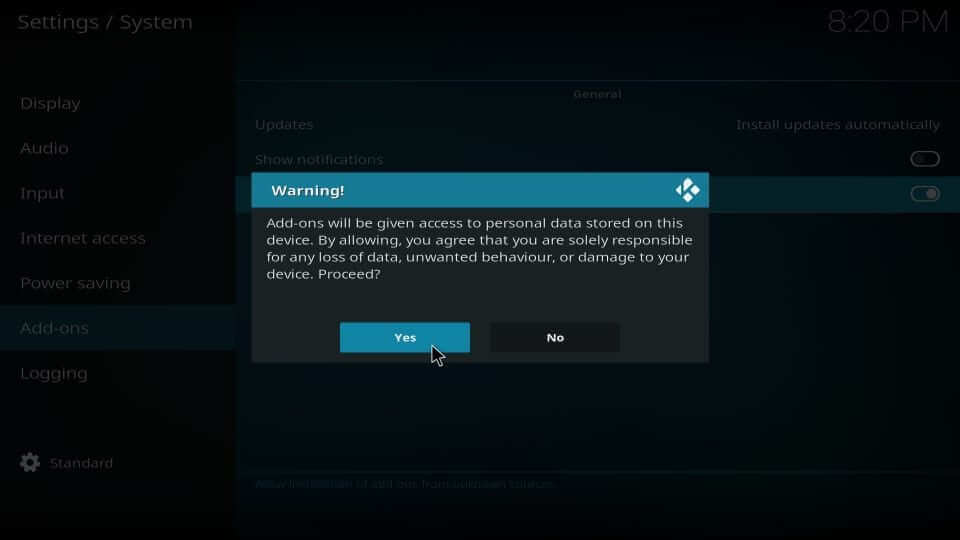
3. Now, highlight Add-ons from the left pane. Tap the slider of Unknown Sources to turn it On.

4. If you get a warning prompt, choose Yes to proceed further.
Steps to Add Repo Source of Limitless Addon on Kodi
With the above changes, you should add the Limitless addon’s repo source on your Kodi-compatible device. i.e., Luxury Repository.
1. Start from the home screen of Kodi and choose the Settings option.
2. Select the File Manager tile on the system window.
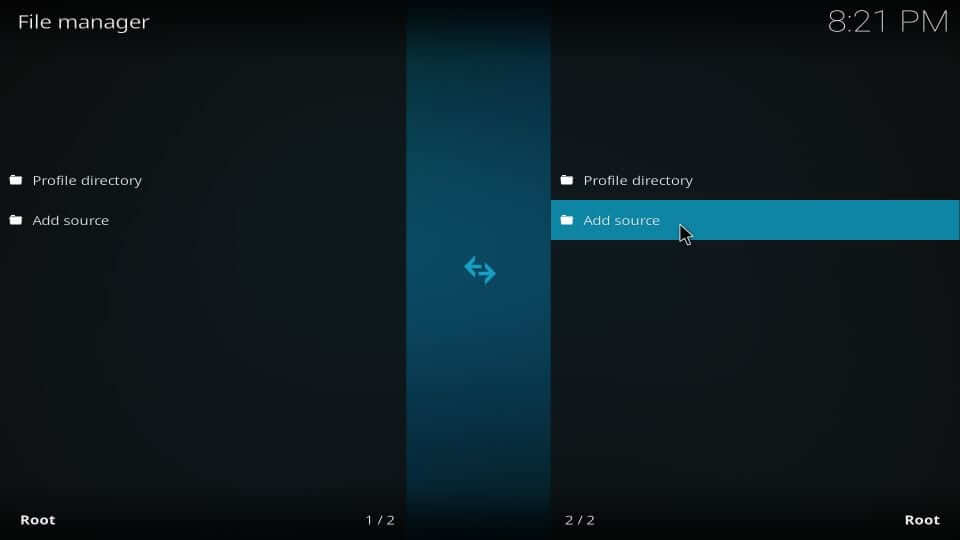
3. Go ahead and select the Add source option.
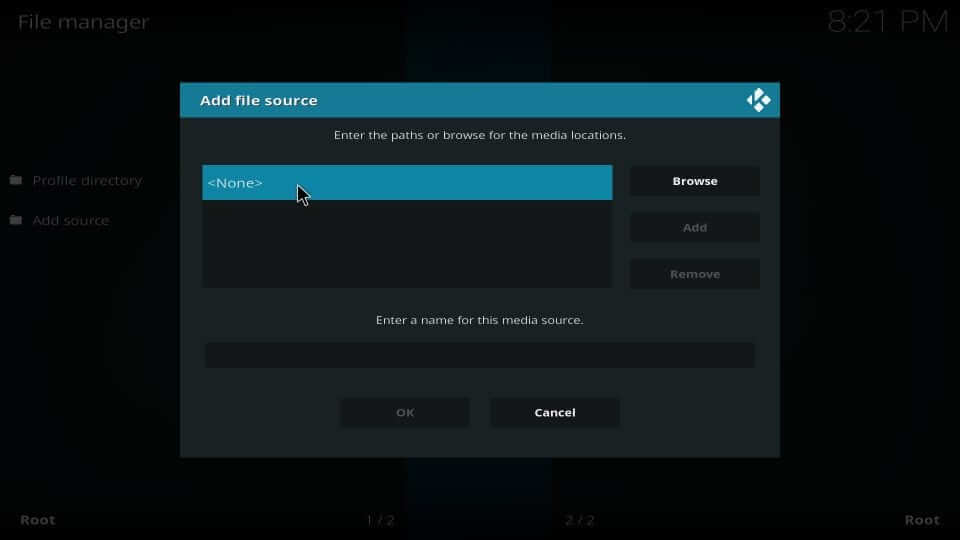
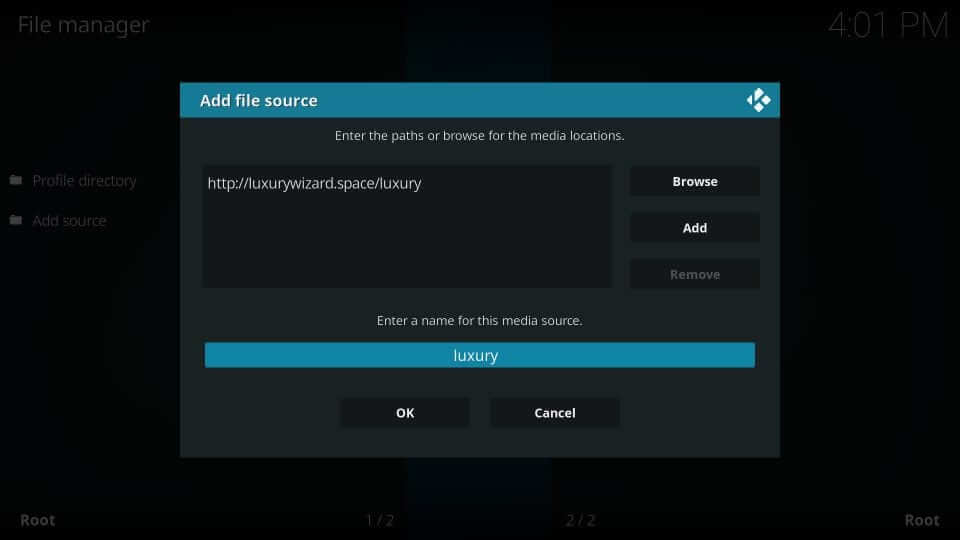
4. On the Add file source dialog box, select <None>.
5. Now, you should enter the source path of the Luxury repo as http://luxurywizard.space/luxury. Press OK.
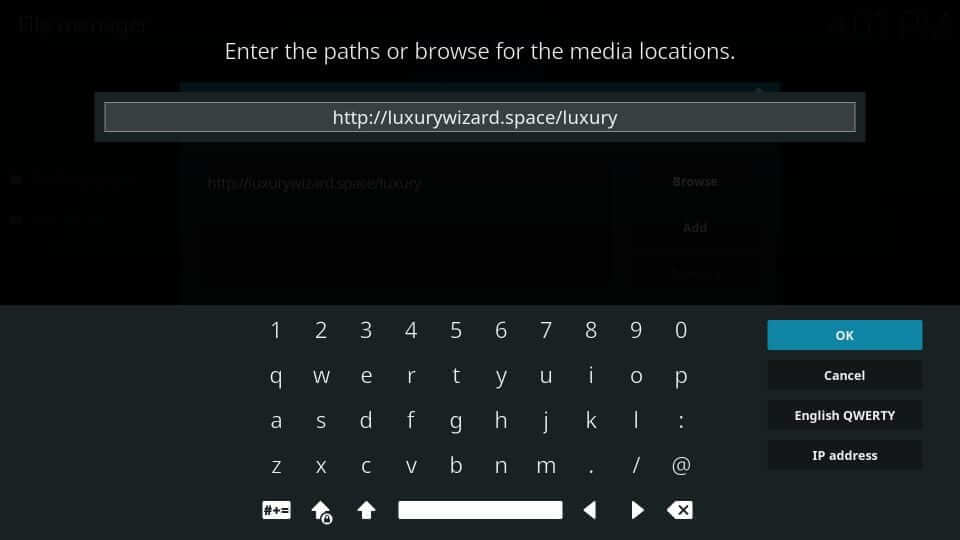
6. Enter the source name as Luxury and click OK.
Steps to Install Luxury Repository & Limitless Kodi Addon
Learn the steps to install Luxury repo first and then install the Limitless addon here in this section.
1. Get back to the Kodi home and select Settings.
2. Choose Add-ons from the System window. Select the Package Installer icon on Kodi 17.6.

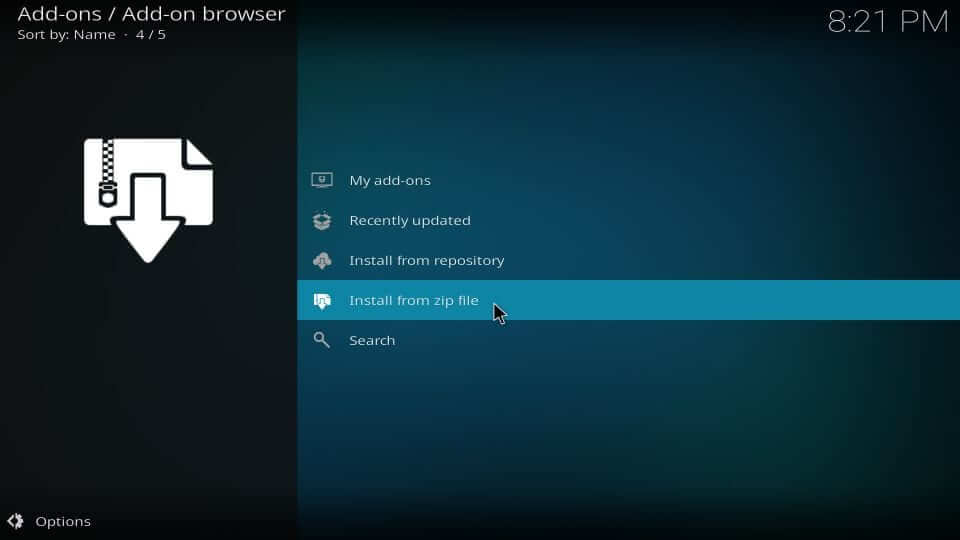
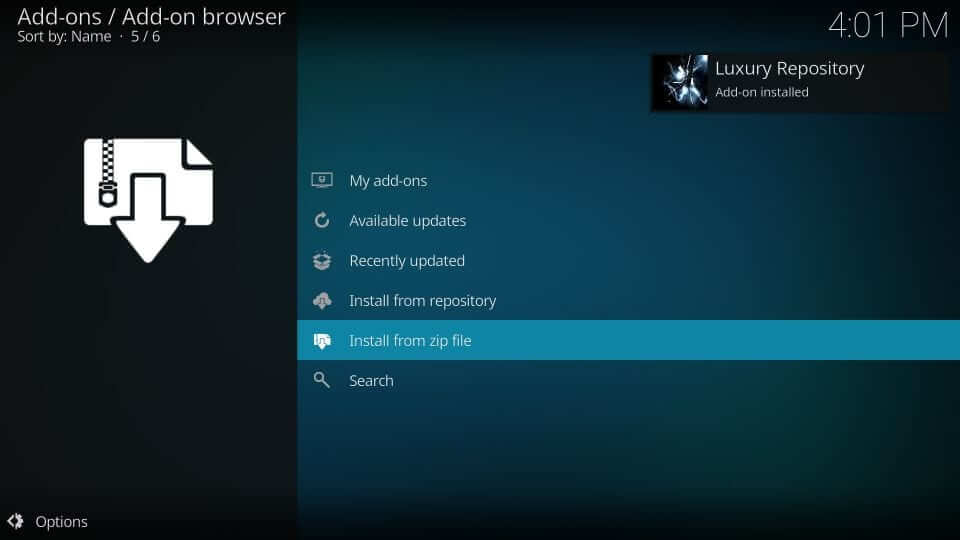
3. Click the Install from zip file option to proceed.
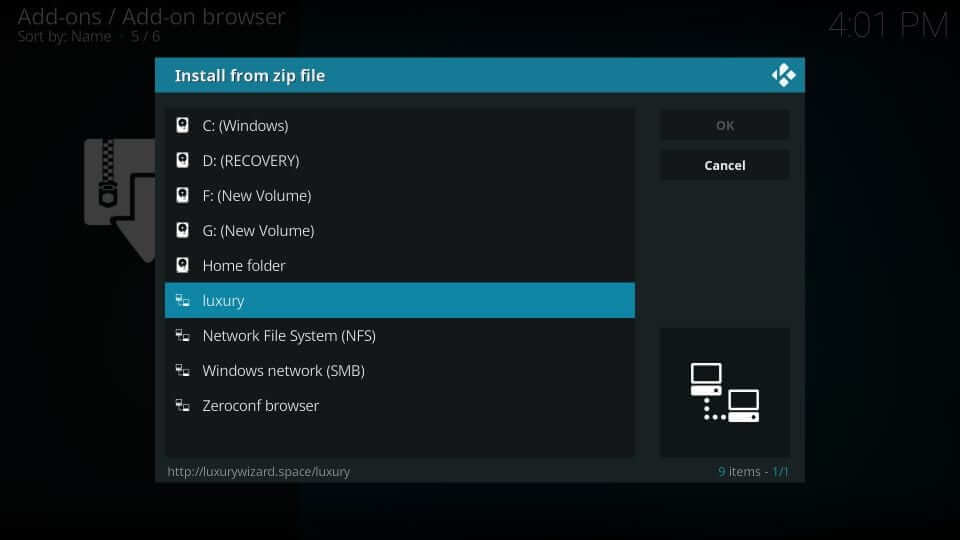
4. Look for the source name as provided and select it. i.e., luxury.
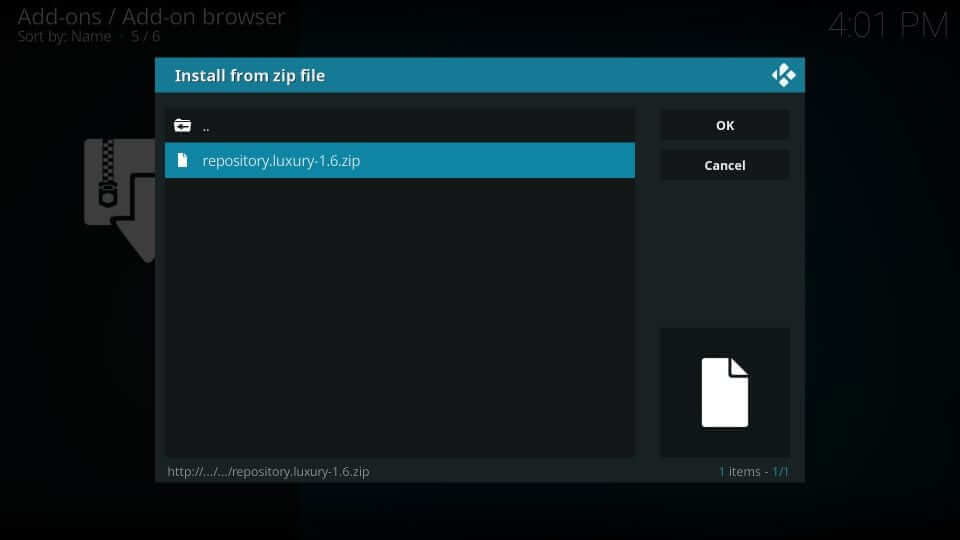
5. Highlight the zip file associated with the Luxury repo with the latest version.
6. After the download, you will get the Luxury repository addon installed message.
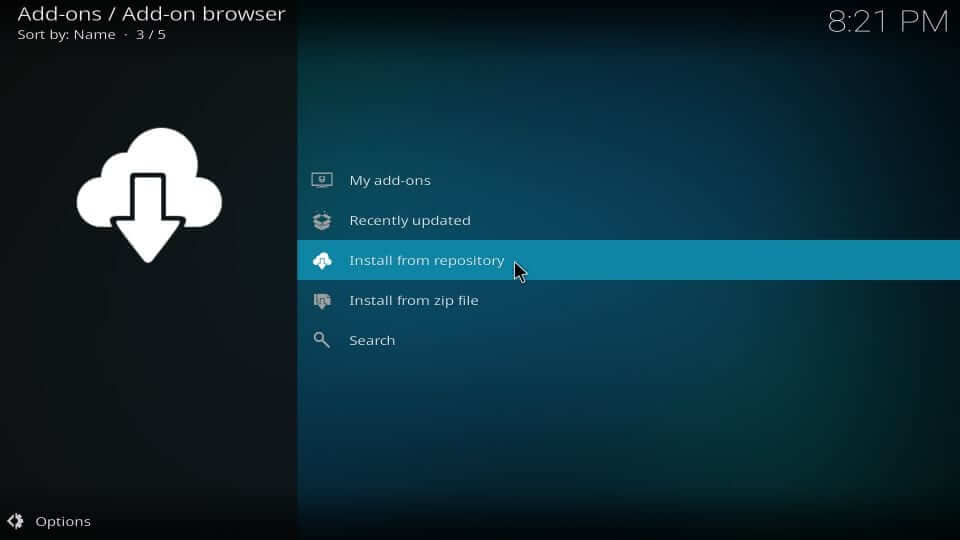
7. Go ahead and choose Install from repository.
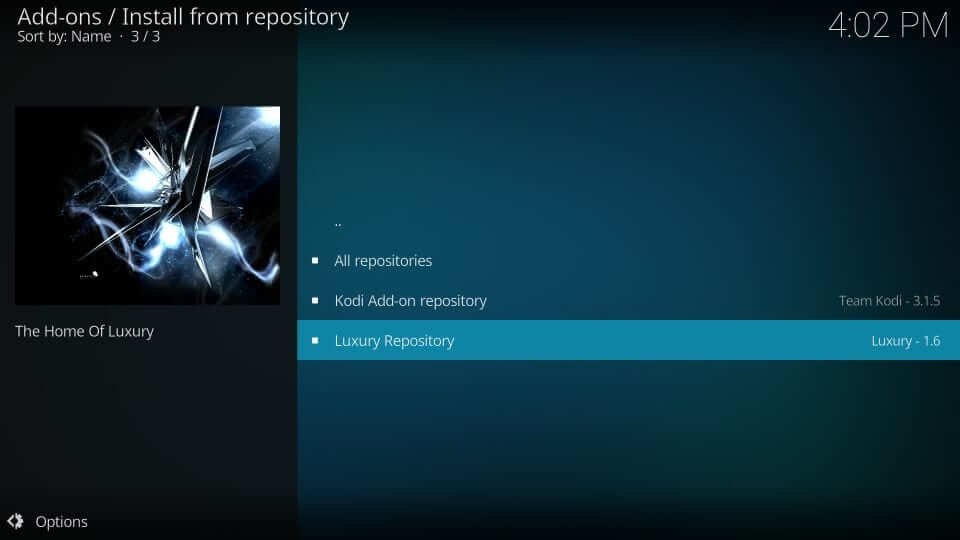
8. Select Luxury Repository under All repositories.
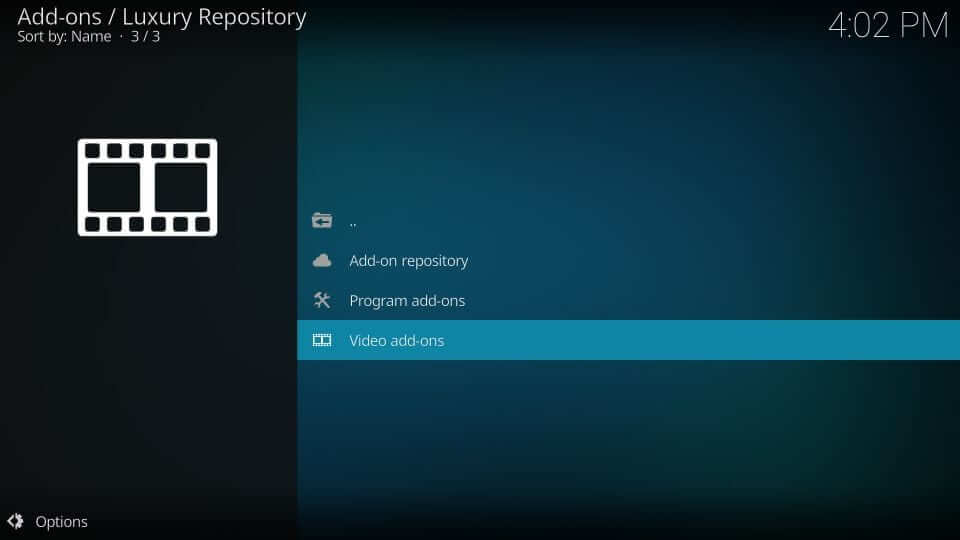
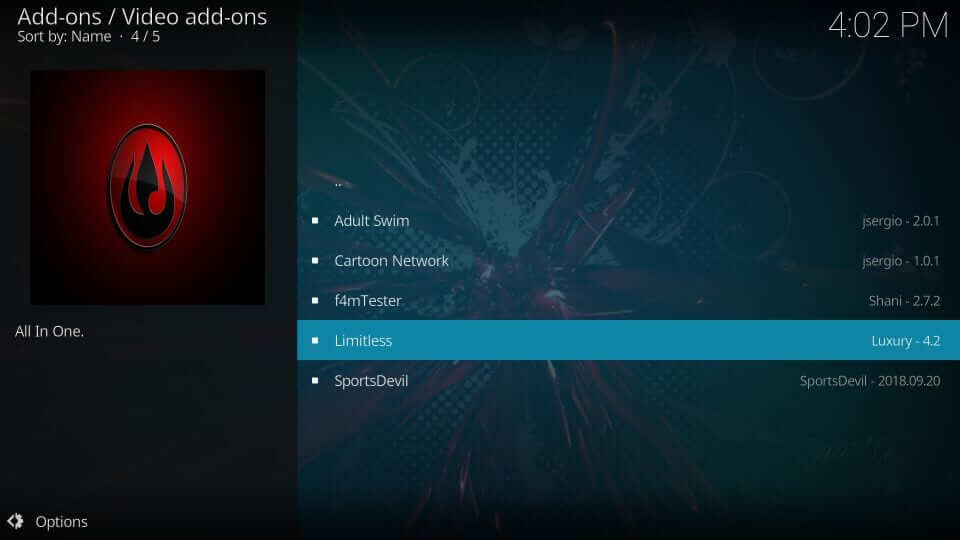
9. Now, click on the Video add-ons option.
10. You should select Limitless under the list of available addons.
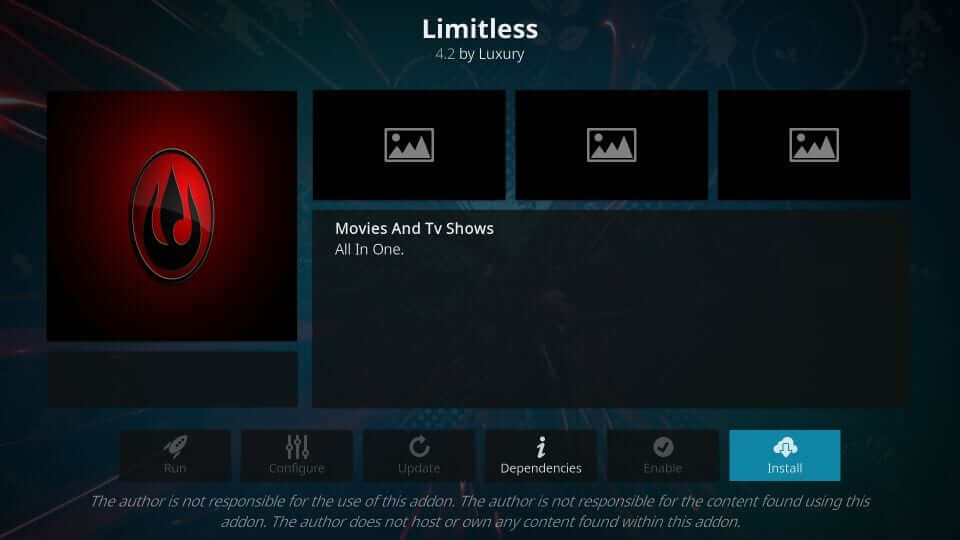
11. Click on the Install button to download the addon on your Kodi device.
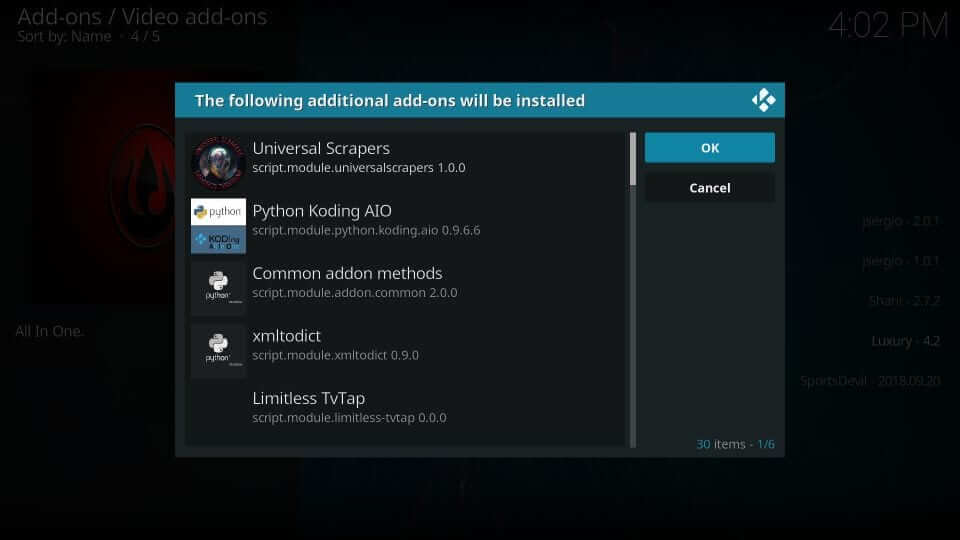
12. When you get a prompt that asks you to install additional addons, select OK.
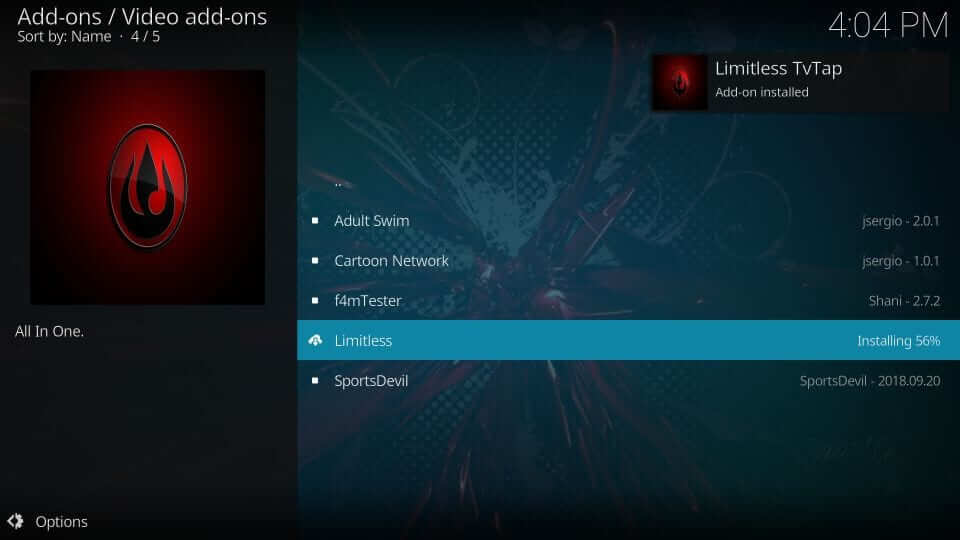
13. Wait until you see the Limitless addon installed notification to appear at the top-right.
Why Use VPN on Kodi?
The ISP and the government will monitor your device whenever it is connected to the internet by default. Since Kodi holds lots of third-party add-ons, there is a high chance of streaming copyright content. But with the best VPN for Kodi, you will not face any legal issues for streaming such content. Further, it will secure your personal details and your online activity from hackers. With the VPN, you will not face any buffering issues while streaming any content using the addons.
Guidelines to Use Limitless Kodi Addon
Once you installed Limitless addon on your Kodi-compatible device, you shall proceed with using its features.
1. From the Kodi home, select the Add-ons menu from the left panel.
2. Choose the Video add-ons option and click on Limitless tile.
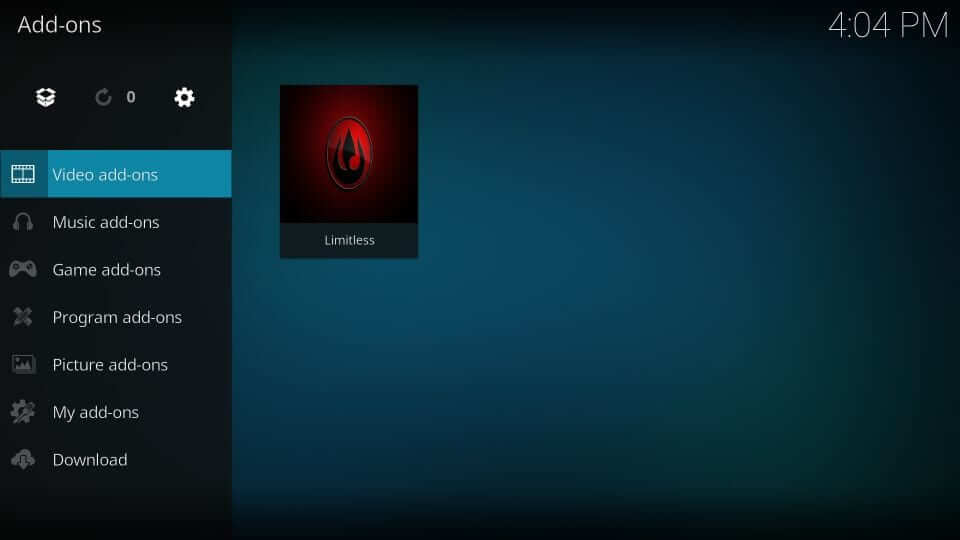
3. With this, the main screen of the Limitless addon will load up. You will find the following options.
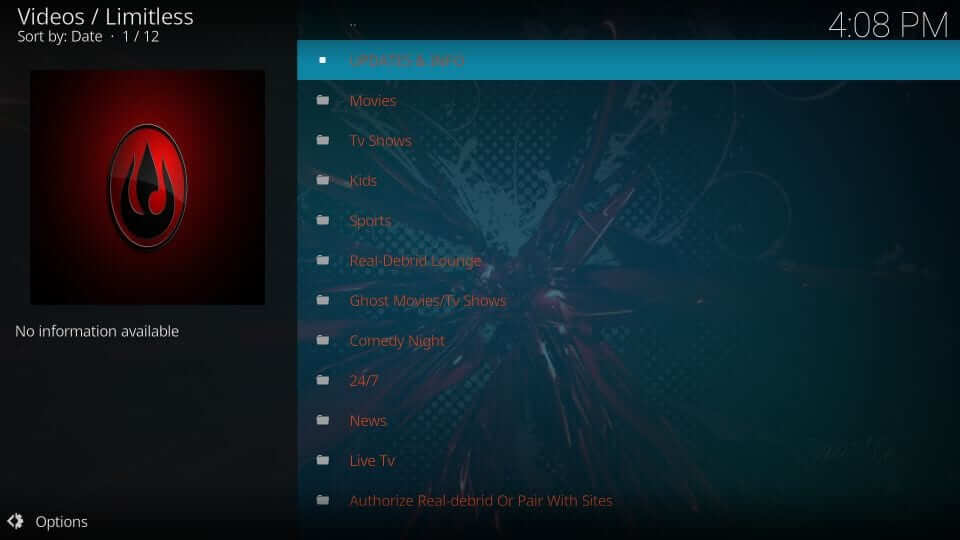
- Movies
- TV Shows
- Live TV
- Kids
- News
- Sports
- Real-Debrid Lounge
- Ghost Movies/TV Shows
- 24/7
4. Select any category and choose the subcategory to select and stream any tiles.
That was all about the steps involved with Limitless addon installation and usage. If the provided content isn’t enough, you shall add and stream even more titles from the Real Debrid account. For any other clarifications, you shall drop a comment below.