Live NetTV is a cost-efficient third-party streaming application with 800+ live TV channel support. Those channels are listed under nine different categories. It includes news, sports, entertainment, movies, documentaries, music, kids, and religion. Live NetTV on Firestick has a user-friendly interface with no signup and subscription procedure. This lightweight app has unlimited features and brings content from top worldwide channels. The most interesting thing about Live NetTV is it adds channels as per the user’s request. Just in case the channel isn’t working, then users can report it as well. It has built-in support for MX Player, Android player, XYZ Player, and XMTV Player.
How to Install Live NetTV on Firestick
Being a third-party app, the section below guides on sideloading Live NetTV on your Fire TV.
Configure Firestick
Sideloading Live NetTV on Fire TV requires changes in the device settings first.
1. Navigate to Settings on the Fire TV home screen and press the Select button on the remote.
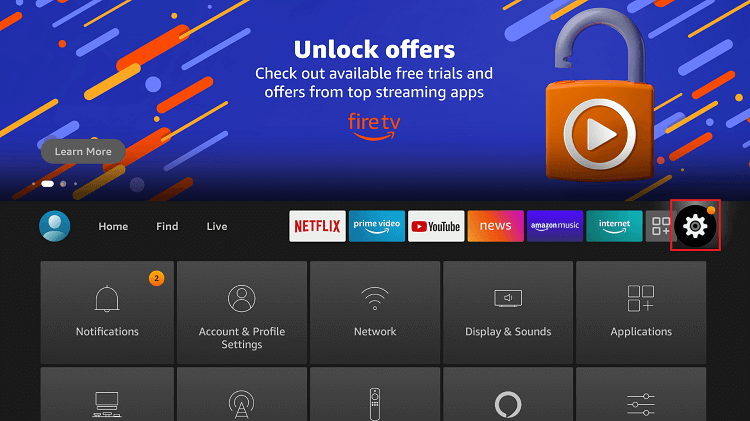
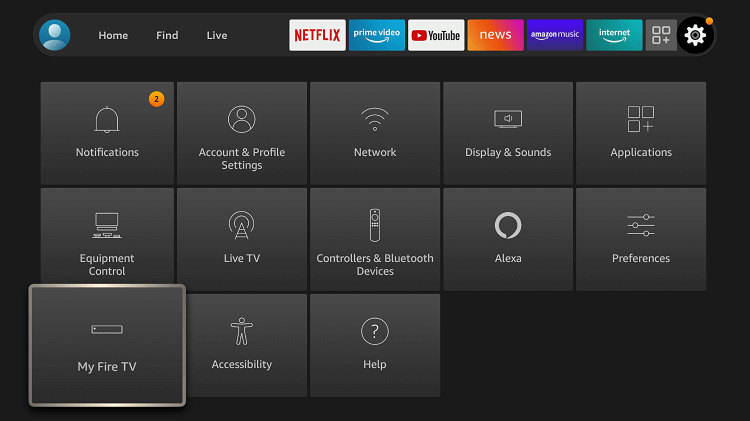
2. Under settings, scroll to the right and choose My Fire TV. It might be labeled as Device or System on some Firestick models.
3. Highlight the Developer Options just next to About.
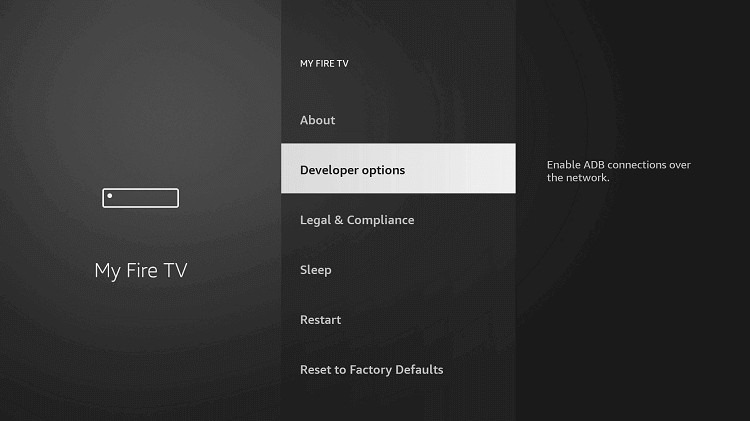
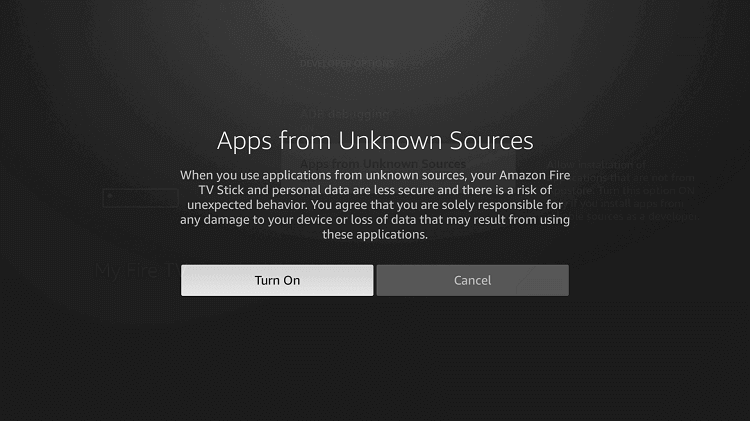
4. Choose Apps from Unknown Sources to check if it is turned On. Else enable it.
5. If Firestick shows a prompt to confirm the action, then select the Turn On button.
How to Sideload Live NetTV on Firestick
You shall need to proceed with the steps given below to sideload Live NetTV as an apk into Firestick.
Important! Your Firestick should have access to the Downloader app installed prior to sideloading Live NetTV. You can install Downloader for Fire TV devices from the Amazon App Store.
1. Select the Find option from the top-left of the Fire TV home screen and click on the Search icon.
2. Click inside the search field to type as Downloader. Scroll to select the same from the suggestions.
3. Under Apps & Games, select Downloader to launch it on your Firestick.
4. Select the Home tab of the downloader, and select the URL field using the navigation key.
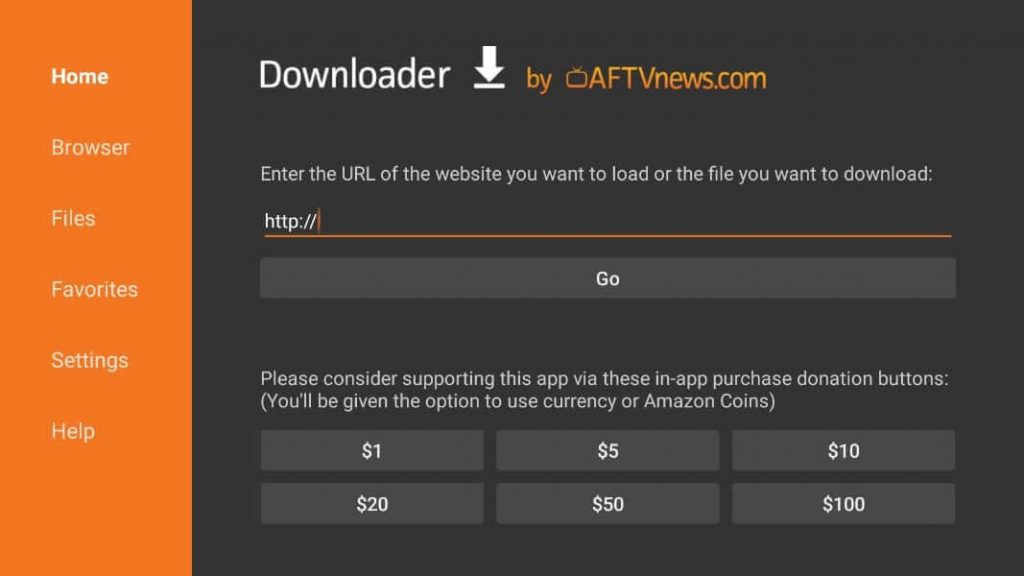
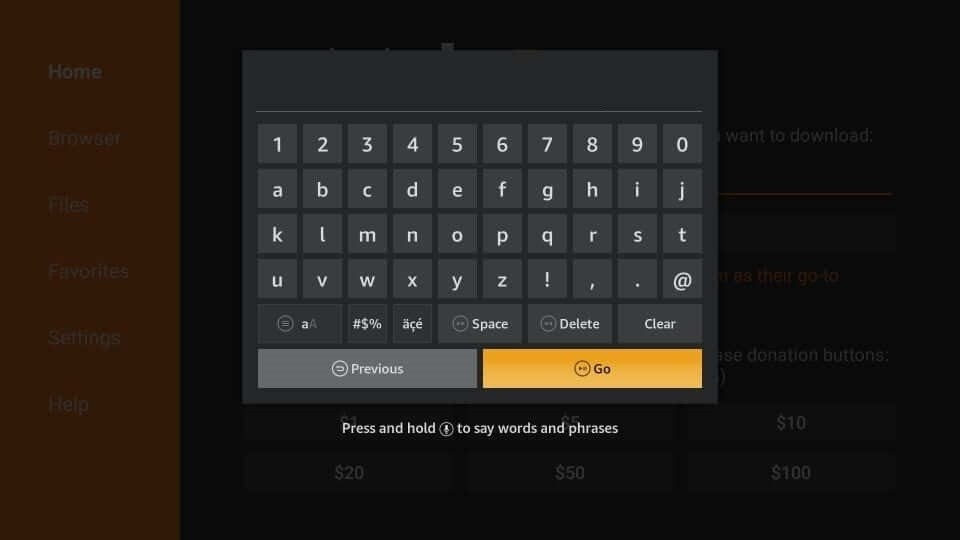
5. Using the navigation key over the on-screen keyboard, enter the Live NetTV URL as http://livenettc.sc and click on GO.
6. When the Downloader app connects with the Live NetTV server, the downloading process will begin.
7. Select the Install button when the downloader shows a pop-up after the downloading.
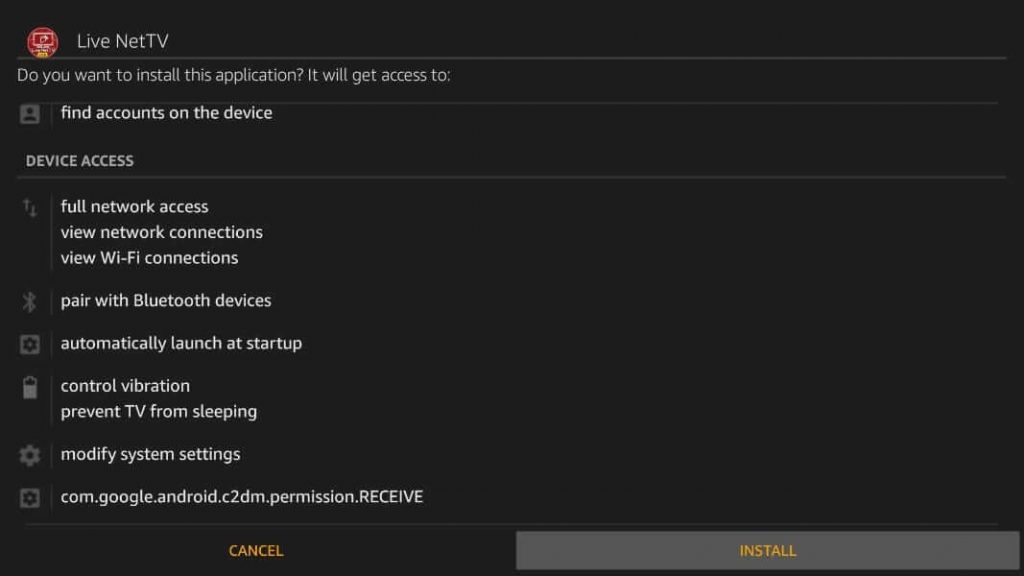
8. With the installation, Firestick users need to click on the Open or Done button.
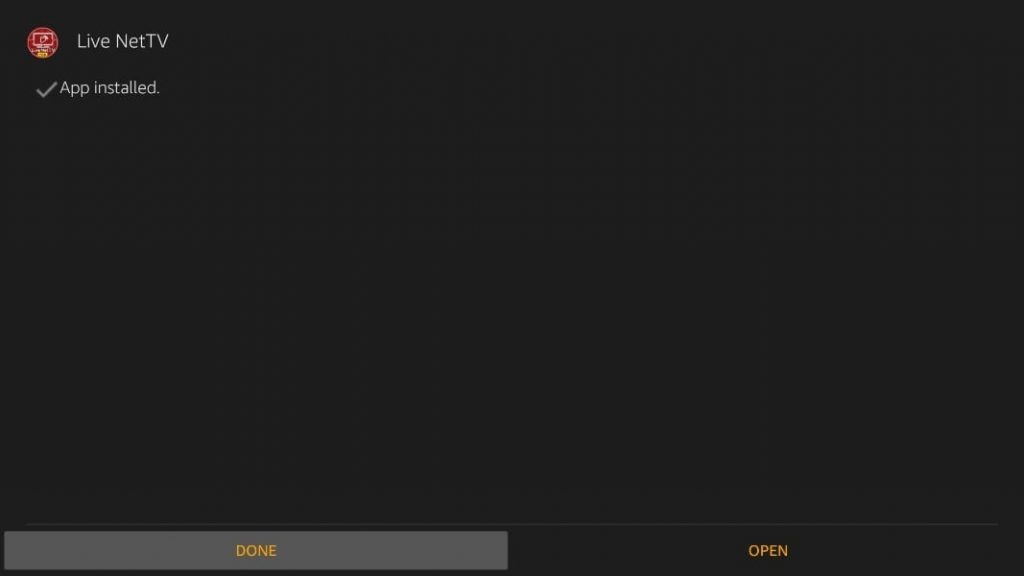
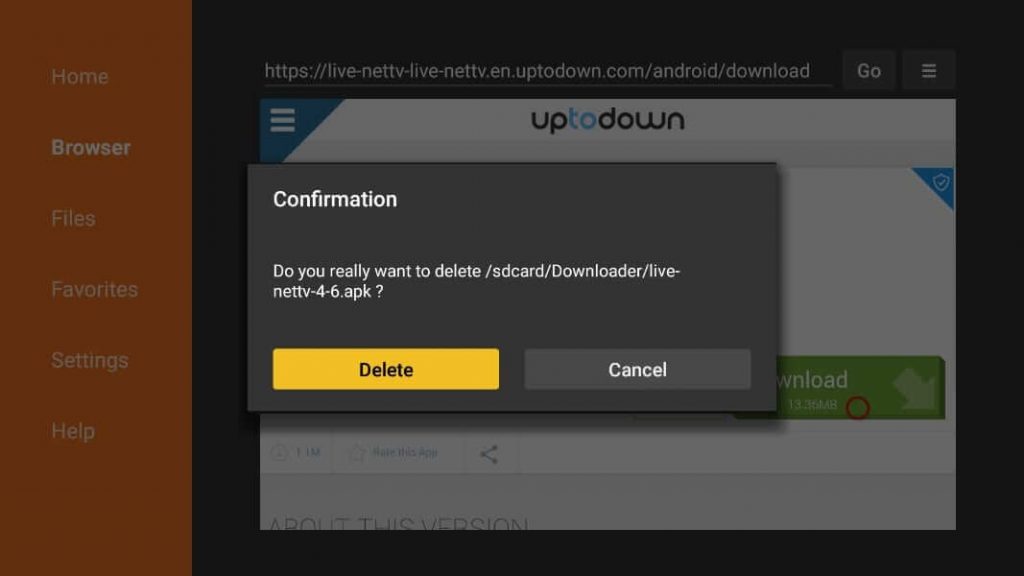
9. Then, click on Delete to remove the Live NetTV apk. When prompted, select Delete once again.
Just like Downloader, ES File Explorer supports sideloading third-party apps like Live NetTV on Fire TV.
Why Need a VPN to Use Live NetTV on Firestick?
Live NetTV isn’t an official app for Fire TV. So, it might bring you illegal content, and streaming them will attract legal issues. Just like any third-party app, you need to use a VPN with Live NetTV. VPN preserves your online identity with a virtual IP address. This, in turn, will keep your internet activity private and secured from ISP, Government, hackers, etc. Even if Live NetTV brings you copyright content, you will stay anonymous.
Guidelines to Use Live NetTV on Firestick
Follow up the procedure to use the Live NetTV on Fire TV.
1. Press and hold the Home button of the Fire TV remote.
2. Select Apps on the Shortcut to Your Apps Library screen.
3. Navigate to the bottom to select the Live NetTV tile and press the Options button on the remote to choose Move.
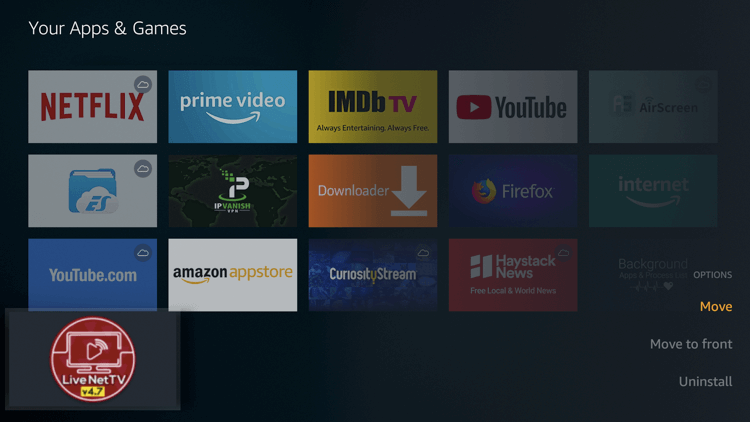
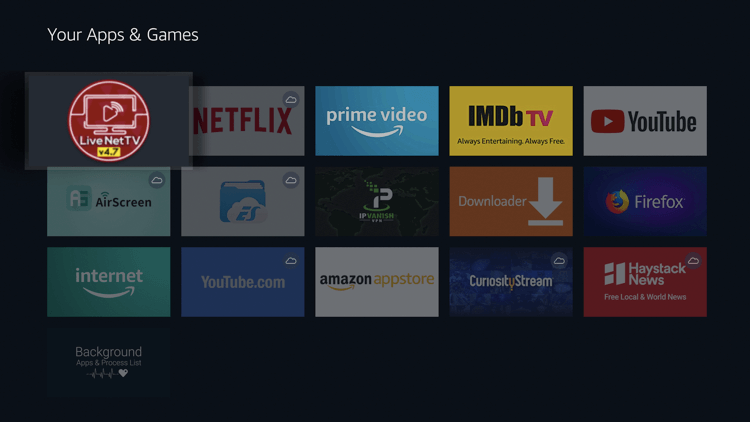
4. Just drag the tile to the top of the screen and then press the OK button on Fire TV remote to drop it over there.
5. Select it to launch Live NetTV on your Amazon Fire TV.
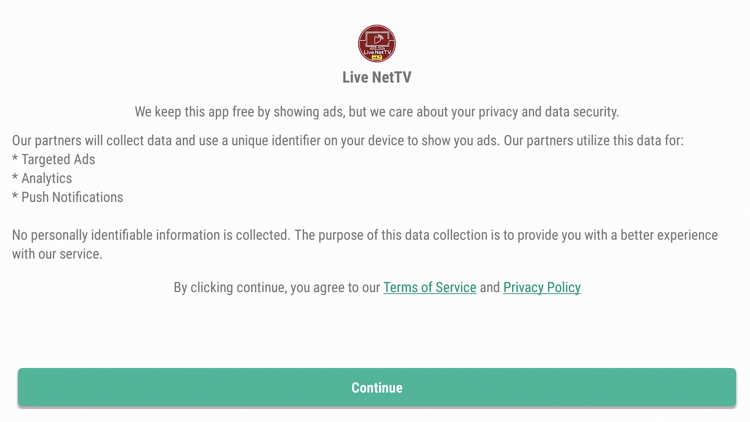
6. When you land upon the Terms of Services screen, highlight to select the Continue button.
7. If Live NetTV prompts you to access your device and files, choose to Allow using navigation keys of the remote.
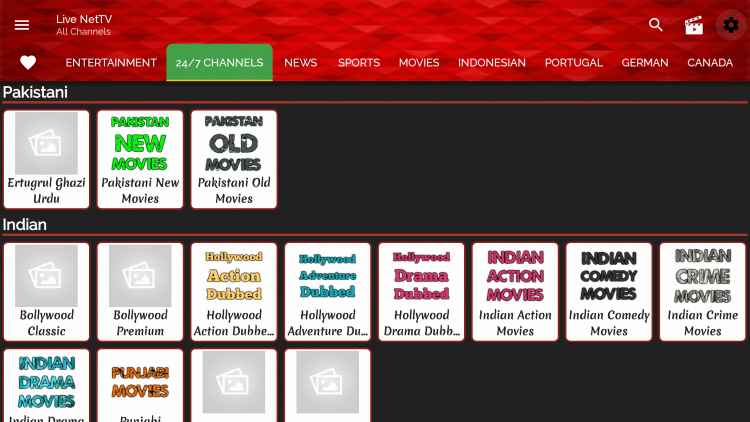
8. Live NetTV will bring you the home screen in which you will find a lot of channels. Some of the categories it shows include
- Entertainment
- 24/7 Channels
- News
- Sports
- Movies
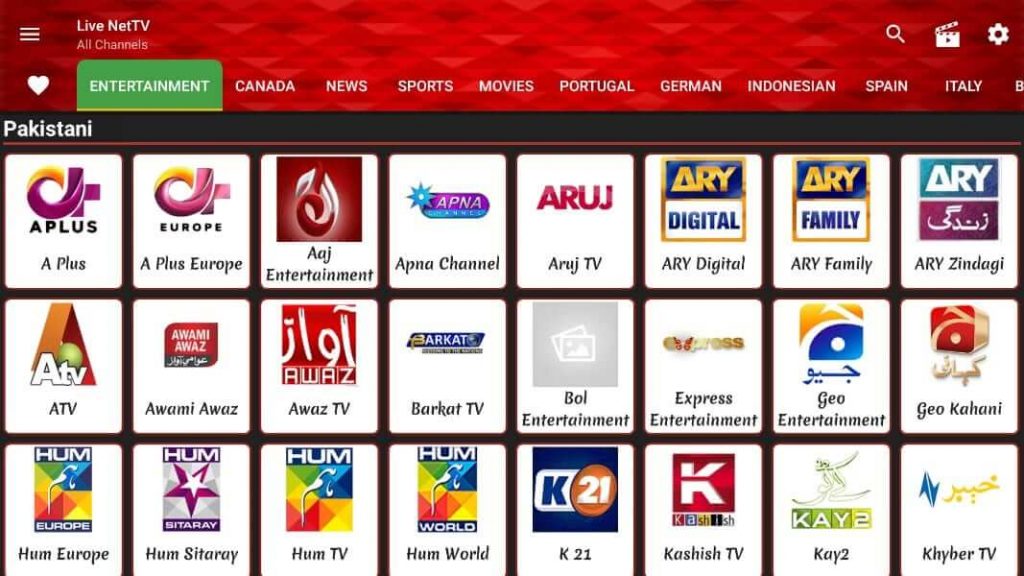
- Besides this, you can make use of the search icon to find specific content or channels.
How to Add Channels to Favorites on Live NetTV
Users can add channels to their favorite section of Live NetTV with the steps given below.
1. Select any channel you want to add to favorites from the home screen of Live NetTV.
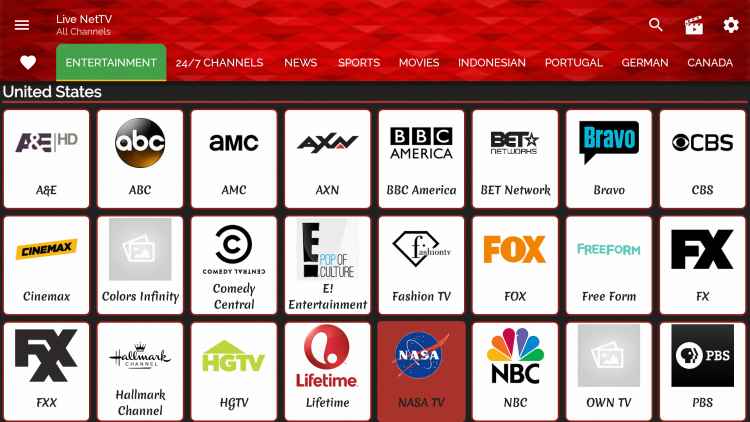
2. Push and hold the OK button on the Firestick remote to choose to Add to Favorite option on the pop-up.
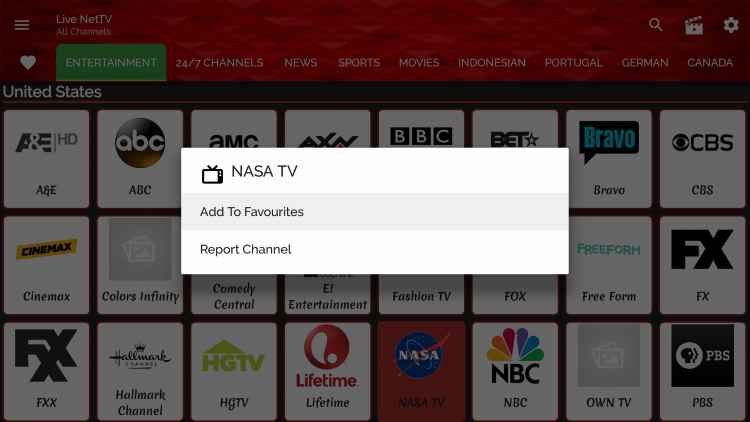
3. Wait for Channel added successfully to the favorites notification to appear.
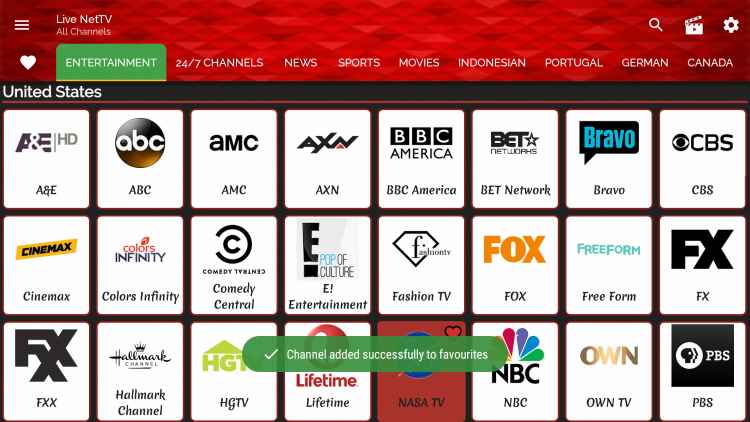
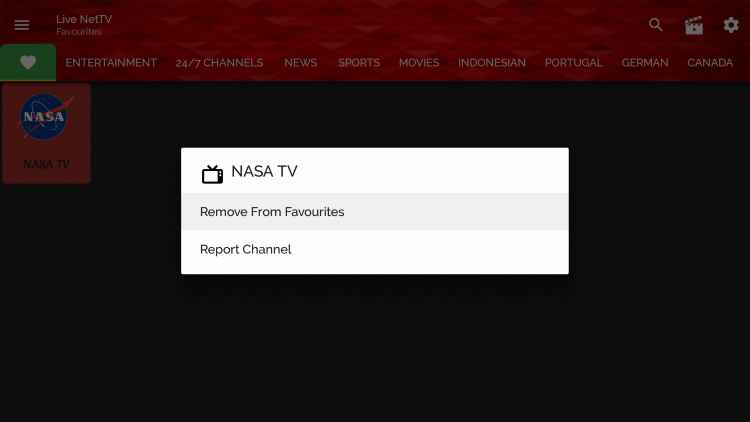
4. Hover to select the Heart icon at the top-left corner of the Live NetTV home screen to find the channel.

Note: To remove the favorite channel, hold down the OK button by selecting the channel and choosing the Remove from Favorites option.
How to Integrate MX Player with Live NetTV
1. Download and install MX Player on Firestick.
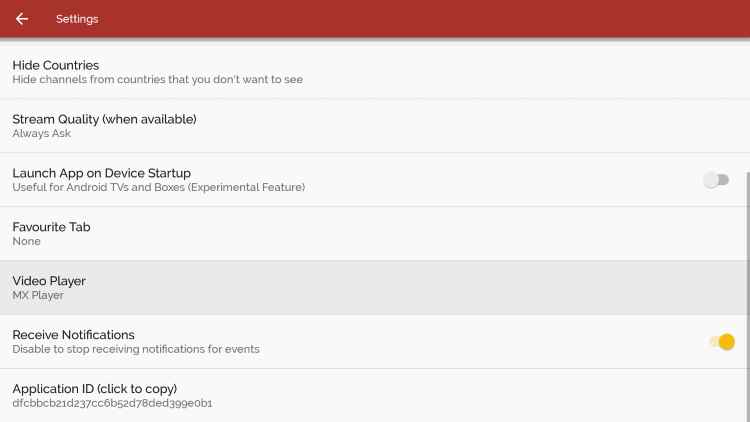
2. Launch the Live NetTV app and click on the Setting icon in the top right corner.
3. Select Video Player from the list and select MX Player.
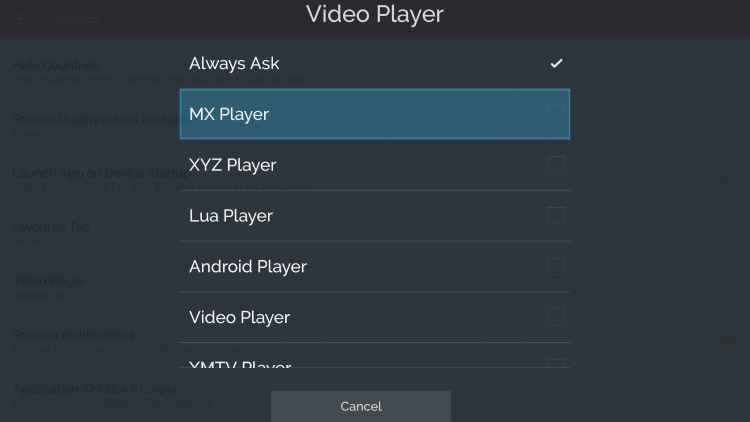
4. Now, the MX Player is set as a default video player for Live Net TV.
How to Access Live NetTV using VPN
As Live NetTV is installed using a sideloading process, you can use a VPN for hassle-free streaming and complete privacy.
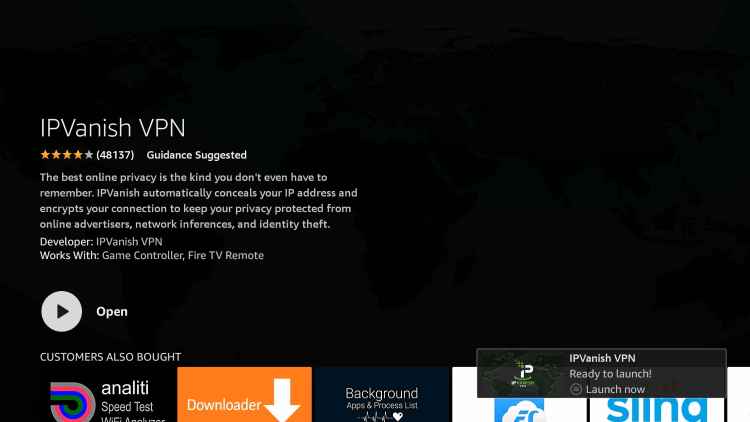
1. Go to the Amazon App Store to install IPVanish VPN on Firestick.
2. Click Open to launch the app.
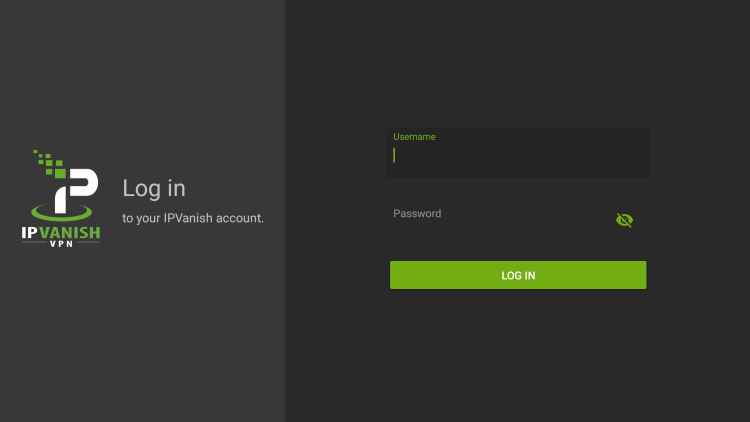
3. Sign in with your IPVanish account credentials.
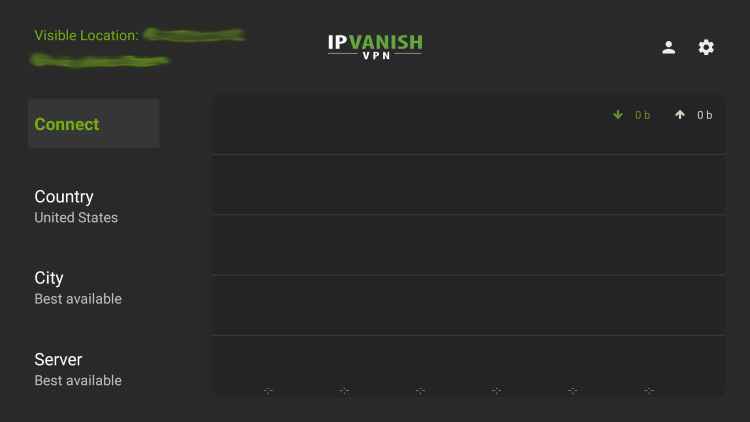
4. Select the server that you prefer to connect to and click Connect.
5. Click Ok to confirm.
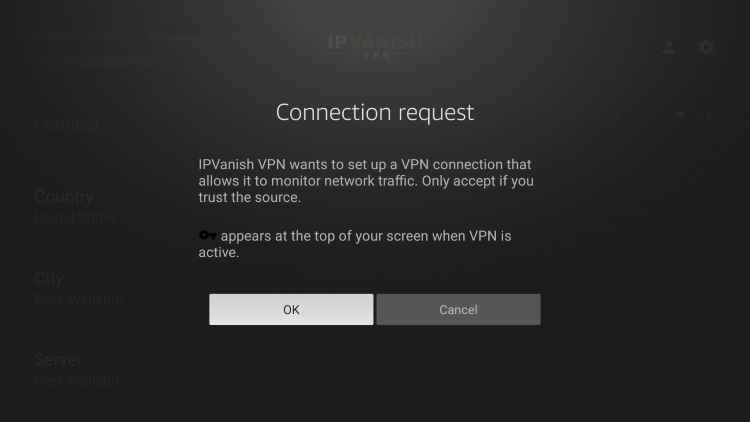
6. Once connected, launch the Live NetTV app and start streaming your favorite title.
Live NetTV Alternatives
Here is a list of the best alternatives for Live NetTV.
Frequently Asked Questions
Not defined. We aren’t able to find if Live NetTV has an official license for broadcasting content from different channels. Hence we recommend using VPN.
If in case you don’t find audio playing along with the video, then check if the A/V receiver is turned on. You may turn Off Dolby Digital Plus to fix this up. Also, unplug the HDMI cable from Fire TV and TV and plug it back.
You can stream live TV on the Live NetTV app. However, the quality of the video content is mostly standard definition quality.
If you see any update icon, click on it or simply uninstall and install the latest version of the app.
Connect your device with a secure VPN and try again.


