Yoda is a famous video addon named after Star Wars legendary character Jedi. Yoda is the fork of Covenant and Exodus addon. The addon has different menu types like movies, TV shows, My Movies, TV Shows, Documentaries, etc. Thus, the interface is easy to understand and navigate without any complications. It is one of the top-rated Kodi add-ons with a good number of streaming links. You can install Yoda Addon on all Kodi-compatible devices like Android and iOS smartphones, Windows and Mac PC, Amazon Fire Stick, and other smart TVs.
How to Download Yoda Addon on Kodi Leia / Krypton / Matrix
Follow the installation procedure of the Yoda addon in the section below.
Configure Kodi
As Yoda is an unofficial addon, Kodi users need to tweak its settings first to install it.
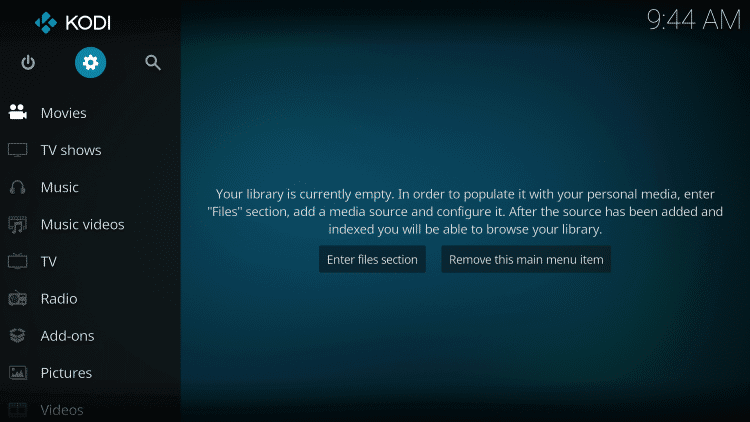
1. From the home screen of Kodi, choose the Settings or Cog icon.
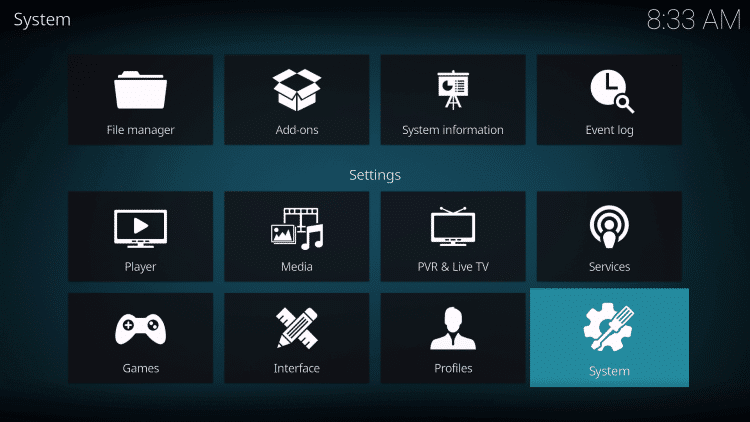
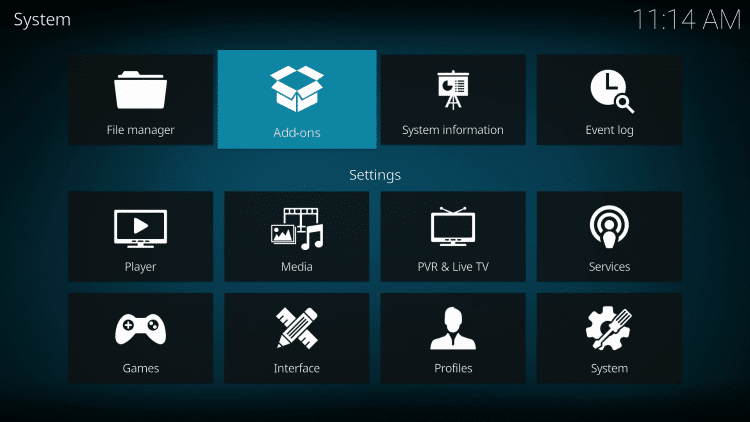
2. Hover to select System/System Settings.
3. Go ahead to highlight Add-ons. On the right side, select the slider next to Unknown Source to enable it.
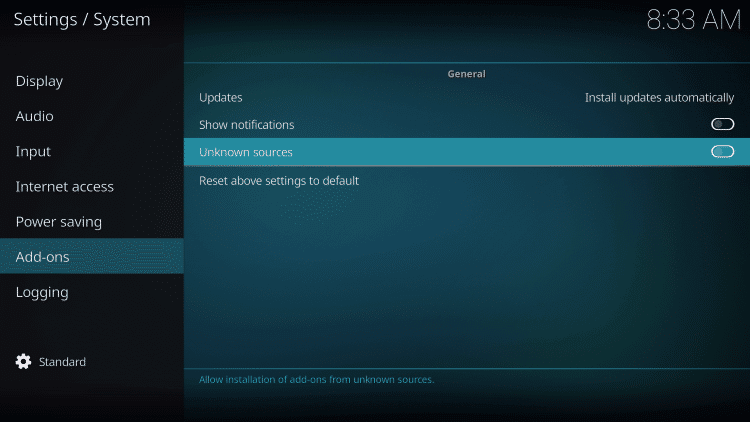
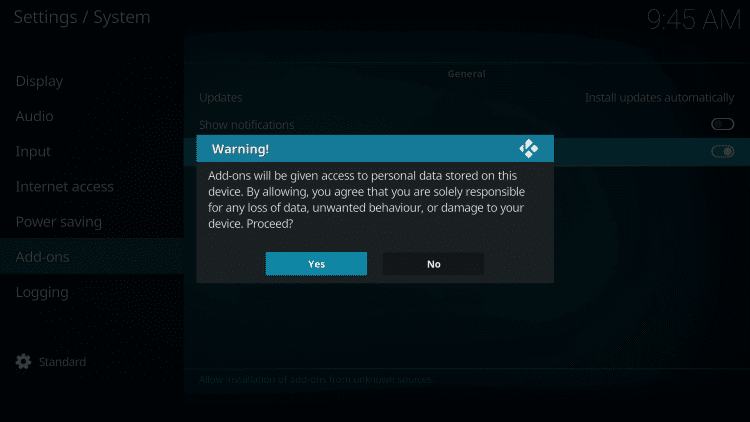
4. If Kodi shows you a warning pop-up, choose Yes to accept and proceed.
Steps to Add Repo Source of Yoda to Kodi
It is vital to add the repo source associated with Yoda to install it on Kodi.
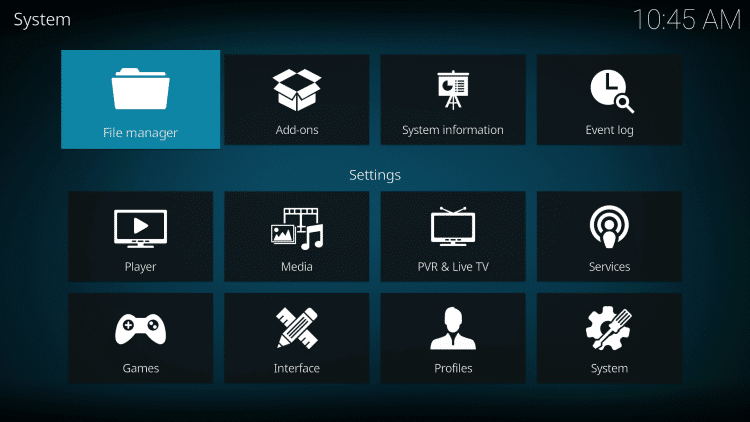
1. Go to Kodi Settings from its home screen.
2. Choose the File Manager tile on the system screen.
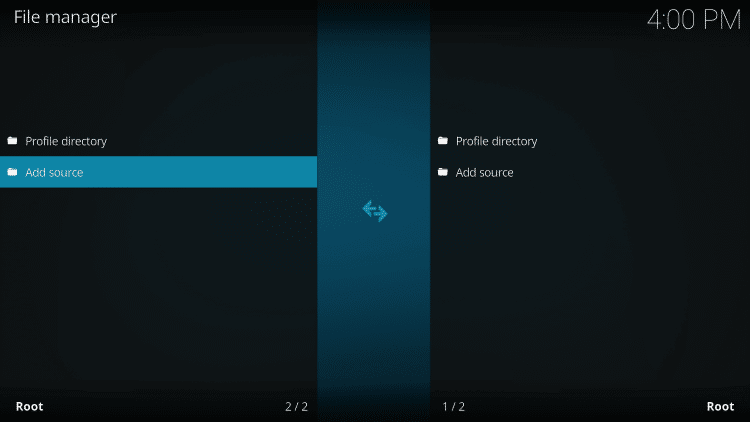
3. Highlight and select Add source on the right or left panel.
4. If you get Add file source dialog, select <None>.
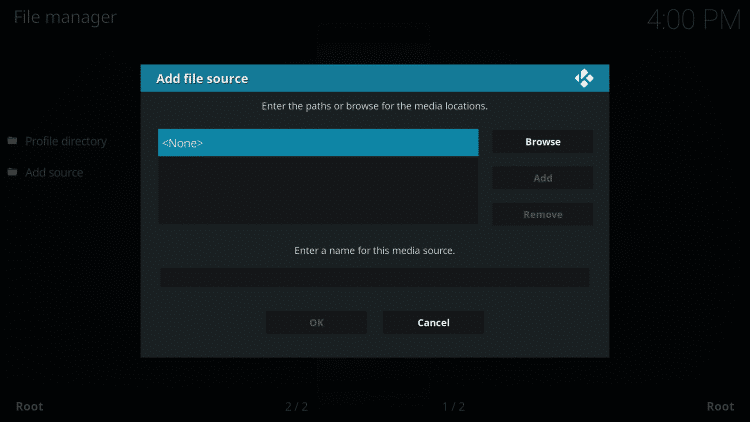
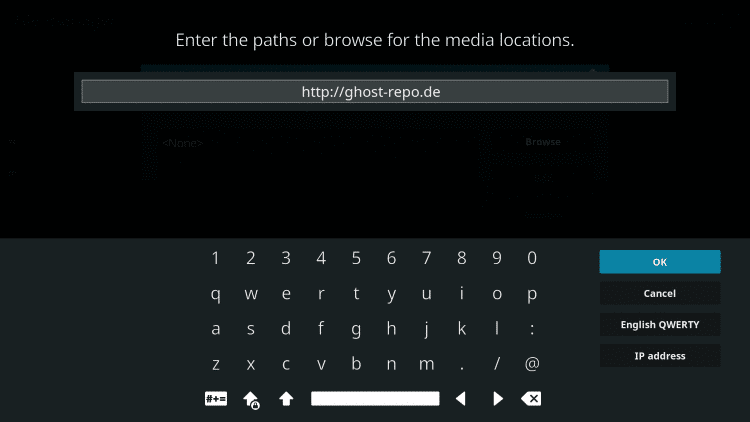
5. Provide the URL of Ghost repo as http://ghost-repo.de and press OK.
6. On the media source name field, type Ghost and click OK.

How to Get Ghost Repo & Yoda Addon
Once after adding the repo source, you need to install it to proceed with the Yoda addon’s installation on Kodi.
1. On the Kodi home screen, select Addons from the left panel.
2. Select the Package Installer from the top (under the Kodi logo).
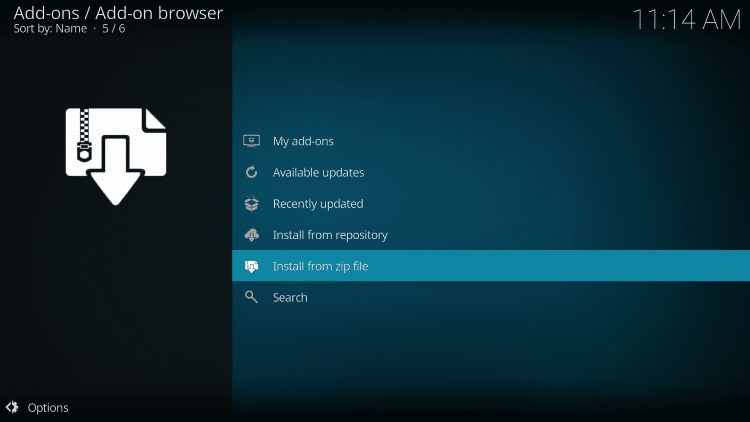
3. Scroll to click on the Install from zip file option.
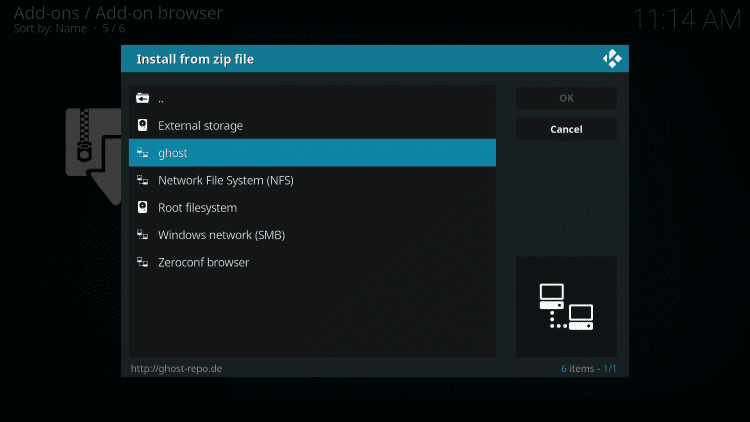
4. Look for the name of the media source and select it. We have provided as Ghost.
5. On the following window, click the zip file related to the Ghost repo with the latest version.
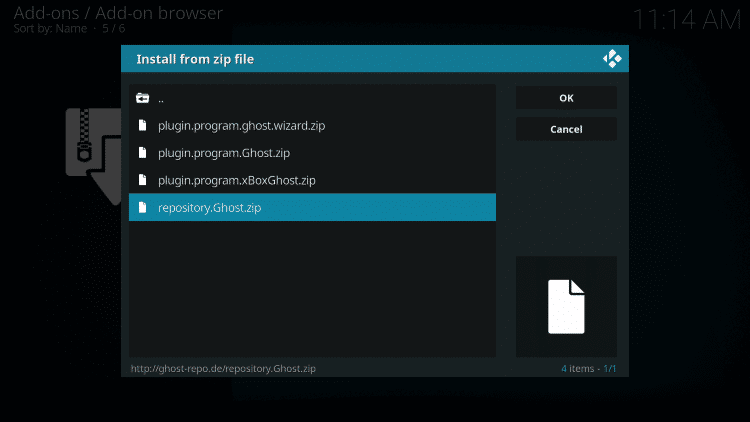
6. After the installation, you will find the Ghost repo addon installed notification.
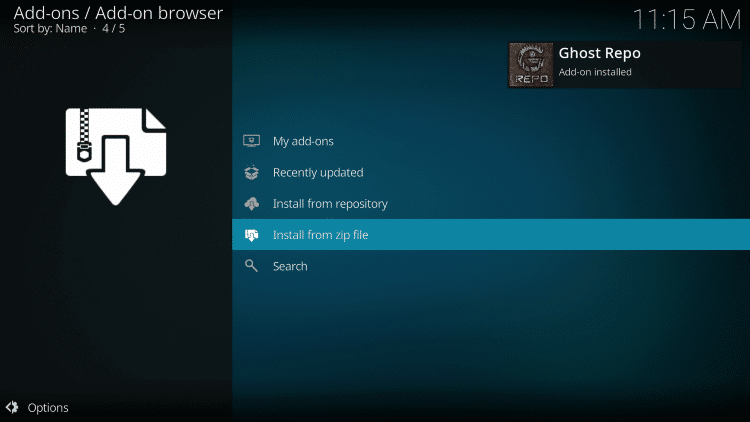
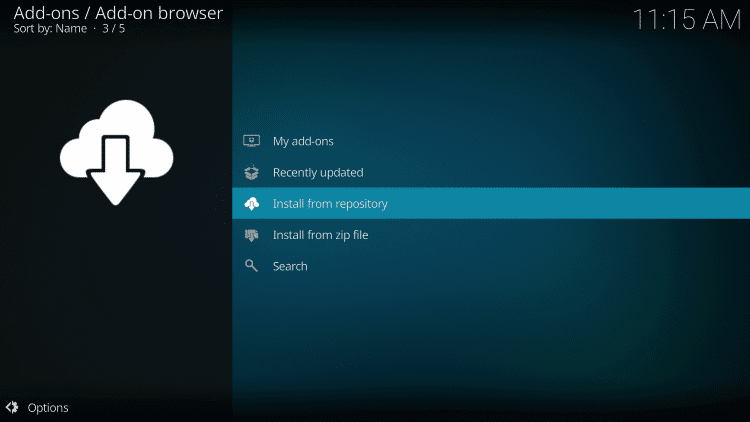
7. On the same window, choose Install from the repository.
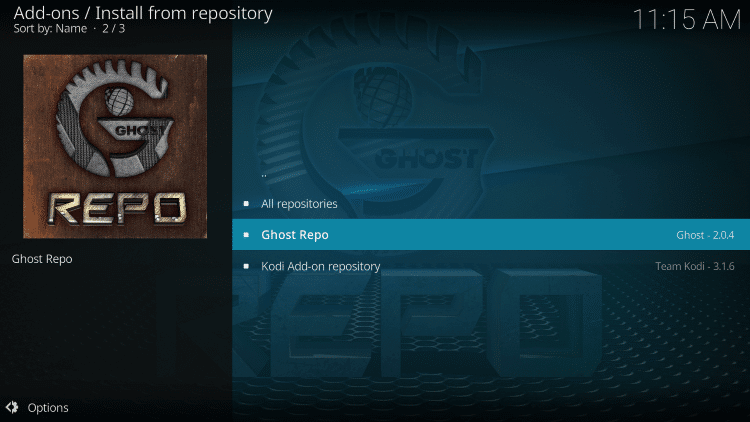
8. On the list of repositories, select Ghost repository.
9. Click on the Video add-ons option.
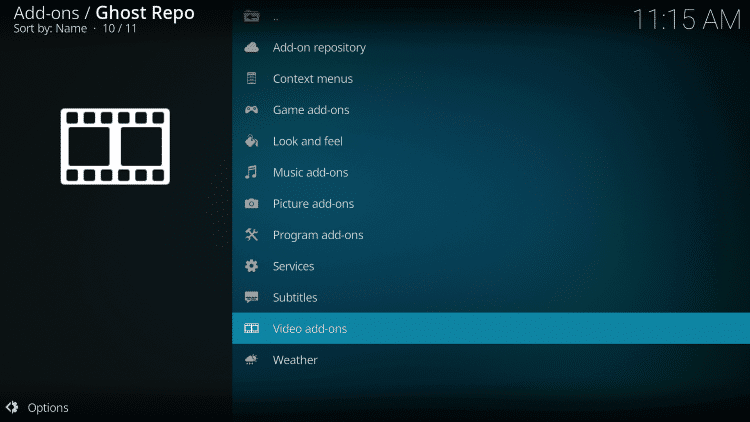
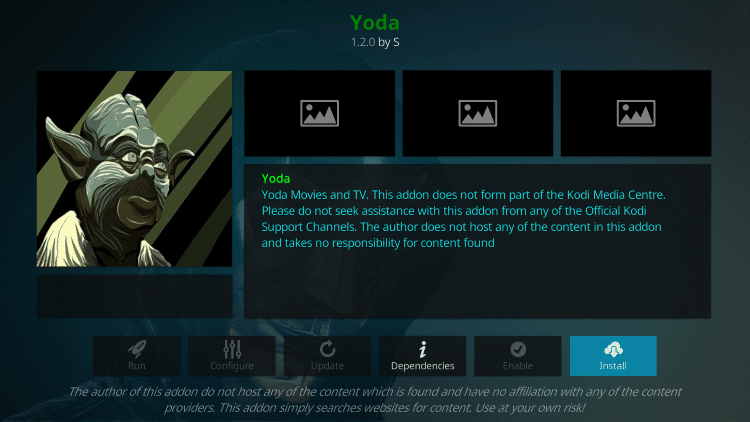
10. Navigate until you see Yoda and select it.

11. Click the Install button to download the addon.
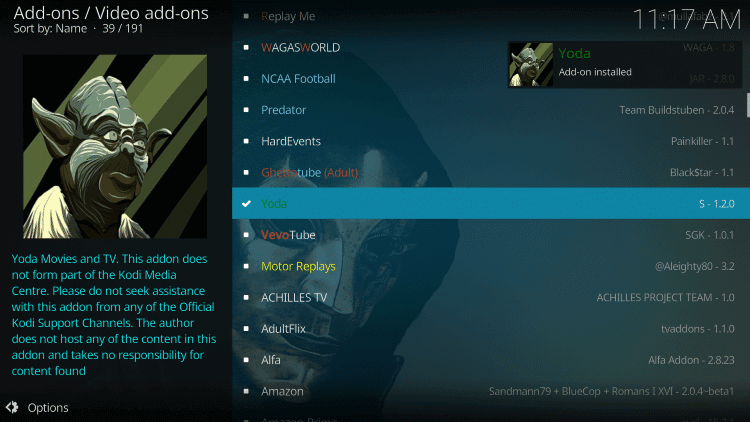
12. Wait for the Yoda addon installed notification to appear on the top-right.
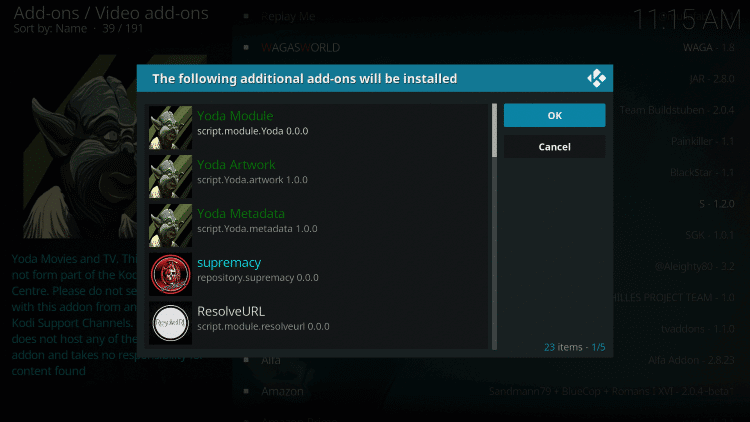
13. Click OK if you get the dialog box that displays the following addons installed.
14. With this, the addon has been successfully installed on your Kodi device.
Why Use VPN with Kodi?
As a Kodi user, you should connect the device to a Kodi VPN. It is all you need to unlock ISP throttling, geo-restrictions, government surveillance, etc. As streaming contents from illegitimate sources attract copyright laws, it is better to use a VPN. It is absolutely helpful if you happen to stream such content unintentionally. VPN will hide your online identity, and you will stay anonymous online. With this, your private data remain hidden and anonymous.
How to Use Yoda Addon on Kodi
The procedure below will help you navigate the Yoda addon on the Kodi-installed devices.
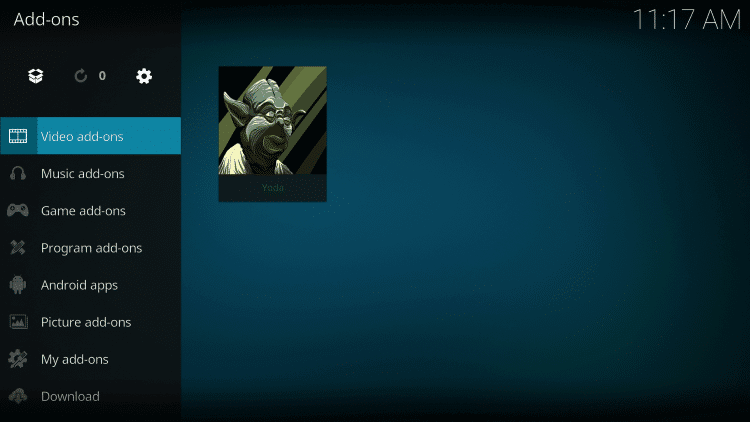
1. Launch the Kodi app and select Addons from the left sidebar.
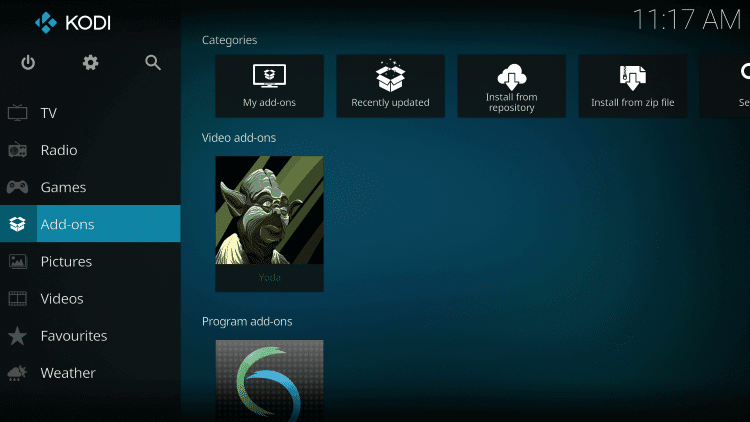
2. Choose Video addons and click on the Yoda addon tile.
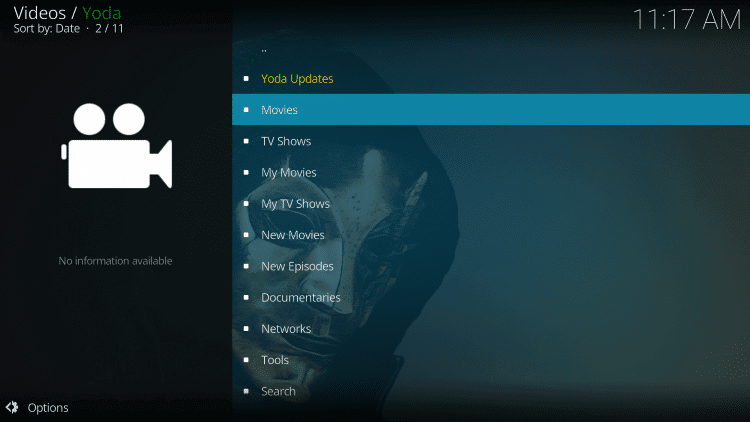
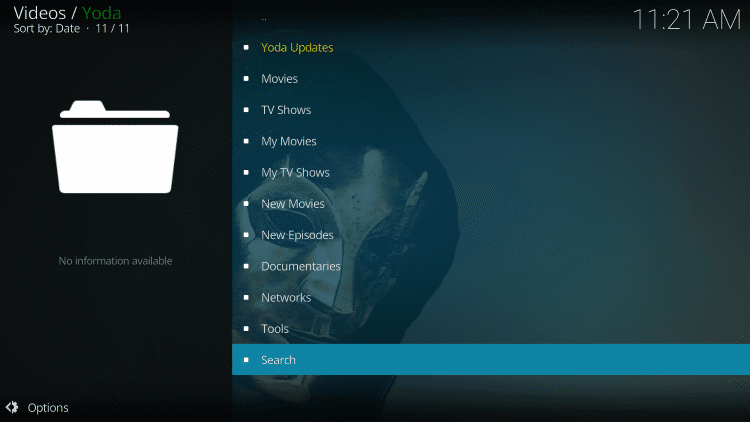
3. When it opens up, you can start streaming movies and TV shows. You will find the following menu options.
- Movies
- TV Shows
- New Movies
- New Episodes
- Documentaries
- Tools
- Search
How to Link Yoda Addon with Real Debrid
As the Yoda addon is Real Debrid compatible, the below section will help you with its integration. Make sure you have created a Real Debrid account to proceed.
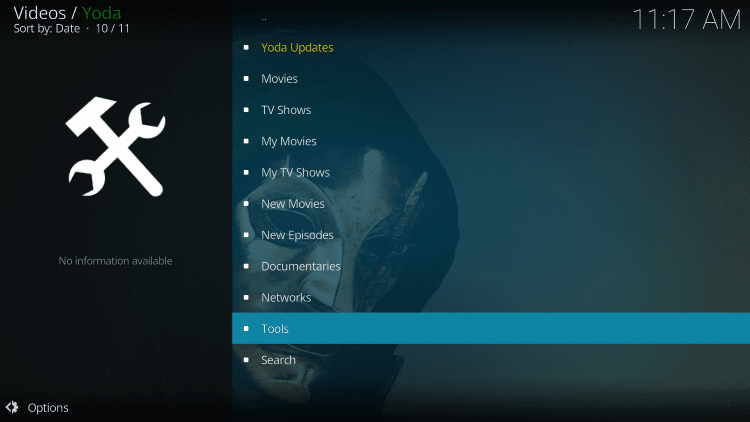
1. Open the Yoda addon and navigate to select Tools.
2. Choose URL Resolver Settings.
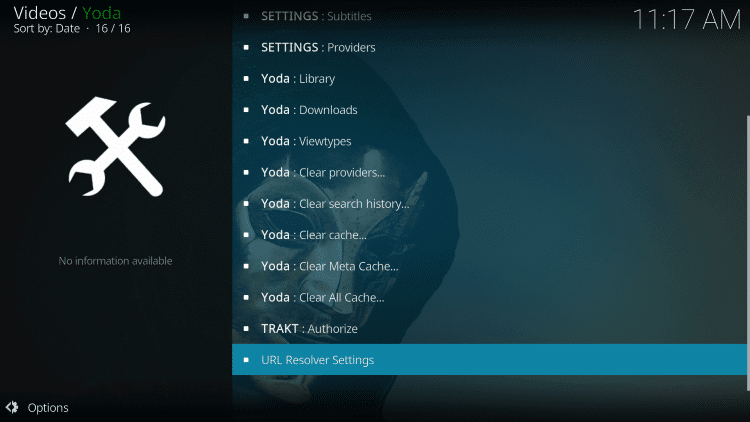
3. Highlight Universal Resolvers and select (Re)Authorize My Account.
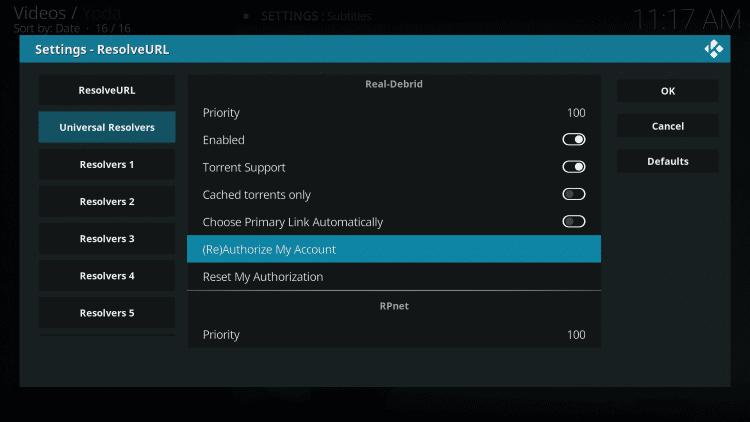
4. Note down the code as shown on the screen.
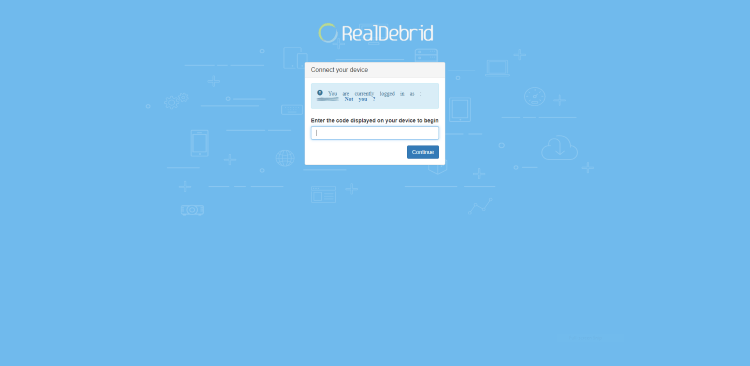
5. Launch the browser on a PC/phone to visit https://real-debrid.com/device.
6. Provide the code as you have noted and click Continue.
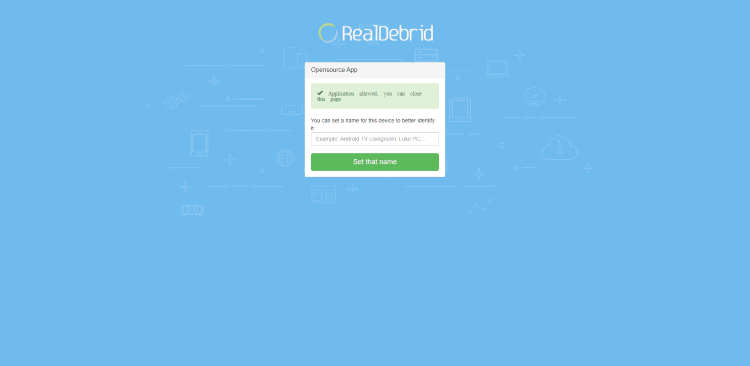
7. When the application is approved, you shall get back to Yoda addon to search for content.
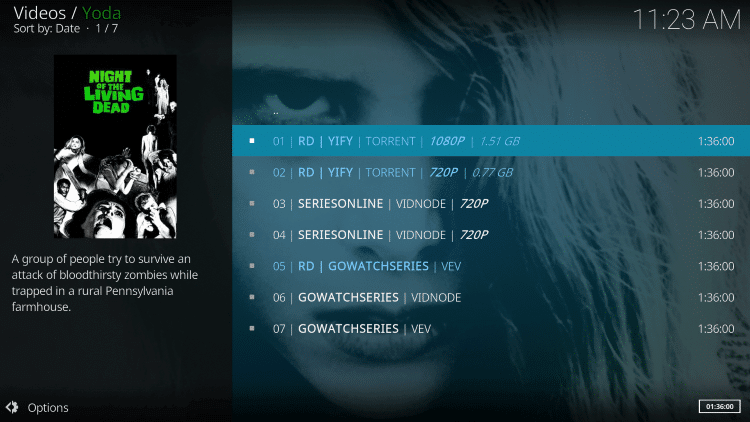
8. Use the menu to access the respective content or select Search to look for any content.
9. Choose the Real Debrid link with RD in the link name to stream the movies or shows.
Best Alternatives
You can check out any best alternatives for Yoda Kodi Addon like
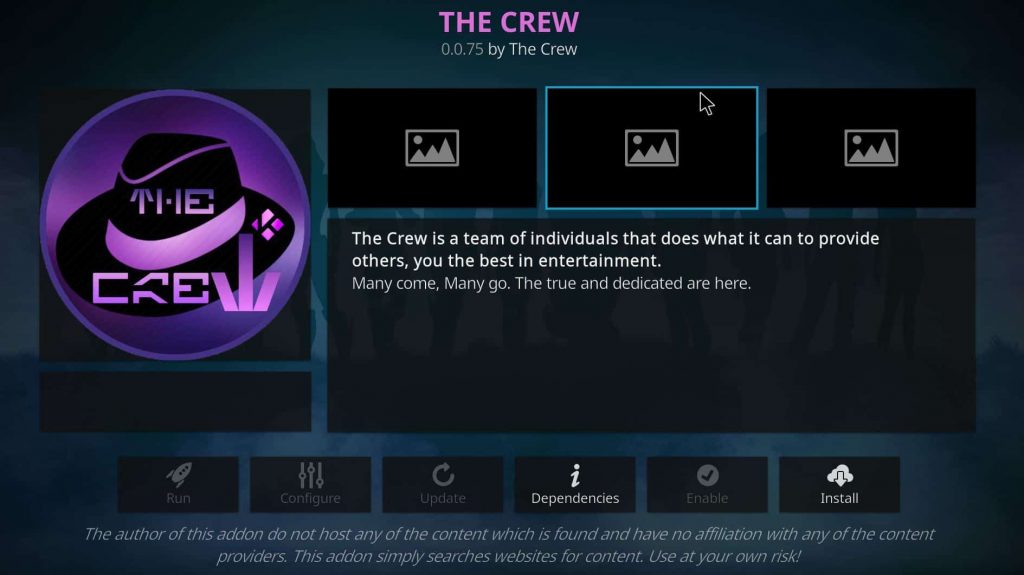
Crew Kodi Addon: It is one of the on-demand Kodi add-ons with a massive collection of movies, TV shows, music, stand-up comedy shows, etc. The Crew addon also supports a Real-Debrid account.
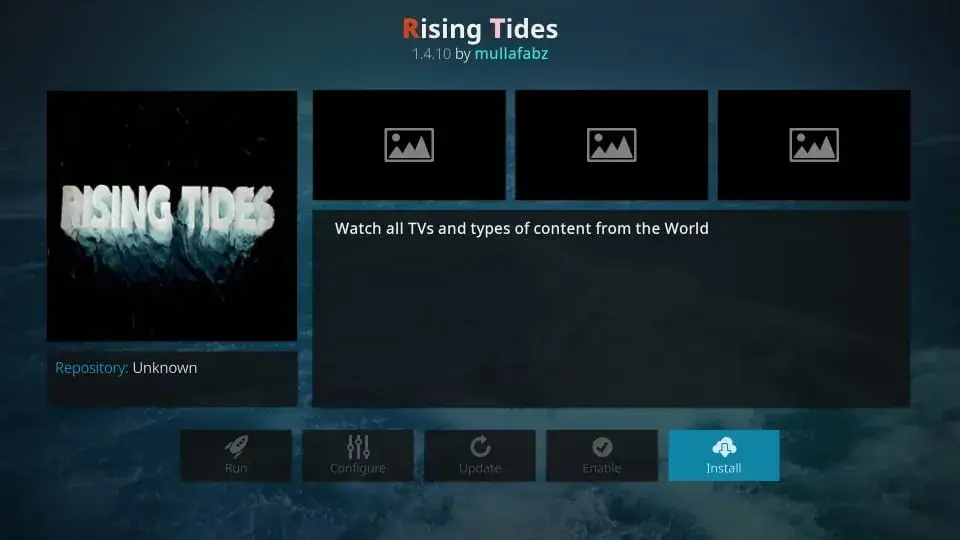
Rising Tides Kodi Addon: You can stream live sports events using Riding Kodi Addon with good streaming quality. Moreover, it also streams match highlights, events, and more.
Magic Dragon Kodi Addon: It is one of the best Kodi Addons with a huge category list that includes movies, Eal Debrid movies, TV shows, documentaries, Kids, Music, Radio, etc.
Frequently Asked Questions
Yes, you can get all the links to Yoda Kodi Addon to get it on your device.
To upadte Kodi addon, go to Settings > System Setting > Addons > select the addon > check for update. If you find any, click upadte.
Yes. Yoda can be accessed with Trakt integration with its subscription. With this, you will get access to faster streaming in HD quality.