If you are looking for a no-cost alternative to any popular streaming services, Kodi tops the list. It is a free and open-source app to watch TV as per your streaming requirement. Kodi has lots of addons and is one reason for its huge userbase. With the right-Kodi addon, users will be able to stay-tuned to almost any content. Of which, Exodus was the best Kodi addon that had been shut down officially. Those looking for alternative ways to use Exodus on Kodi can read the section further.
Note: The installation procedure given below applies to Kodi compatible devices like Android, Firestick, Android TV, Mac, Windows PC, etc.
What is Exodus?
Exodus was one of the most popular Kodi add-ons. It offered quite a massive number of movies, TV shows, kids shows, documentaries, etc. However, the original Exodus addon was shut down by the developer. Later, it was revived by the independent developers and thus getting regular updates. It has lots of filtering options for each category. With Exodus Redux, you get access to high-quality streams, best scrapers, huge content library, etc.
Important: Exodus V8 isn’t working as the Base repo is currently down. Hence the below section uses Exodus Repo.
Installation Guidelines of Exodus on Kodi
After jailbreaking Firestick, you shall proceed with the steps below to get Exodus addon.
Configure Kodi
Exodus isn’t available officially on Kodi and you should enable Unknown Sources to install it.
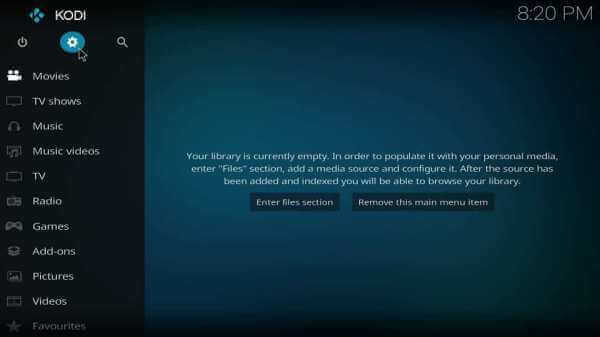
1. Launch Kodi and navigate to click on the Settings (cog) icon from the top left.
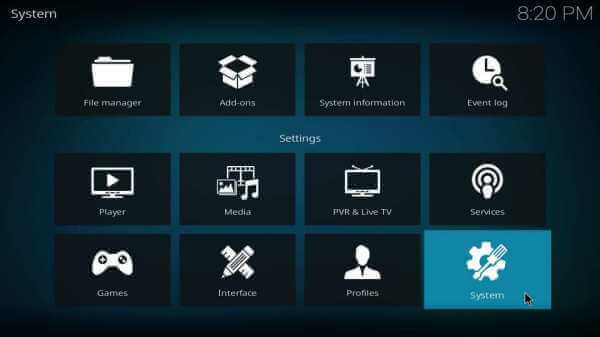
2. Using navigation keys, select the System tile under the settings section.
3. Highlight Add-ons on the left panel. Tap the slider next to the Unknown Sources on the main pane to Turn On.
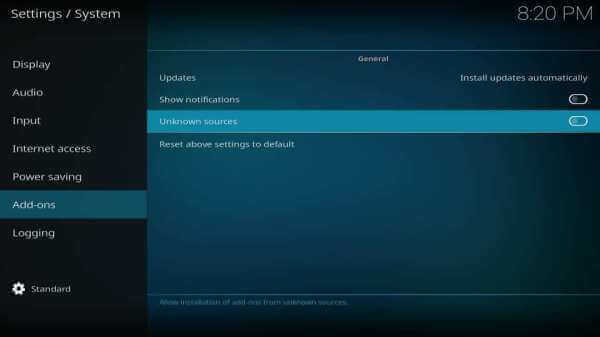
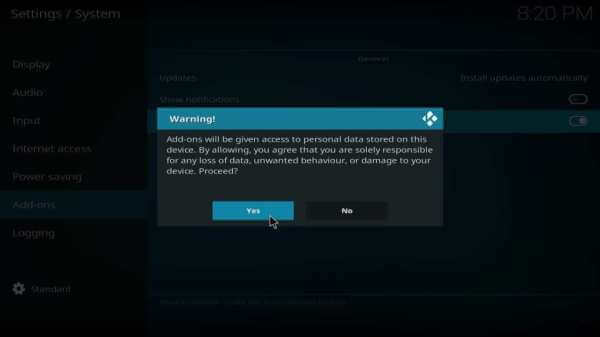
4. Select Yes when Kodi displays the warning message about third-party addons.
Steps to Add Exodus Redux Repo Source on Kodi
When the above changes are done, you shall proceed with adding the repo source of Exodus.
1. Start from the home screen of Kodi and click on the Settings icon.
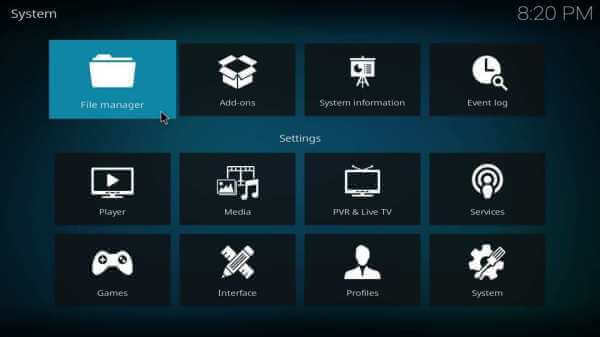
2. Choose the File Manager tile on the System window.
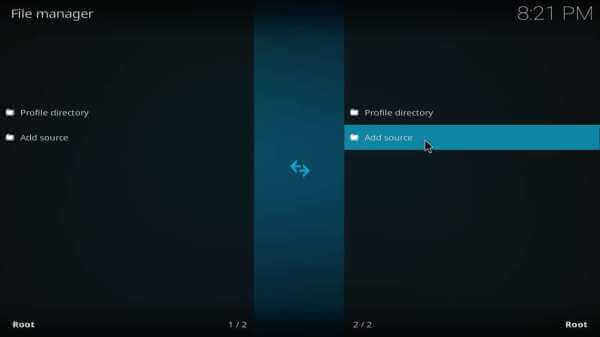
3. You need to select the Add Source option.
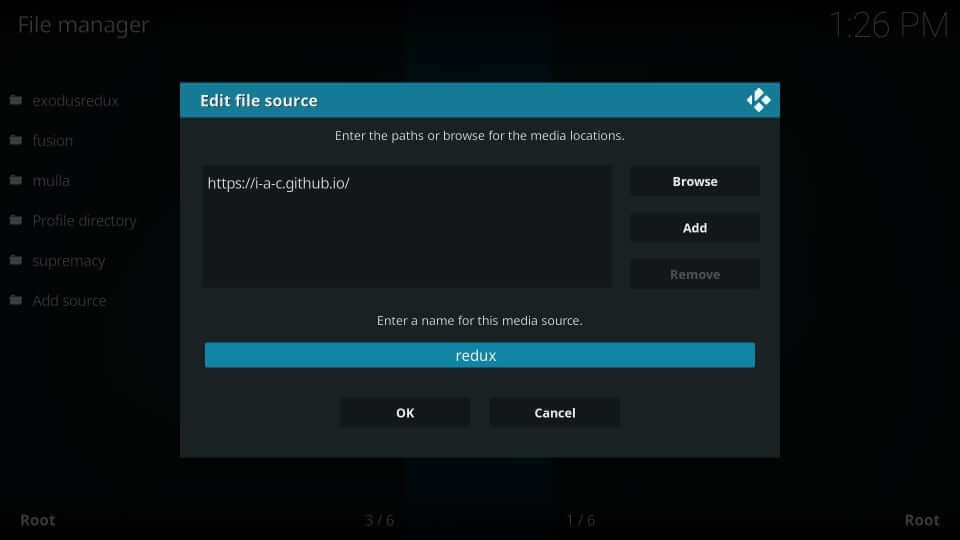
4. On the Add file source dialog box, select the <None> option.
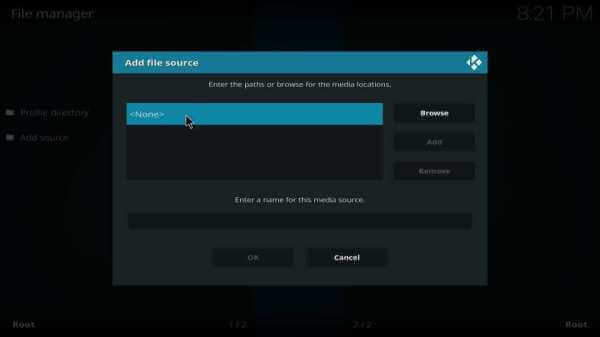
5. When the on-screen keyboard appears, enter the URL of Exodus Repo and click OK.
Exodus Repo URL: https://i-a-c.github.io

6. Enter the media source name as Redux and press OK button.
Steps to Install Exodus Kodi Addon
The section below will help you with installing the Exodus repo and Exodus addon in steps.
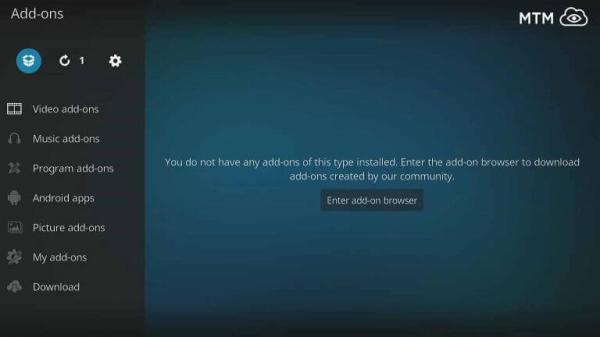
1. Get back to the System window of Kodi to choose the Add-ons tile.

2. On the left panel, select the Package Installer icon.
3. Navigate to click on the Install from zip file option.
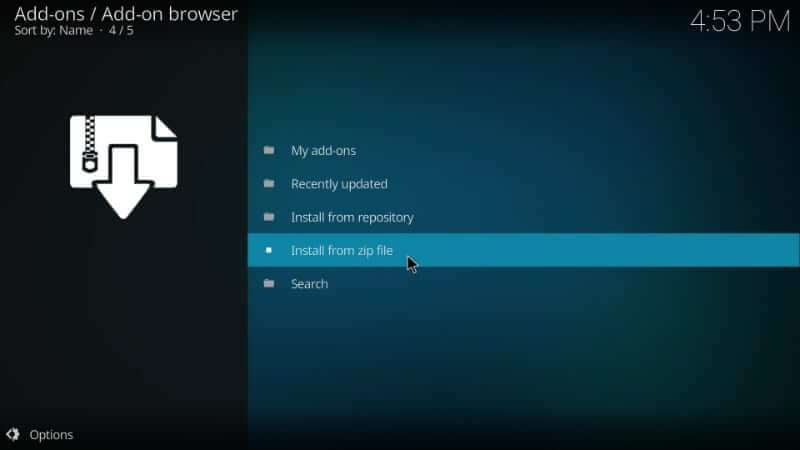
4. If you get a window with the list of add-on source name, select Redux.

5. On the following screen, choose the zip file of Exodus Redux. Press OK.

6. Allow Kodi to display Exodus Redux Repo add-on installed successfully to appear.
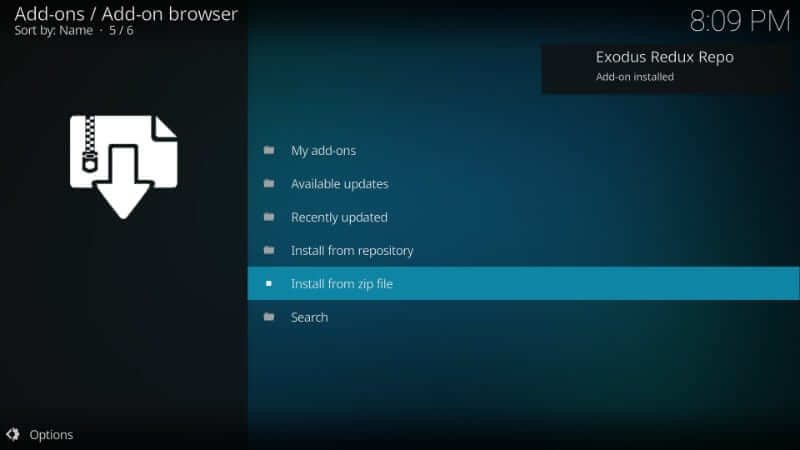
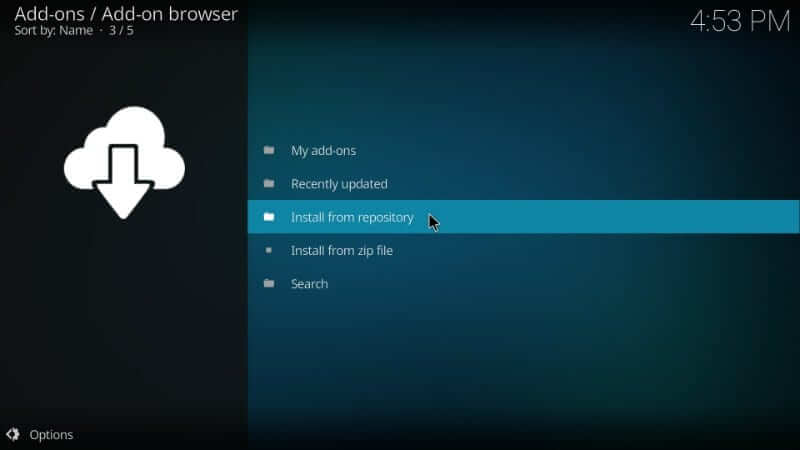
7. From the same screen, select Install from repository.
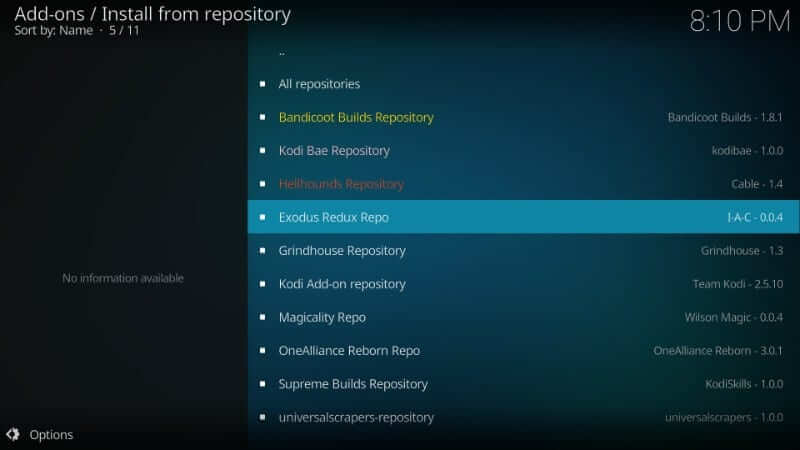
8. Select Exodus Redux Repo among the available sources.
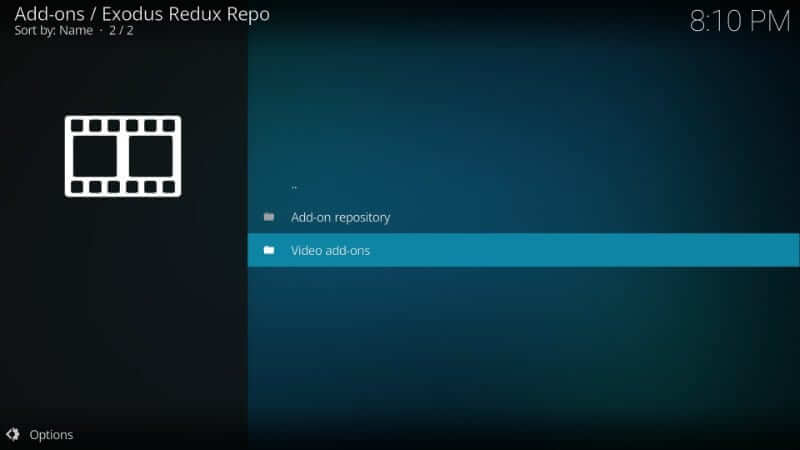
9. Choose Video add-ons on the next screen.
10. Click on Exodus Redux from the list of installed repositories.
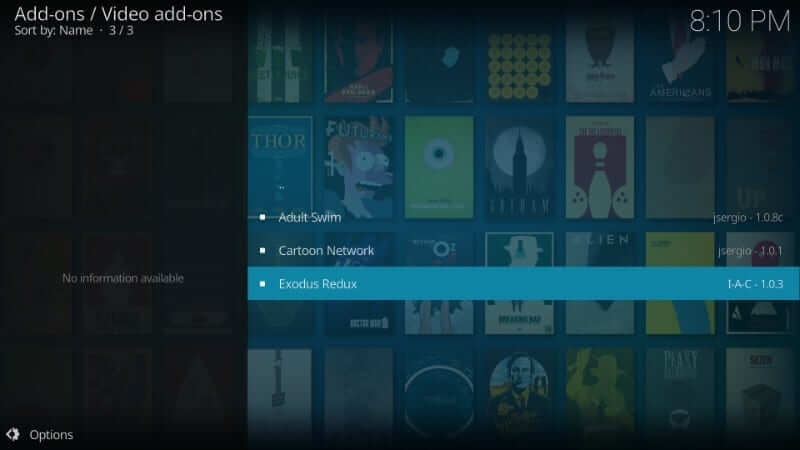
11. Select the Install button to start downloading the Exodus Redux.
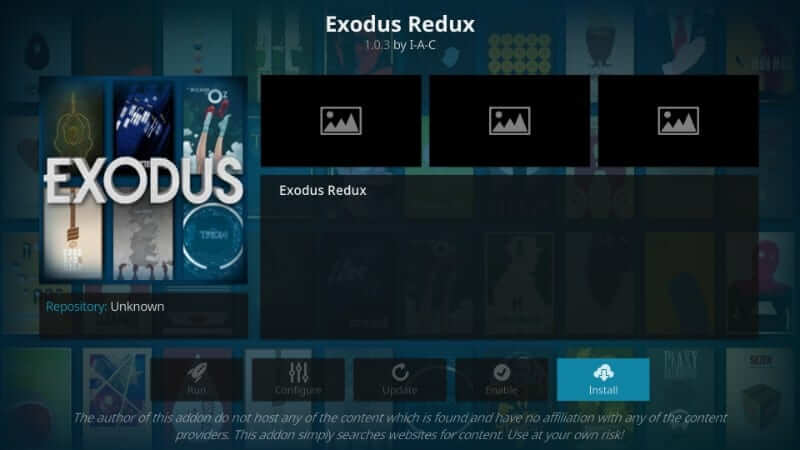
12. When the following window shows you the list of add-ons that will be installed, click OK.
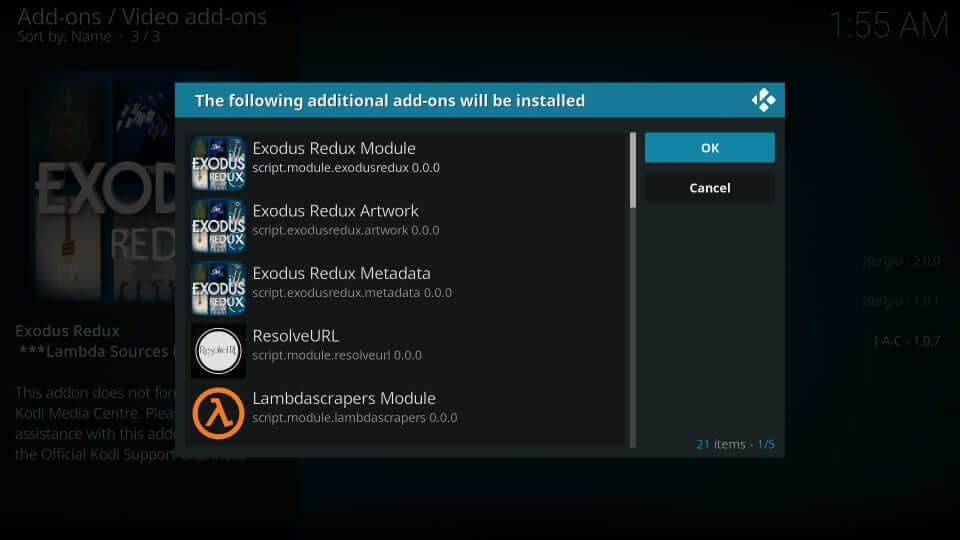
13. Wait for the Exodus Redux add-on installed notification to appear at the top-right.

Alternative Way! Install Exodus Addon using Git Browser
With Git browser on Kodi, you shall proceed with the steps as given below.
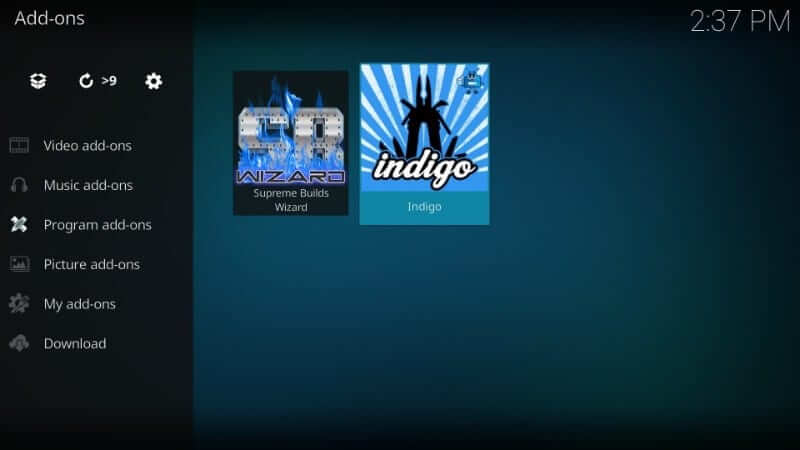
1. Launch the Kodi app on your device and select Add-ons on its home screen.
2. Choose Program add-ons to highlight the Indigo Kodi Addon to open it.
3. On the following window, select Addon Installer.
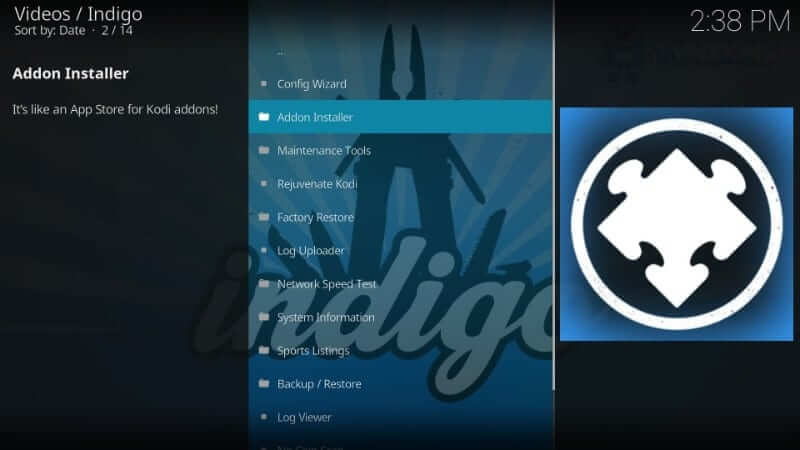
4. Click on Git Browser to proceed.
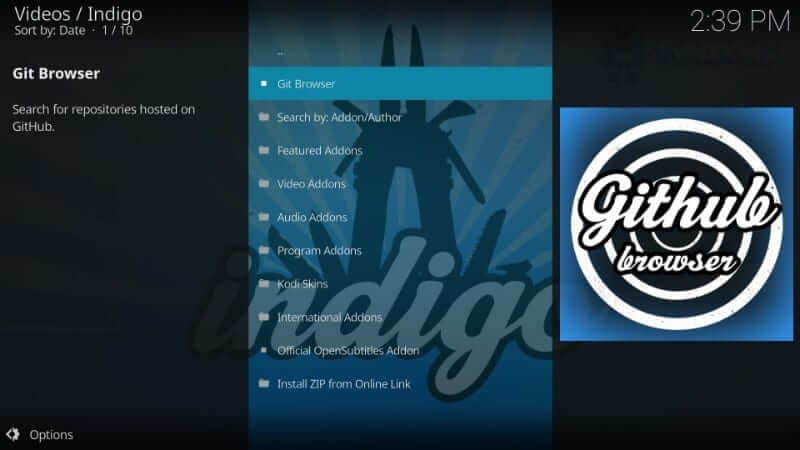
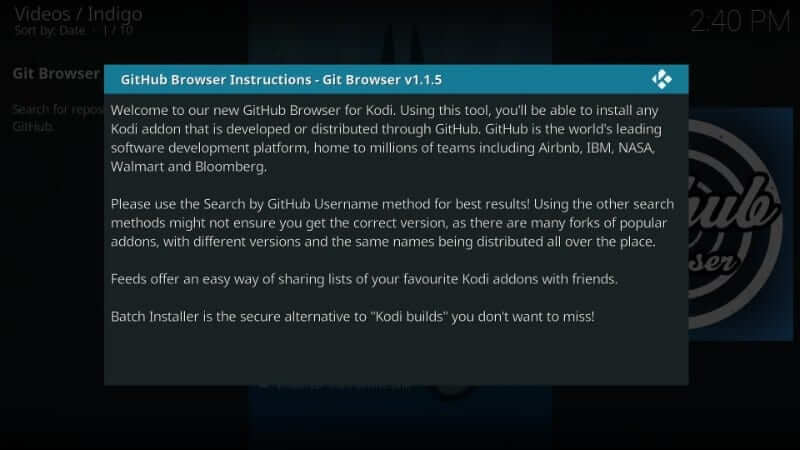
5. If GitHub Browser brings you a prompt, press OK or the Back button on the remote.
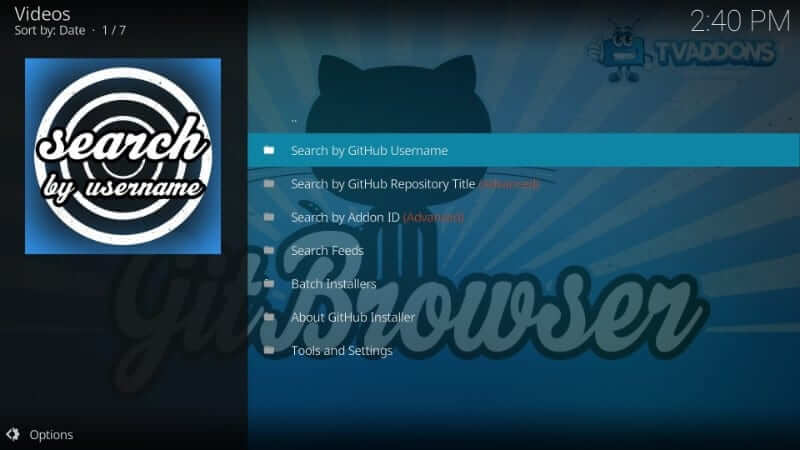
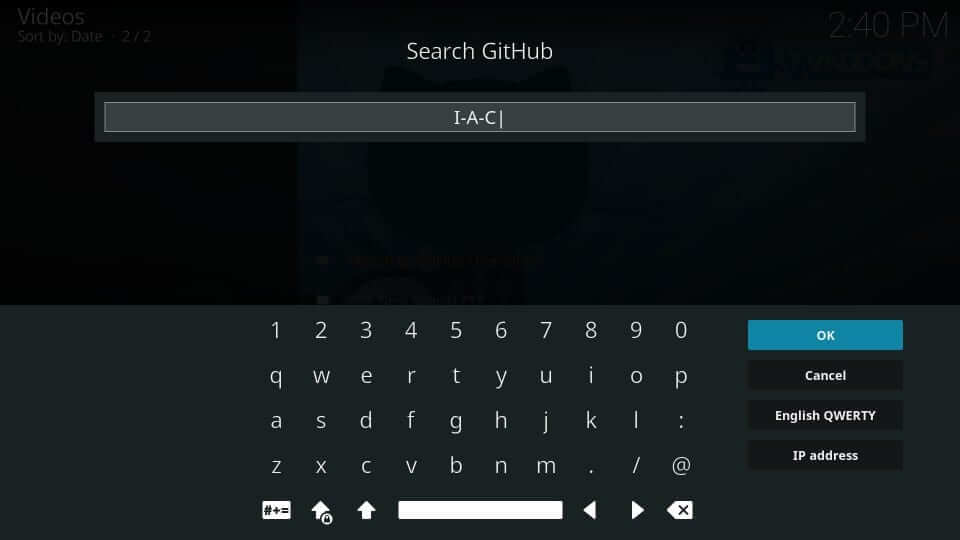
6. You need to select the Search by GitHub Username option.
7. Select the New Search option using the navigation key.
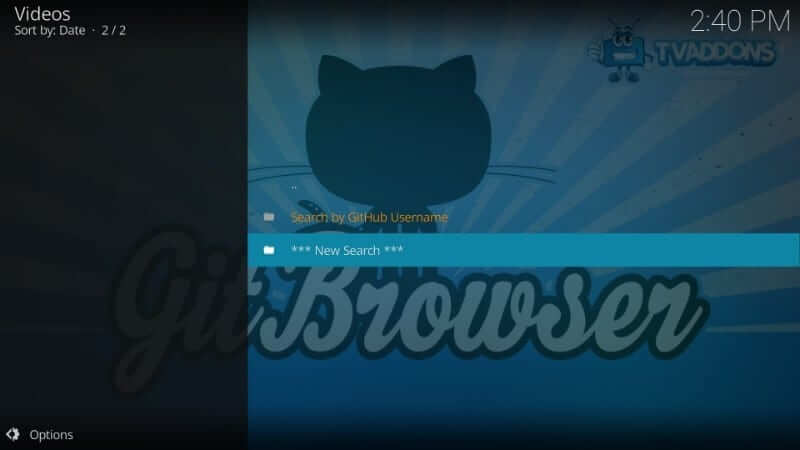
8. On the next window, enter the username as I-A-C and press OK.
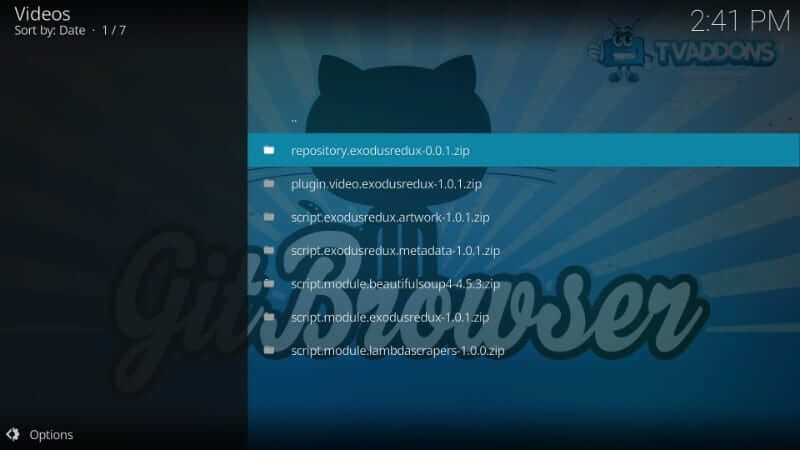
9. Now, highlight and choose repository.exodusredux-x.x.x.zip
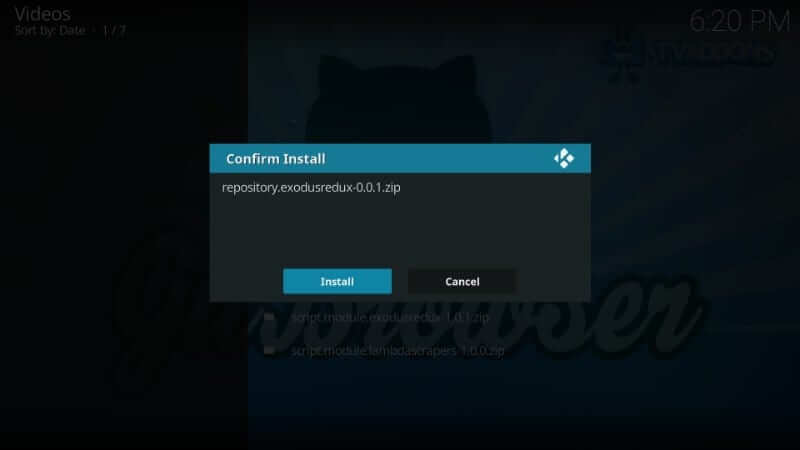
10. Click Install on the Confirm Install prompt.
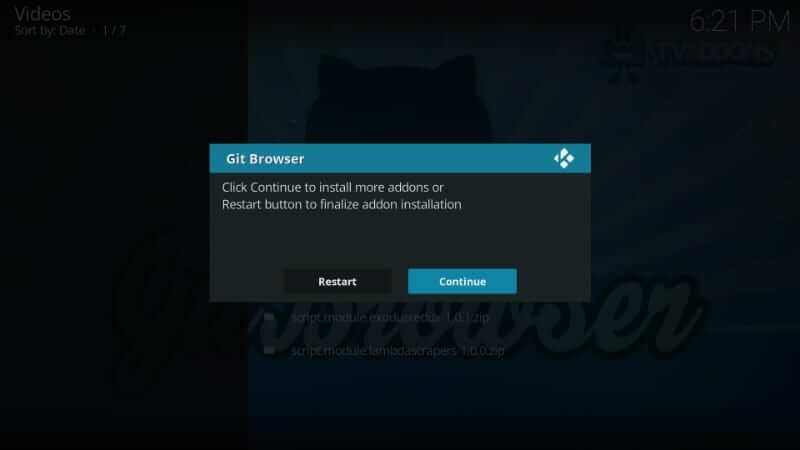
11. Select the Continue button to install more addons.
Now, go to the Kodi home screen and select Add-ons from the left pane.
12. Click on the Package Installer icon to choose the Install from repository option.
13. Use down directional keys to choose Exodus Redux Repo from the available repo.

14. Select Video add-ons and then click on Exodus Redux on the Video add-ons window.

15. Choose the Install button to download the addon.

16. When the notification appears, you have successfully installed Exodus Redux using Git Browser.
Why Use VPN on Kodi?
Kodi doesn’t hold any streaming content by default, and hence users need to rely on third-party add-ons. With this, users get a high chance of accessing content from illegal sources. i.e., streaming copyright content like movies and shows, will attract legal issues. Hence, a VPN is recommended as it keeps your online identity safe. So, your ISP provider cannot track what you stream. With VPN on Kodi, you shall stream contents without buffering, and geo-restrictions.
Guidelines to Use Exodus on Kodi
Below are the steps you need to know to start using Exodus Kodi addon on your device.
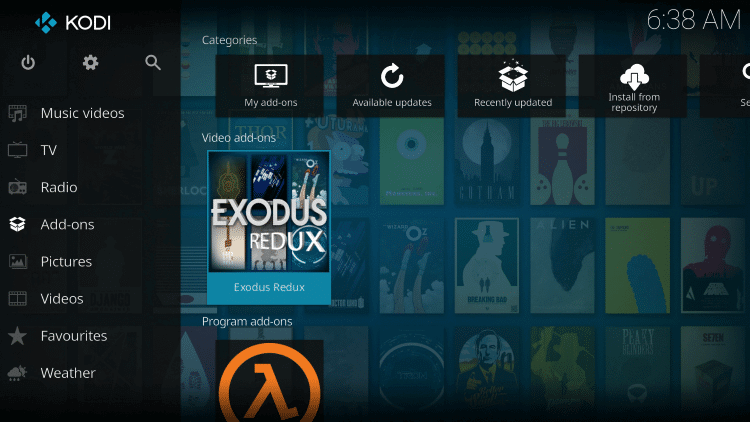
- 1. From the Kodi app’s home screen, select the Add-ons option from the left panel.
- 2. Hover to the Video Add-ons option to select Exodus on the right pane.
3. It opens up showing the list of options like
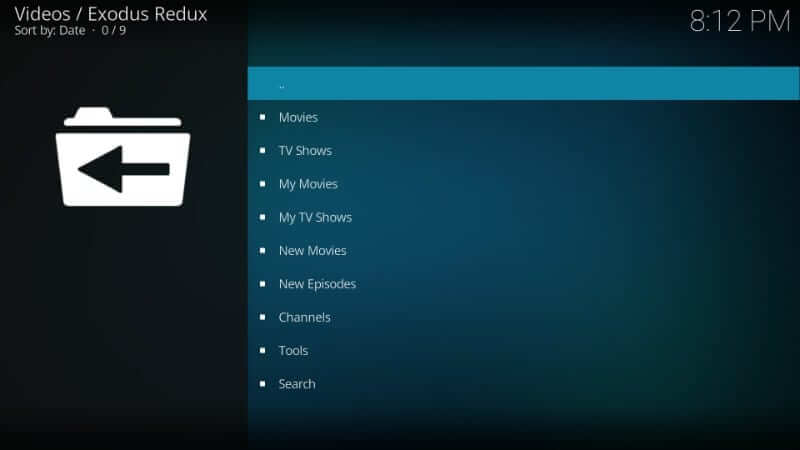
- Movies
- TV Shows
- My Movies
- New Movies
- New Episodes
- Channels
- Tools
- Search
4. Choose any category to find movies or shows to start streaming on Kodi installed device.
Guidelines to Fix No Stream Available Error on Exodus
When Exodus brings you no stream available issue, here is how you shall fix it up.
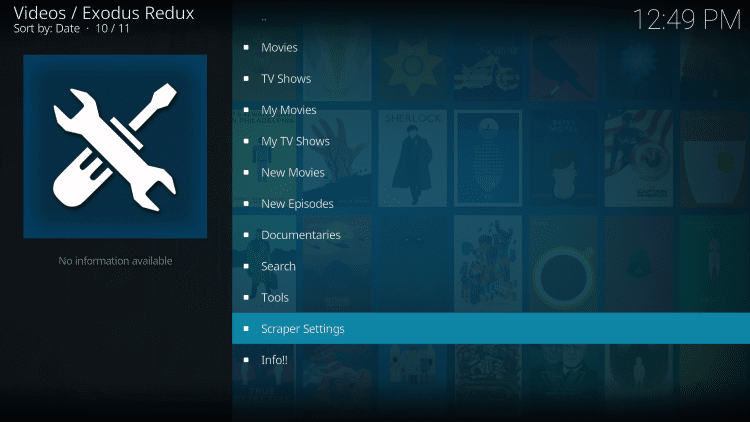
1. Launch Exodus Redux on your Kodi installed device.
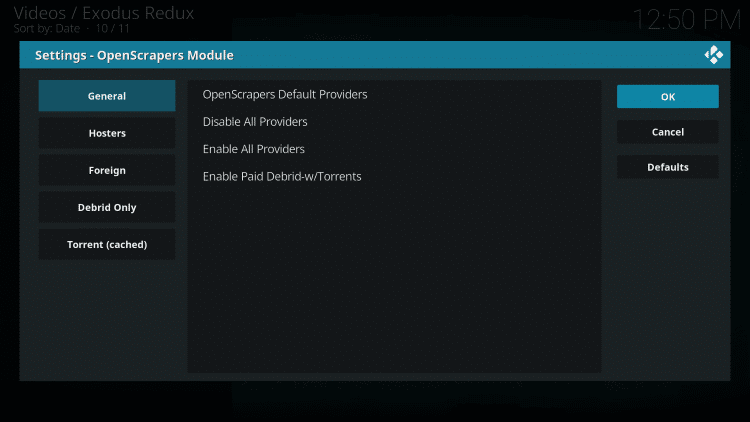
2. Select Scraper Settings from its main screen.
3. With the General tab selected, choose the Disable All Providers option.
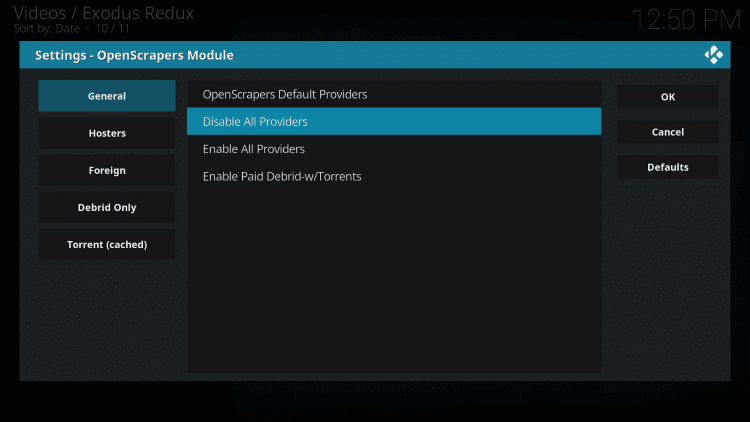
4. Click on Enable All Providers option and select OK.
Installing and accessing Exodus Kodi addon is that easy and simple with the above guidelines. Hope it was useful to you. If you have any issues, then connect with us through the comments section.
Frequently Asked Questions
What are the other sources with which you can install Exodus on Kodi?
Exodus is available on LazyKodi, Kodi Bae repo source, or by using Git Browser.
Can I update Exodus Kodi Addon?
Yes. To update, select Add-ons > Video Add-ons > Exodus > Information button. Now, click Update and wait for the update to complete.
Is Exodus legal?
Yes. Exodus is legal to use on Kodi compatible devices as long as you aren’t streaming copyright-protected content.
Is Exodus any different from Exodus Redux?
Yes. Exodus is the older version and had been shut down. Exodus Redux is the fork of Exodus and lets you stream contents as that of the Exodus.
Can I integrate Real Debrid with Exodus?
Yes. It is possible to integrate a Real Debrid account with Exodus to stream content over high-quality working links.