Kodi requires no special introduction as it is the most popular media center choice by millions. It is useful to access your local storage but is one of the best platforms to stream your favorite media from the internet. Kodi supports both audio and video tracks, and it works on most devices. As it supports a wide range of content, many users will look forward to stream titles with subtitles. In recent times, subtitles became a necessary part of any title. With the subtitles, you can take advantage of the content with lower volume, interpret languages, listen to accents, etc. You will find details about adding Kodi Subtitles here in this section.
Kodi Subtitle – An Overview
To use subtitles on Kodi, you need to rely on any subtitle services like the Opensubtitles. It is a popular service to support a wide range of languages. With this, you can stream movies and TV shows without a language barrier. For OpenSubtitles to work, you shall need to register for an account. You cannot use OpenSubtitles on Kodi without registration. To create an account, visit https://www.opensubtitles.org to click on the Register link. Upon following the screen instructions, you will end up creating a username and password.
Also see how to get Kodi 19.0 Matrix on Firestick.
How to Get Kodi Subtitles using OpenSubtitles?
The following steps will let you access subtitles on Kodi using OpenSubtitles.
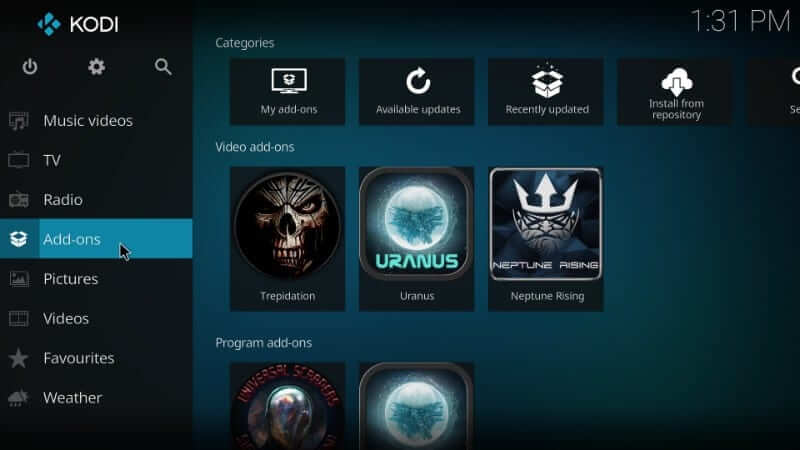
1. Initially, open the Kodi app and choose Add-ons from the left pane.
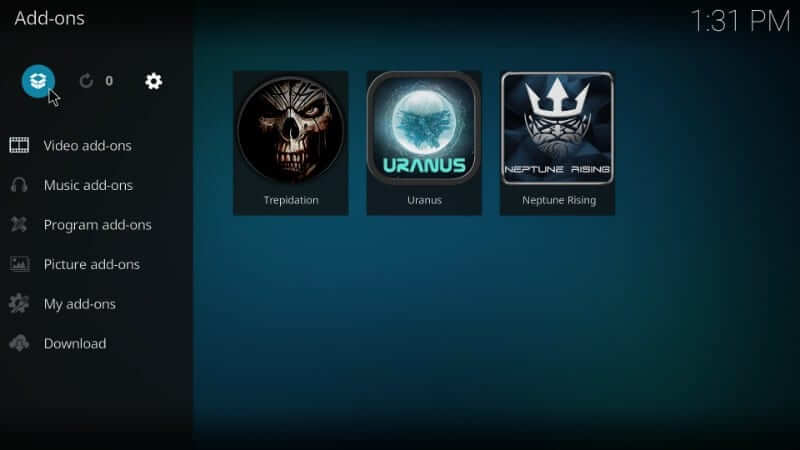
2. Select the Package Installer option from the top-most right corner.
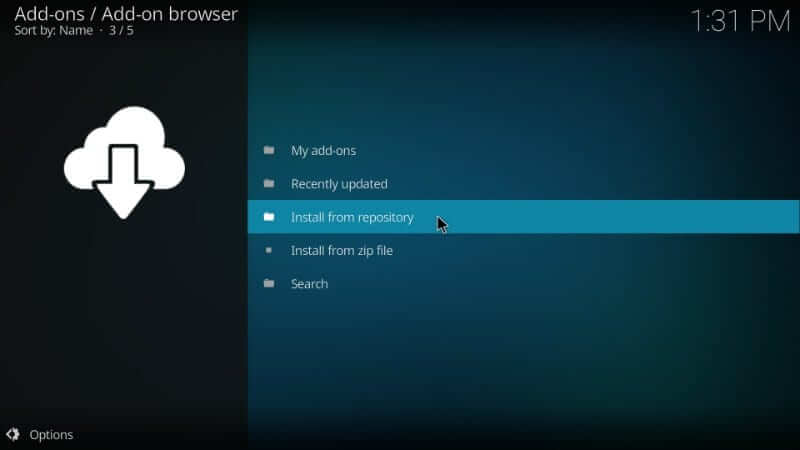
3. Now, you need to select the Install from repository option.
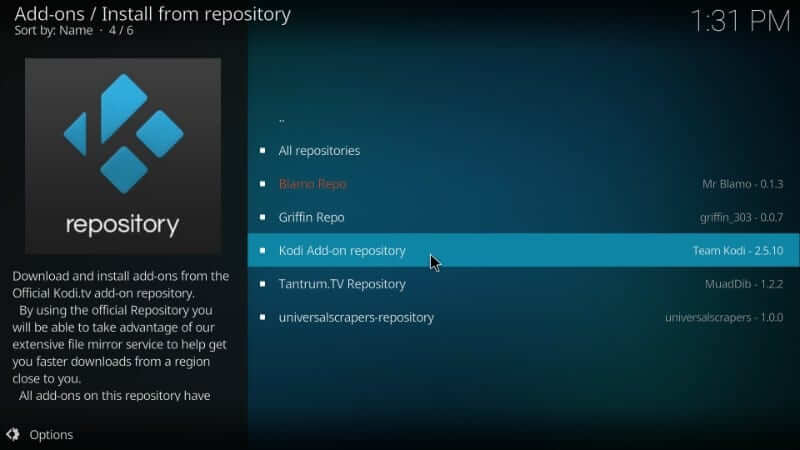
4. Navigate to click on the Kodi Add-on repository.
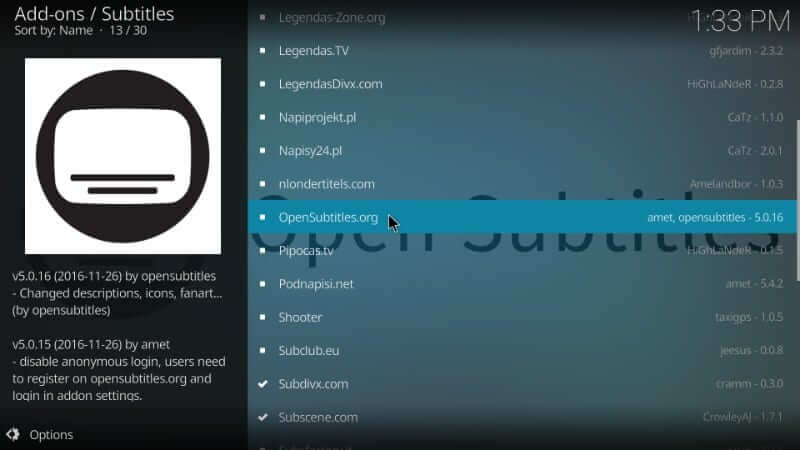
5. Choose Subtitles on the following window.

6. Hover to click on the OpenSubtitles.org option.
7. Choose the Install button on the screen that appears.
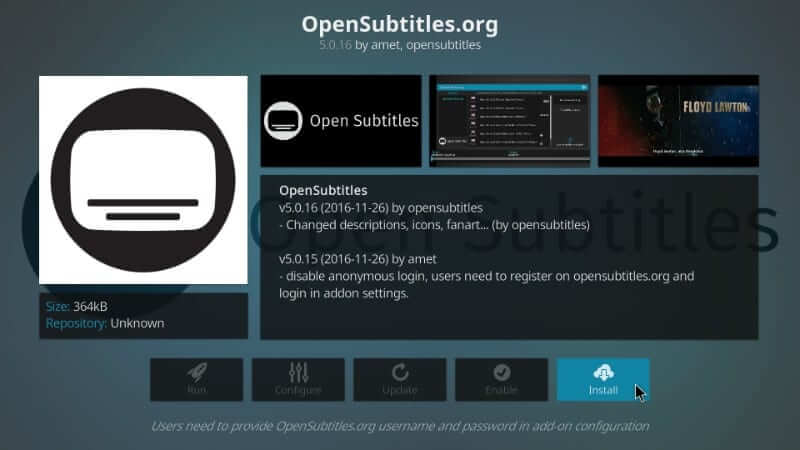
8. Wait until you see the OpenSubtitles.org add-on installed message to appear on the top-right.

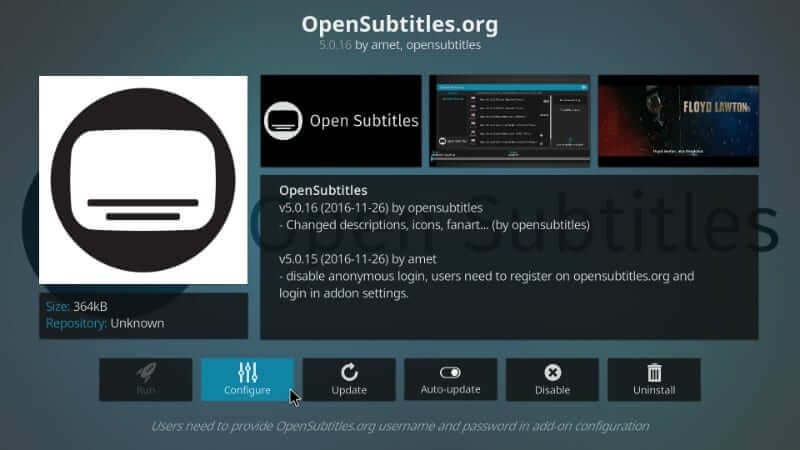
9. Click OpenSubtitles.org and then tap on the Configure button.
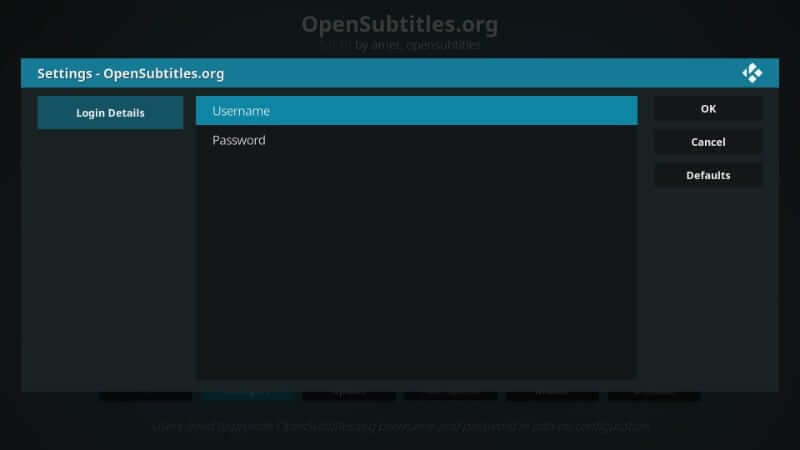
10. If you get the Settings dialog box, select Username to enter the username. Similarly, click on the Password option to provide the OpenSubtitles.org password. Select OK.
How to Enable OpenSubtitles?
It is important to enable OpenSubtitles to let it run properly. Unless you enable it in the Settings, it will not work properly.
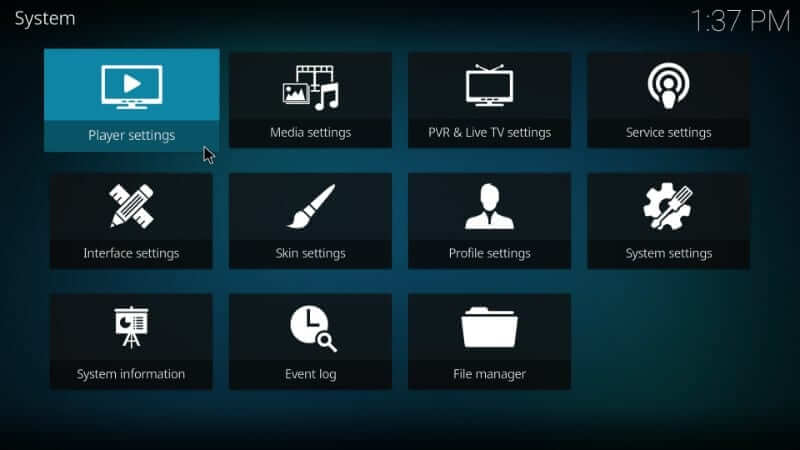
1. Go to the home screen of Kodi and choose Settings.
2. Select Player Settings or Player on Kodi Krypton or Leia.
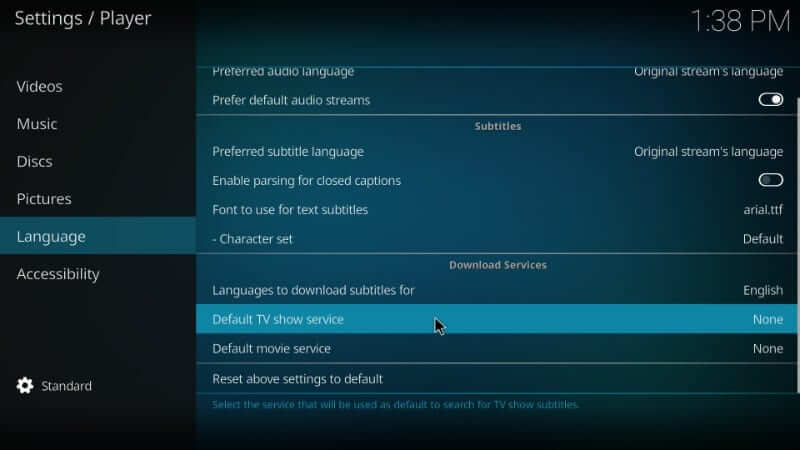
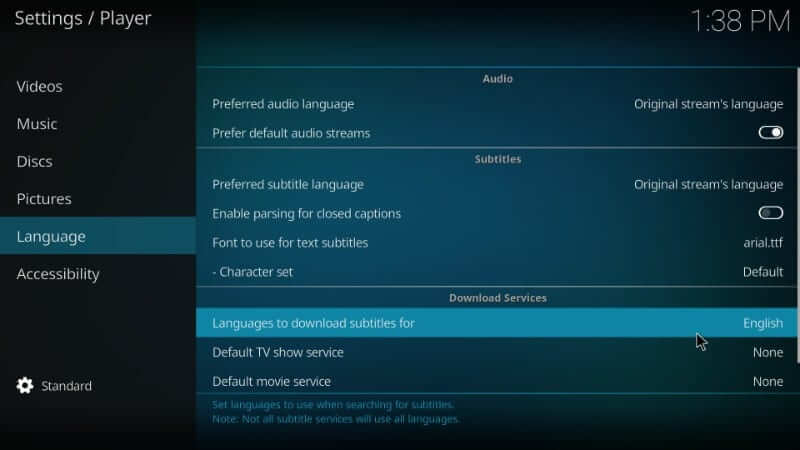
3. Now, ensure you see the Standard option next to the gear icon and choose the Language option on the left pane.

4. Choose Languages to download subtitles for under Download Services.
5. Go ahead and choose the Default TV show service.
6. On the Subtitles dialog box, select the Get more button.
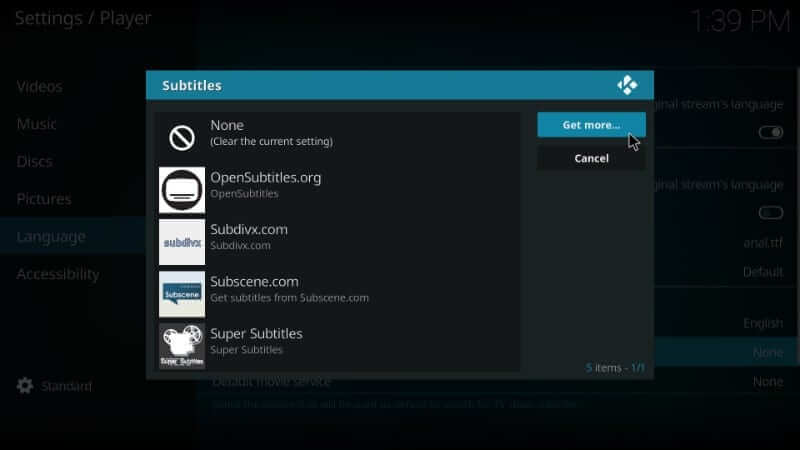
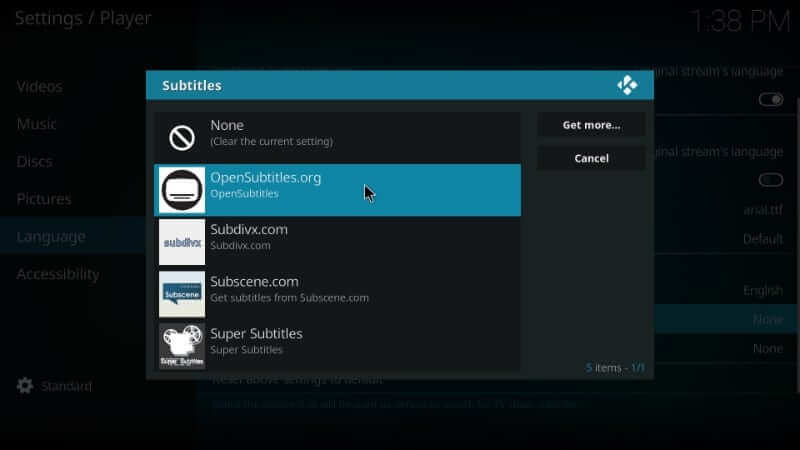
7. Choose OpenSubtitles.org.
8. Click on the Default movie service and select OpenSubtitles.org.
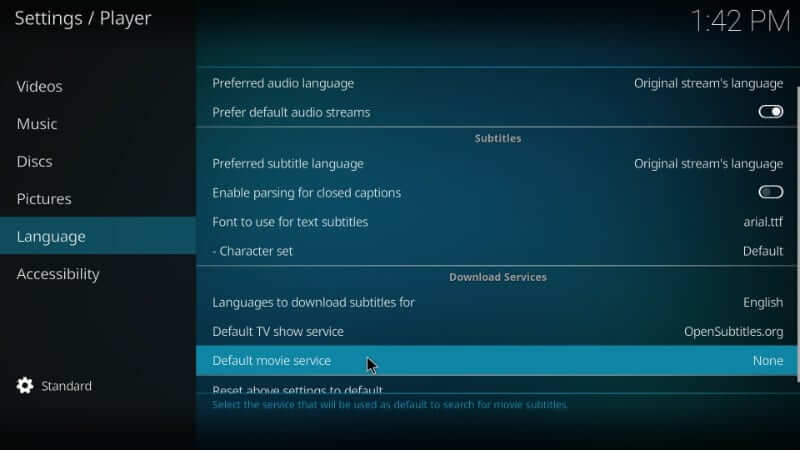
9. Hover to tap on the Default movie service to choose Opensubtitles.org.
10. Once enabled, you can stream movies or TV shows of your choice.
How to Get Subtitles on Kodi without Registration?
If you want to stream titles on Kodi without registering for any Kodi subtitle service, you shall follow the steps given below. In this section, we have guided you with the Subscene subtitle service.
1. Start from the Kodi app’s home screen and select Settings.
2. Choose Player Settings or Player.
3. Click on the Language option on the left pane.
4. Under Download Services, highlight Languages to download subtitles for and choose any language.
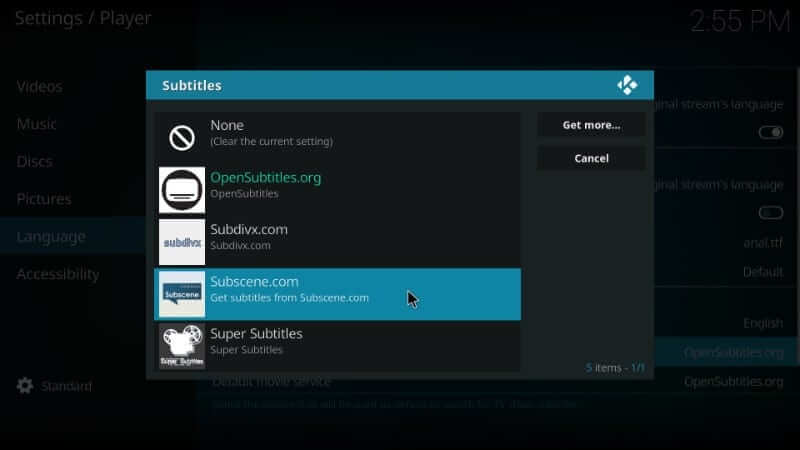
5. Choose Default TV show service and click the Get more option.
6. Select Subscene.com on the Subtitles dialog box.
7. Click on the Default movie service and choose Subscene.com.

8. With this, Subscene.com will fetch you the subtitles for any titles on Kodi.
Why Need VPN on Kodi?
It is vital for you to use the best VPN on Kodi to stay away from those spying on your online activity. With a VPN, you will get increased security when connected to the internet. It will help you bypass government surveillance, ISP throttling, geo-restrictions, etc. Thus, you can stream or access the web to the fullest possible extent.
How to Enable Subtitles in Addon Settings
Some Kodi addons need enabling subtitles. The process needs to be carried out from the add-on settings. Almost all of the steps will be the same on any addons.
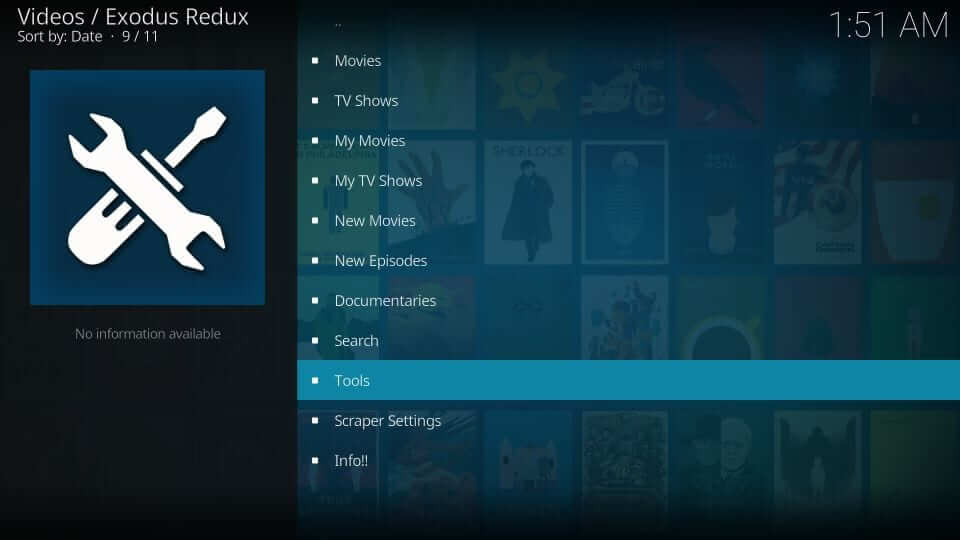
1. On your Kodi app, select Add-ons and choose Video add-ons.
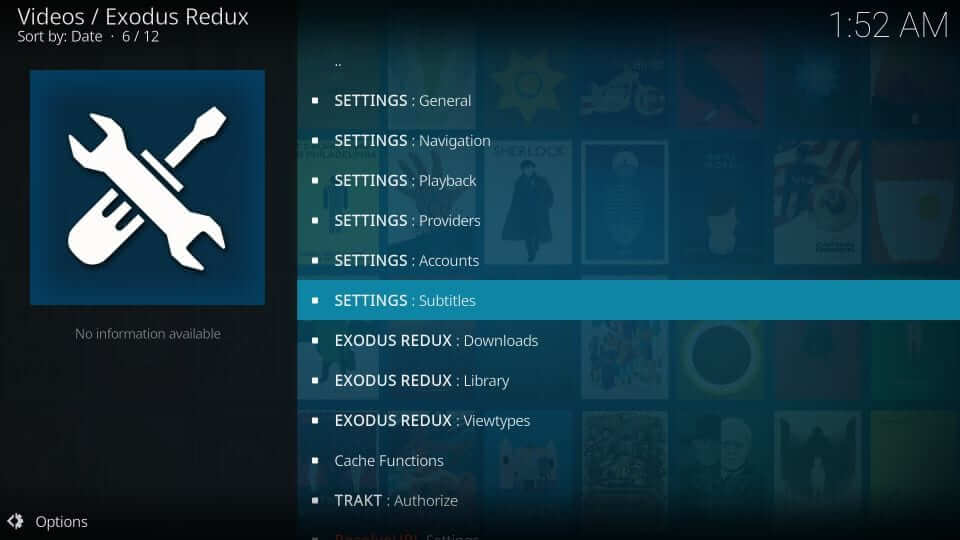
2. Select the addon of your choice and choose the Tools option by scrolling down.
3. Choose SETTINGS: Subtitles option.
4. Now, check if the Subtitles option in the left menu is selected. Tap the slider next to Enable Subtitles to turn it on.
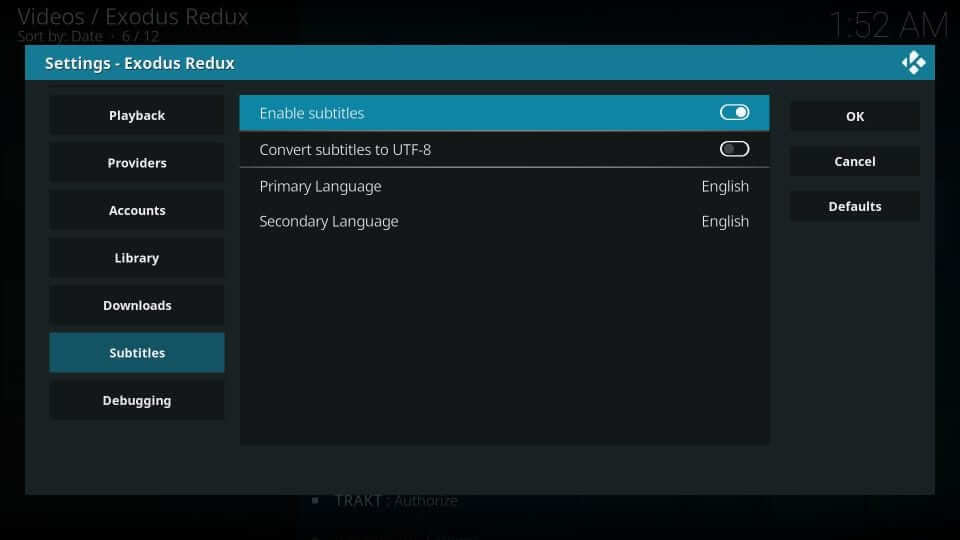
5. Select OK to save the changes.
That was all about getting Kodi Subtitles and using it with or without the registration. You can opt for any method to stream titles in any language.
Frequently Asked Questions
Can I turn off Kodi subtitles?
Yes. You can remove the subtitles on Kodi by uninstalling the OpenSubtitle addon. With this, the subtitle will get automatically removed.
Do Kodi subtitles work on all addons?
Yes. Kodi subtitles will work on all the add-ons, including the most popular ones like Exodus and Exodus Redux.