Undoubtedly internet protocol television or IPTV services are replacing the traditional cable services. Besides being a low-cost streaming option, IPTV services provide you with unlimited content. This includes live TV, on-demand contents, TV shows, and lots more. With a jailbroken Firestick, you can install any IPTV apps to watch your favorite content. Out of all the services, we will be dealing with TiviMate IPTV on Firestick and other Android devices right in this section.
What is TiviMate?
TiviMate is a popular IPTV service to watch live TV channels from across the world. It works with M3U URL supported IPTV services without any limitations. The interface of this IPTV is modern and is designed especially for TV screens. Users can schedule a TV guide, access favorite channels, catch-up shows, etc. While it won’t provide any TV sources, you can add multiple playlists. It can be installed on Android TV, Android TV boxes, Firestick, etc.
Installation Guidelines of TiviMate on Firestick
Carefully follow the steps given in the below section to install TiviMate on Fire TV.
Configure Firestick
TiviMate is a third-party app and users of Fire TV need to enable Unknown Sources to further proceed with its installation.
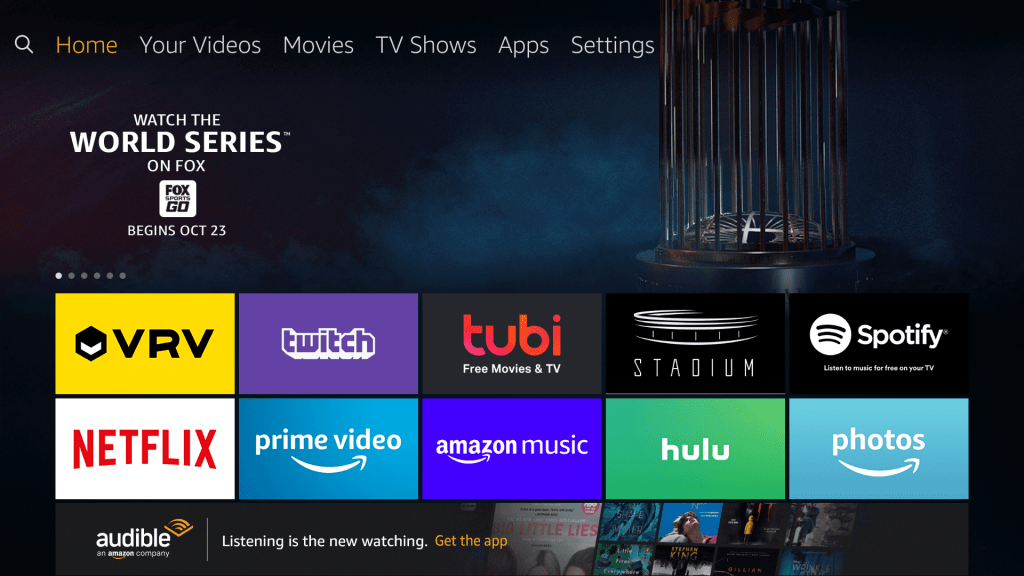
1. On the Firestick home screen, hover to select the Settings option.
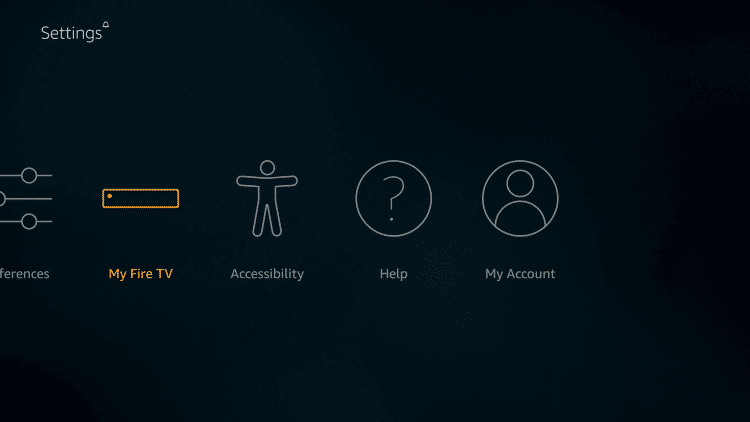
2. Choose My Fire TV (System or Device) by scrolling to the right.
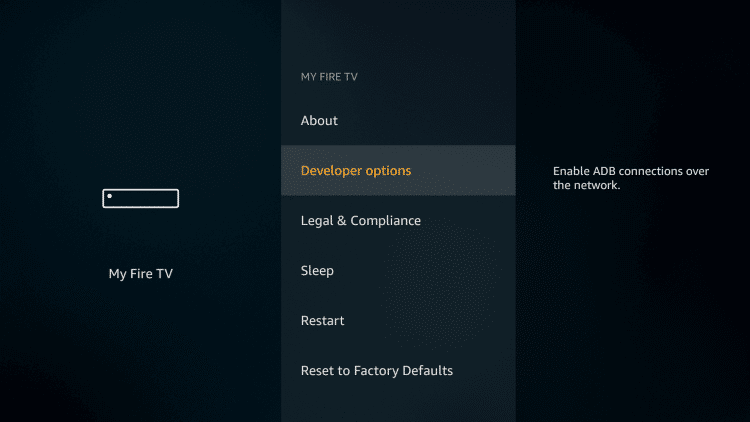
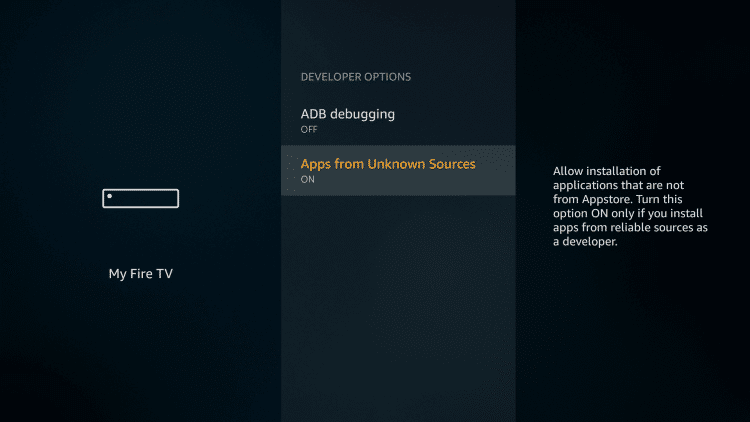
3. Now, navigate to click on the Developer options.
4. Highlight Apps from Unknown Sources and turn it ON. It will be turned OFF by default.
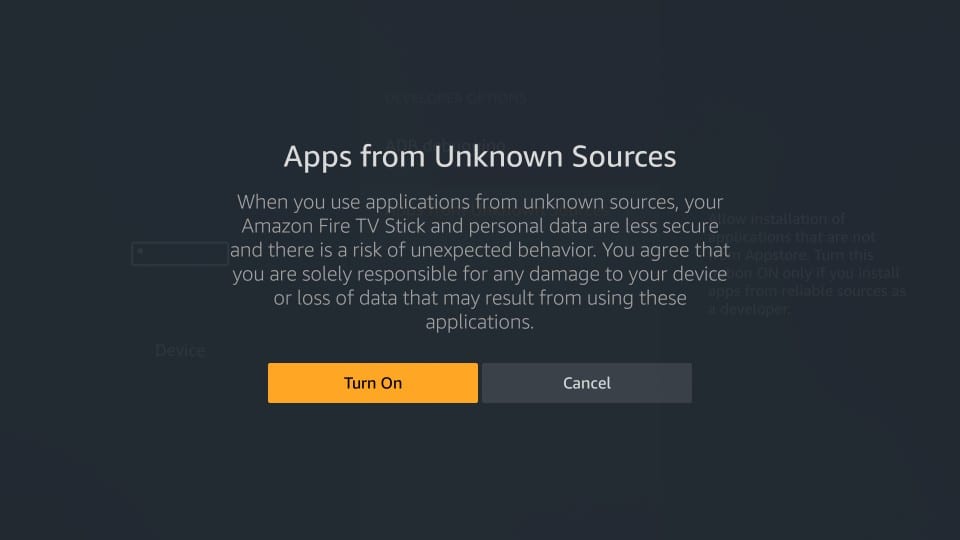
5. The following screen explains the odds of installing apps from a third-party sources. Just click on the Turn On button.
Steps to Sideload TiviMate on Firestick
Downloader is the most preferred option to sideload unofficial apps on Firestick. Hence the same is used for TiviMate. You shall keep Downloader installed from Amazon App Store prior following the below steps.
1. Navigate on the main screen of Fire TV to select Apps from the menu bar.
2. Press the down directional pad on remote to launch Apps section.
3. Highlight Downloader and press the center button on the directional pad to launch it.
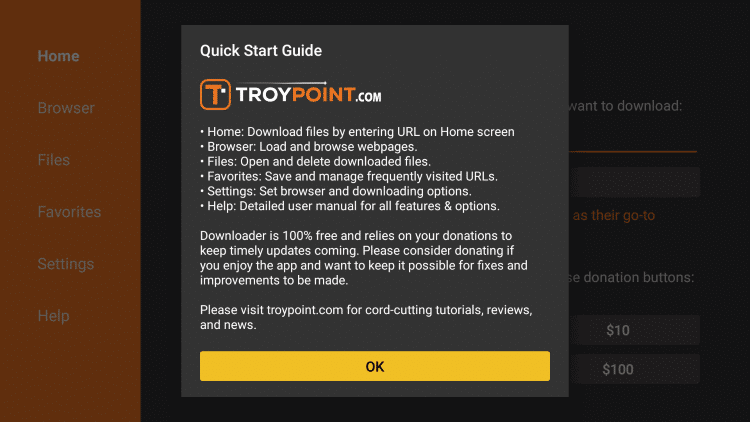
4. Accept the series of prompts if you get access to the home screen of Downloader.
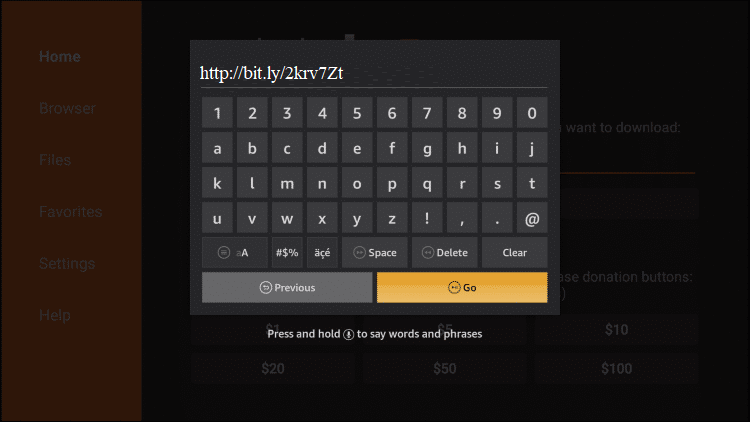
5. On the URL field, enter the following link and select GO button.
TiviMate URL: https://bit.ly/3lsYuow (Updated)
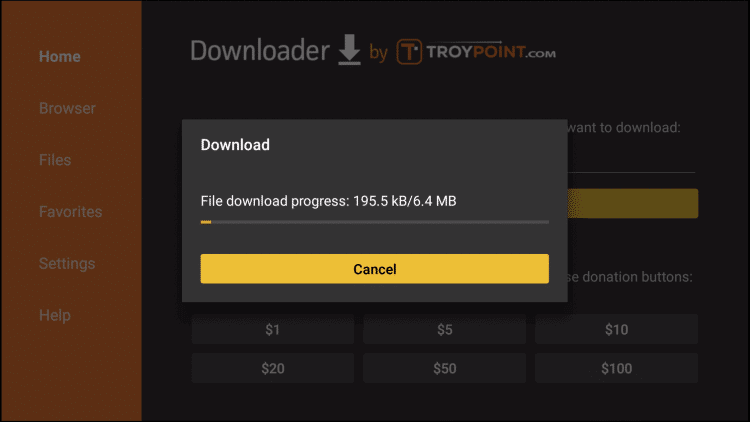
6. Downloader will connect to the server of TiviMate and start the downloading progress.
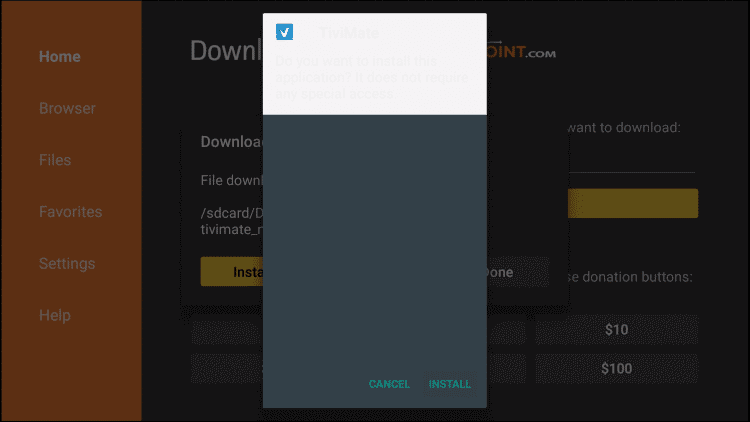
7. When you get a prompt requesting for the installation, select Install button.
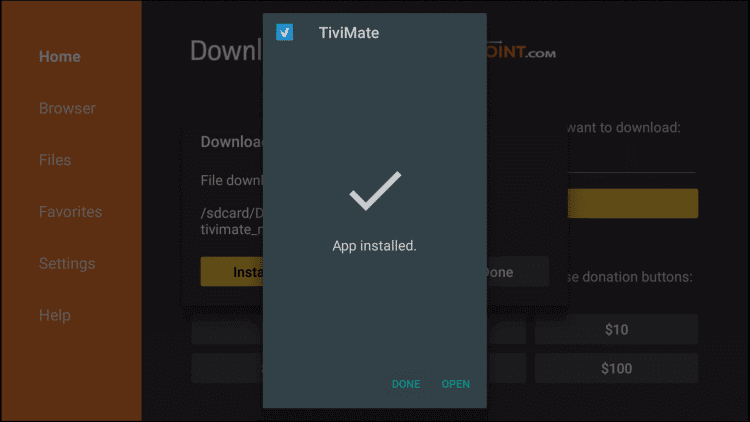
8. It will take a few minutes for the app to complete its installation on Fire TV.
9. Check if you could see App installed notification. Now, click Done button.
- Press Open if you don’t prefer freeing up some device space.
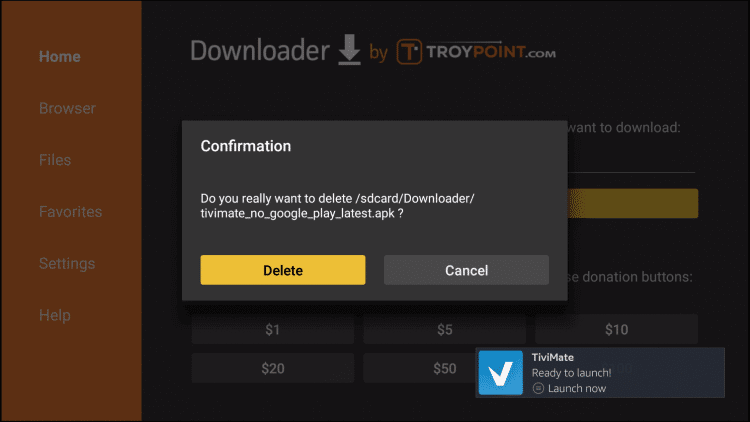
10. While on the Downloader home screen, select Delete on the pop-up.
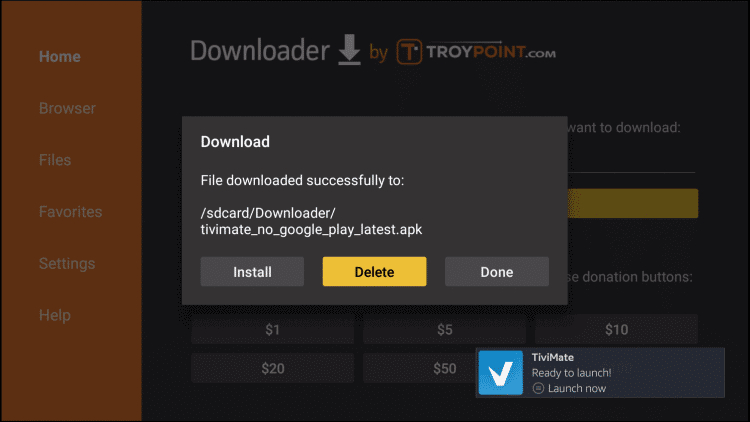
11. Confirm removing the apk file by highlighting Delete button once more.
Why Use VPN on Firestick?
If you want a buffer-free streaming experience while using TiviMate, then get a VPN connection. It will restrict the ISP throttling. government surveillance, and third-party tracking. VPN will hide your online identity and thus you will not be charged for the streaming copyright-protected contents. Besides this, you can let indulge in watching the geo-restricted contents.
Guidelines to Setup TiviMate
Soon after the steps and process gets completed, you shall follow the steps given below to integrate IPTV on TiviMate.
Note: Keep your M3U URL as provided by the IPTV service provider handy as the setup requires it.
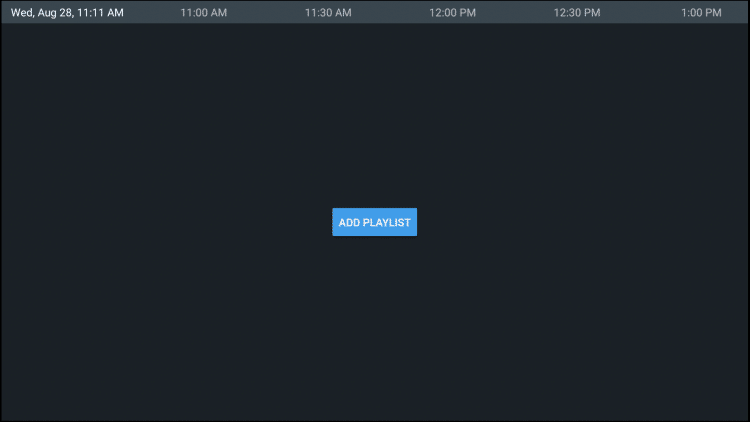
1. Select TiviMate app under Your Apps & Channels to launch it on your Firestick.
2. Highlight and select Add Playlist button available at the center of the screen.
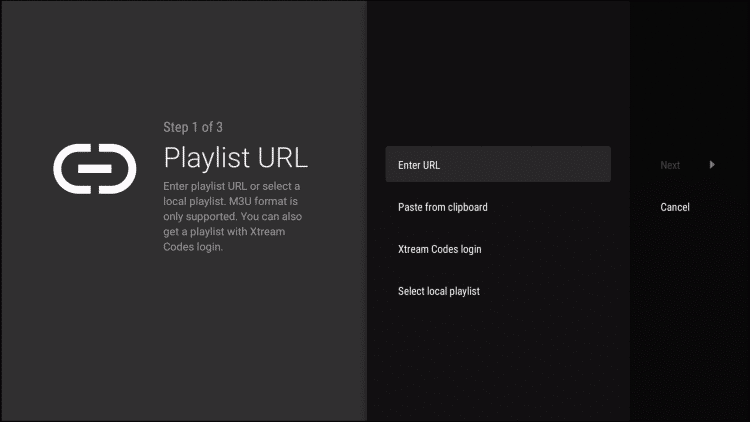
3. Click Enter URL option on the Playlist URL window.
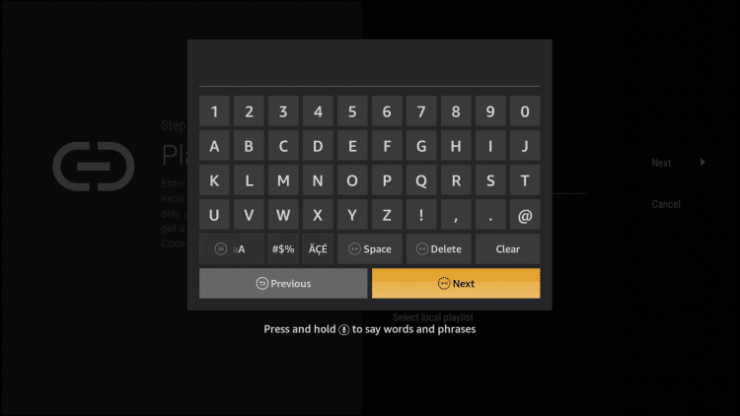
4. You should now enter the key in the M3U URL with the help of screen keys. Following this, enter the username and password. Press Next.
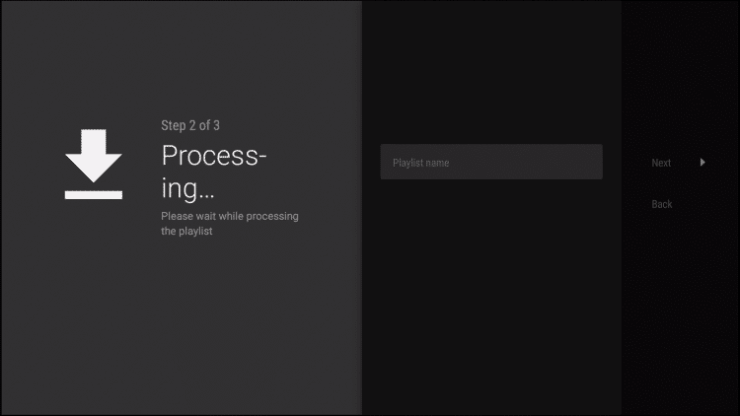
5. Let the channels and playlist get uploaded. You will find Processing on the screen.
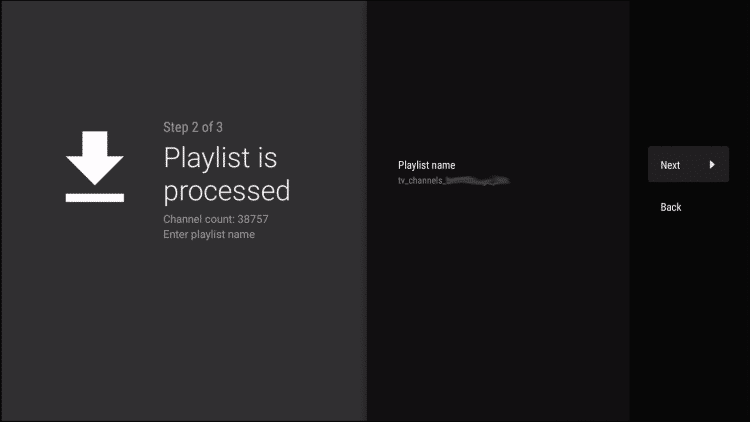
6. If you see Playlist is processed along with Channel count and playlist name, click Next.
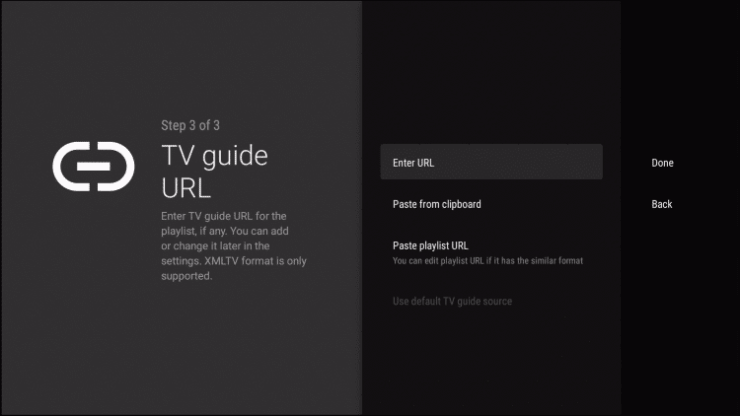
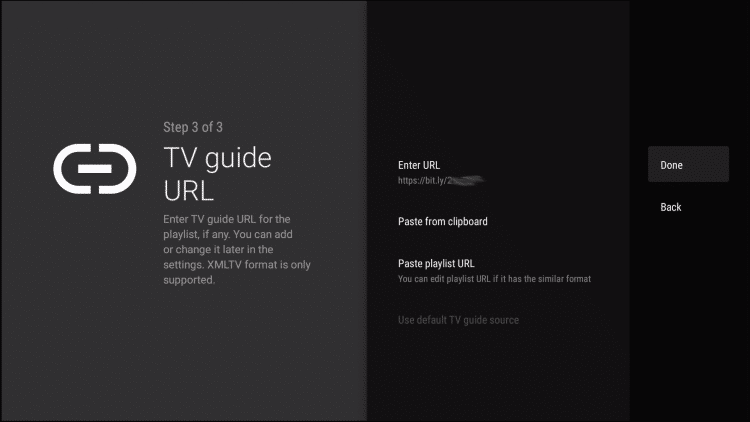
7. Select Enter URL option to input the TV guide URL once again. Press Next.
8. Now, select Done button and you will find the channels listed on your screen.
Note: If you are using a free version of TiviMate, then you will find limitations on features.
That’s the end. Hope the information provided here in this section is useful to you. Comment us below for any clarifications, queries, and suggestions.
Frequently Asked Questions
How much does the premium plan of TiviMate costs?
It costs $4.99/yr and can be used on five devices with a five-day free trial. If you prefer a lifetime plan, then pay $19.99.
Can I record videos on TiviMate?
Yes. The greatest advantage of using TiviMate IPTV is it supports recording videos.
What are the uses of TiviMate Premium?
With the premium version, users can watch live TV channels on Android-based smart TVs.