Kodi is an open-source media service that acts as the entertainment hub right there on your device. It comes with a stylish user interface that lets you watch videos, movies, music, etc. You can efficiently operate on it with your TV remote. Kodi is also compatible with Fire TV, tablets, smartphones, smart TVs, set-top boxes, and much more. It attracts users with a recording feature, so you will never miss your favorites. Galactus is one of the best Kodi addons, especially to watch the latest movies and TV shows for free of cost. From this guide, you will find the guidelines to install the Galactus Kodi Addon on Firestick.
What is Galactus Kodi Add On?
Galactus is a Kodi addon available on the Hellhounds Repository. It is developed by the 4nigma team. Galactus has a vast library of content that is available under various categories like Productions and Directors, Actors and Actress, Movies, TV, Movies 24/7, 24/7 Live TV, and many more. It is integrated with Real-Debrid, you will get sufficient links for streaming media without any buffer. Moreover, you shall watch videos and TV shows in high definition up to 1080p. The installation procedure is given below, and it is applicable for all devices like Amazon Fire TV Stick, Linux, Mac, and Windows.
Update: At present, the Hellhounds repository is not available. So the Galactus Kodi Addon will not work. Alternately, you can look for the best Kodi addons from our list.
Guide to Install Galactus Kodi Add On
Before deep-diving into the steps, make sure to turn on unknown sources on Kodi settings. By default, this feature will be in the off position.
Configure Kodi
Follow the steps given below to permit add-ons on Kodi from third-party sources.
1) Launch the Kodi app on your Firestick from the Apps tab. If you don’t own it already, you shall get the latest version.
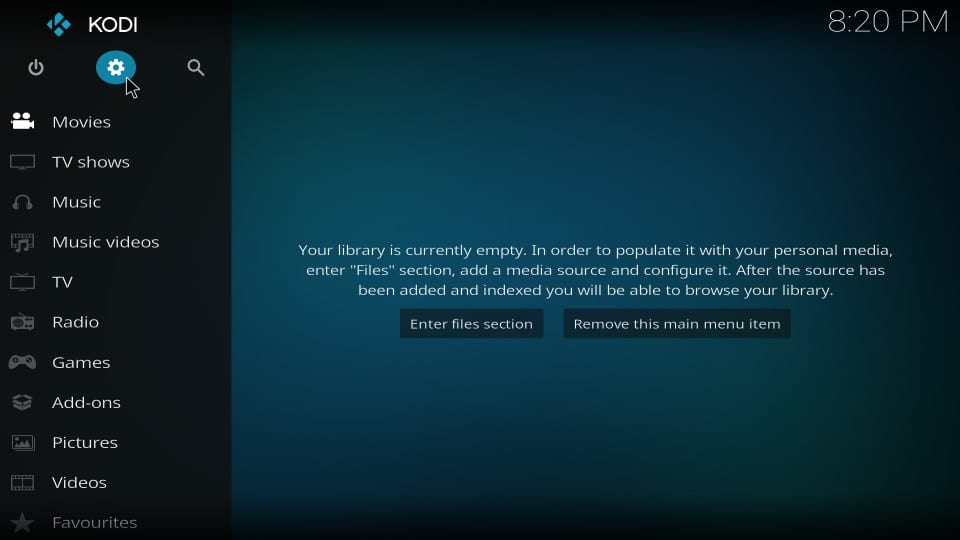
2) When the home page appears, tap the Settings/Cog icon at the top left corner.
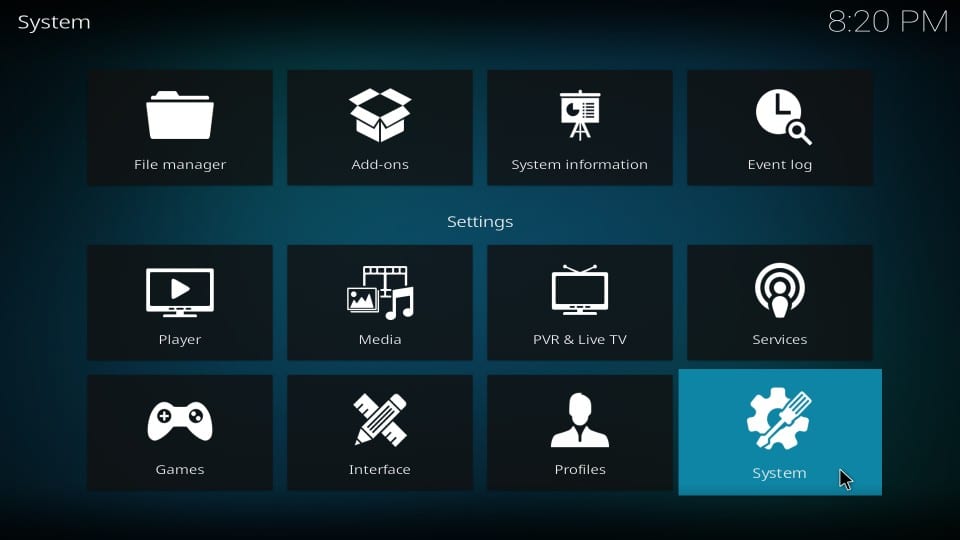
3) Under the list of tiles, select System Settings.
4) Further, click the Add-ons menu on the left pane.
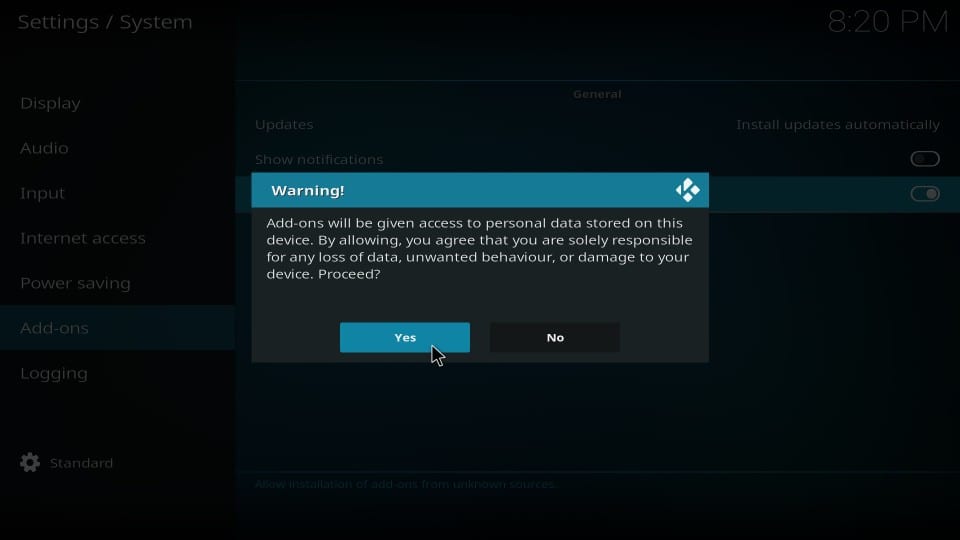
5) Toggle the button next to the Unknown sources. Switch it on to enable access.
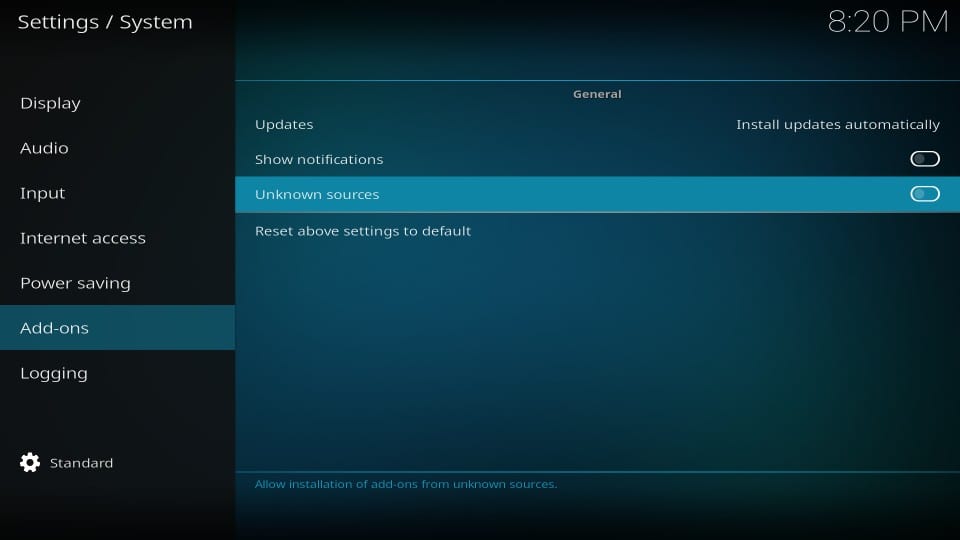
6) If a warning message is displayed on the screen, click Yes.
How to Get Galactus Addon on Kodi
The entire process is mentioned in short by the following methods.
- Add the link to the source location of Kodi
- Install the Hellhounds Repository from the source
- Install the Galactus Kodi addon from the repository
These are the steps to install Galactus Addon for all Kodi-supported devices.
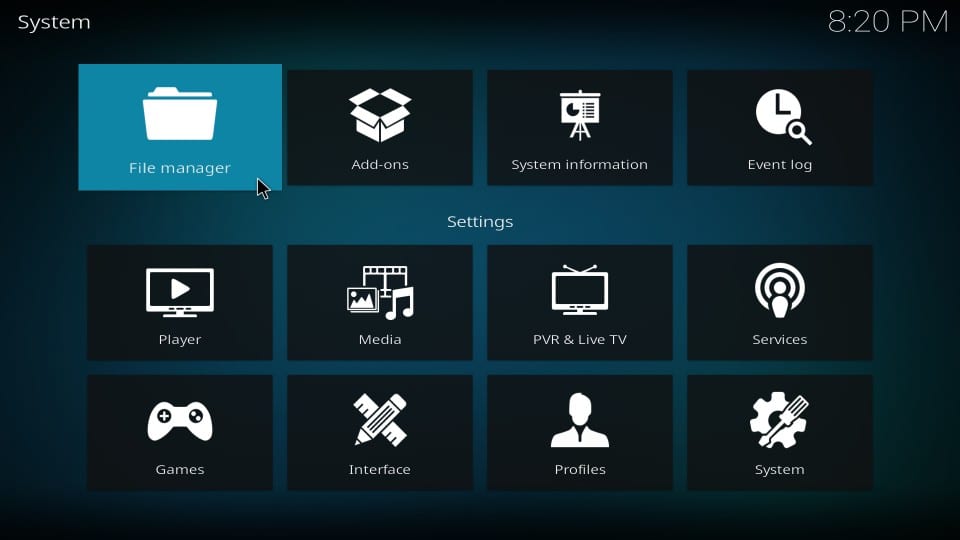
1) Go back to the home screen of Kodi and click the Settings gear icon located beneath the Kodi logo.

2) It will display a list of options. Choose File Manager at the top.
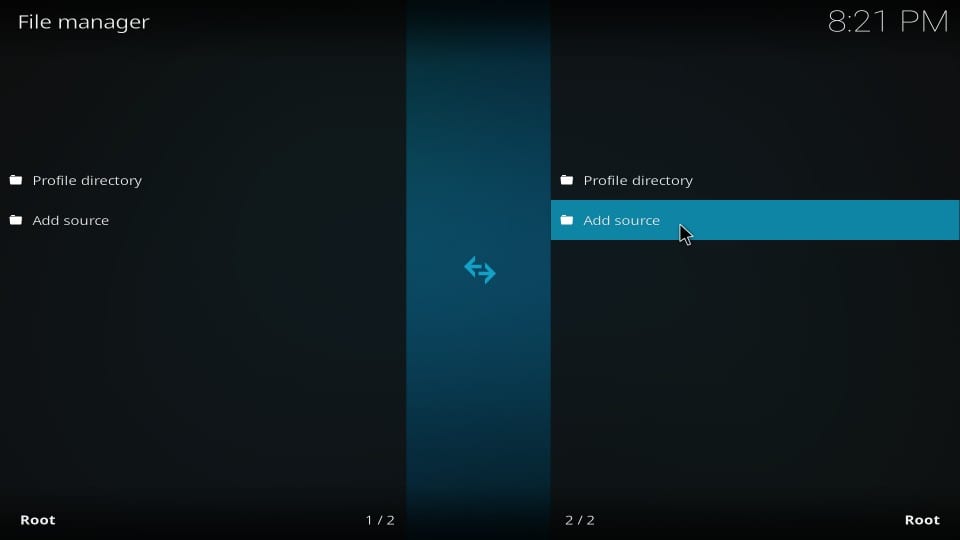
3) Afterwards, click and open the Add Source option.
4) On the next page, select the <None> option. Check the image for your reference.
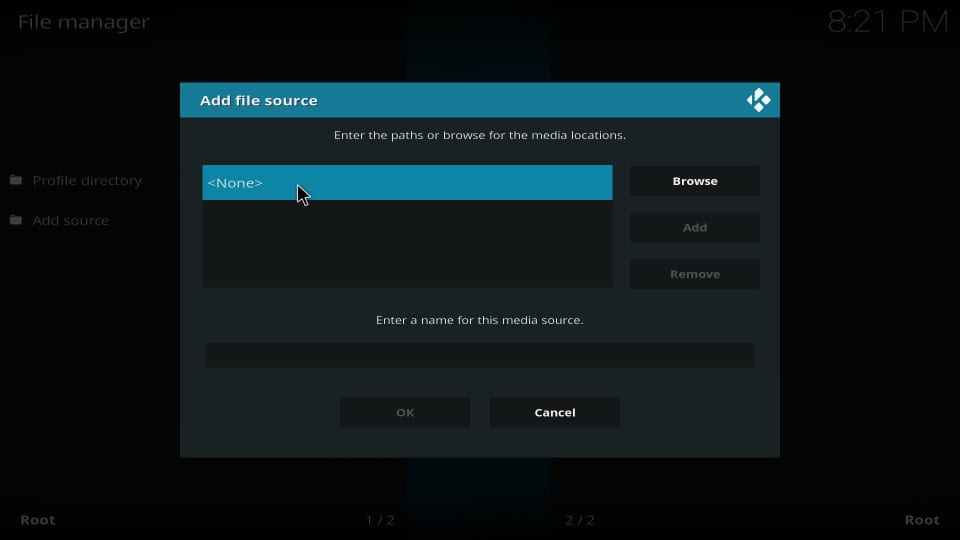
5) Further, type the URL link in the field as http://cerbrepo.space/repo/ using the on-screen keyboard.
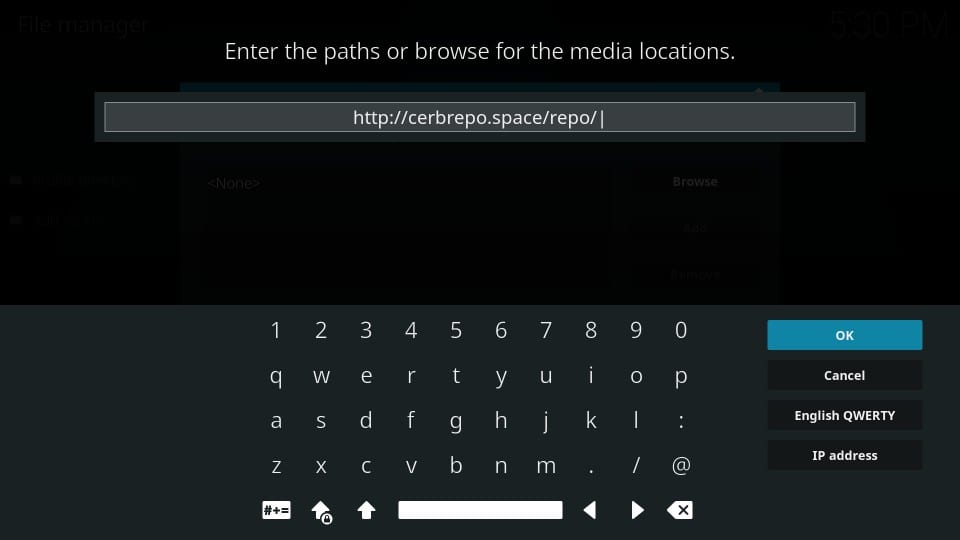
6) Verify whether you have typed without any mistakes. Click Ok.
7) Next, choose the Enter a name for this media source box and input the name as cerb.

That’s it. You have successfully added the source location to the Kodi app.
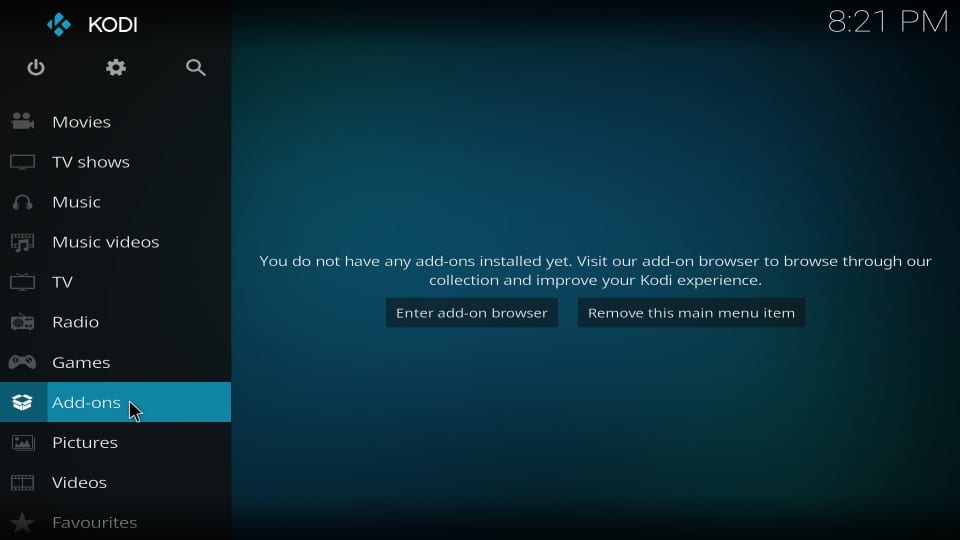
8) Again, go back to the home screen and choose the Add-ons menu on the left.
9) Tap the Package installer icon on the top-left corner of the screen.
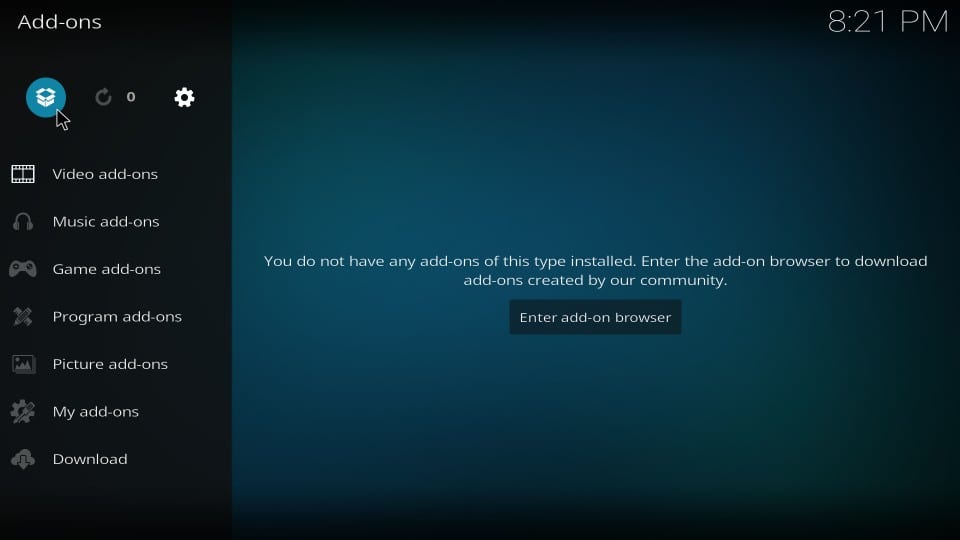
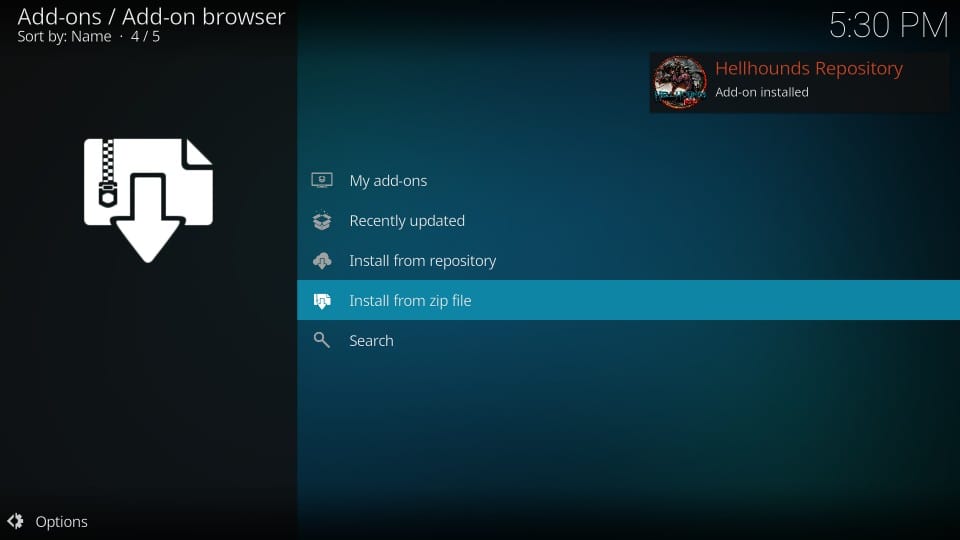
10) After that, click the Install from zip file option.
11) On the next window, scroll down and select the cerb file in the list.
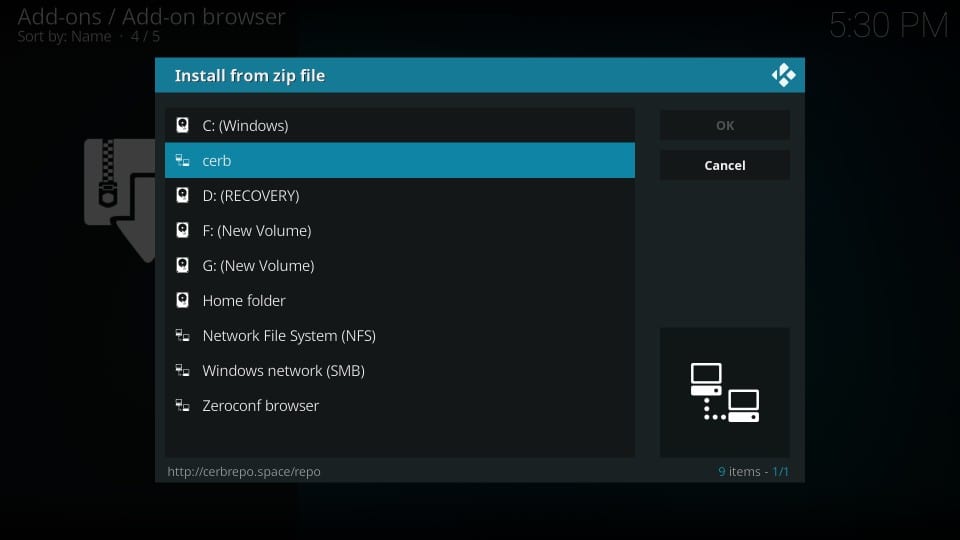
12) Further, click on repository.hellhounds-2.1.1.zip to open the zip file.

13) The hellhounds repository gets installed on Kodi within a few minutes.
14) It will display a notification at the top right once it gets done.
Steps to Install Galactus Addon on Kodi
You are right there to complete the last part of this process. Follow the steps carefully.
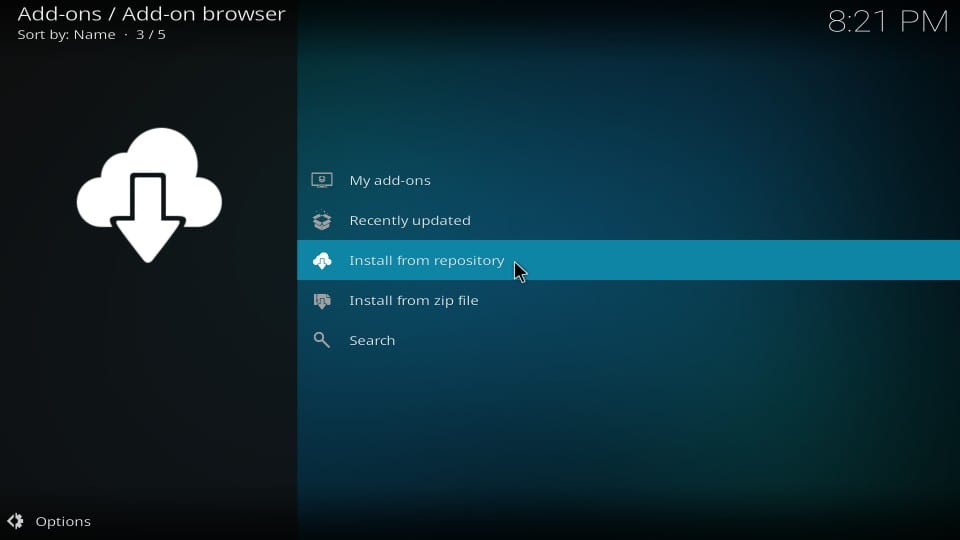
1) Click on the Install from repository option.
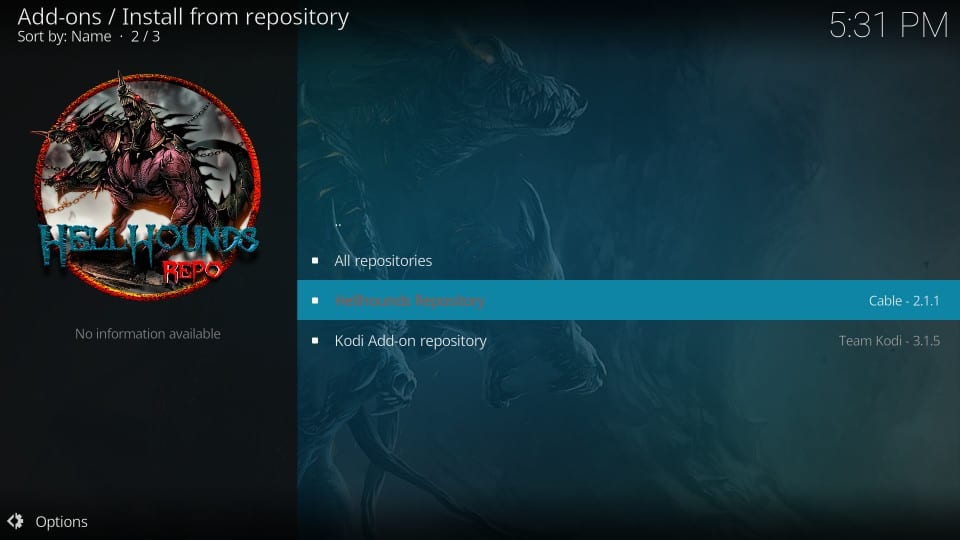
2) Choose Hellhounds Repository on the next window.
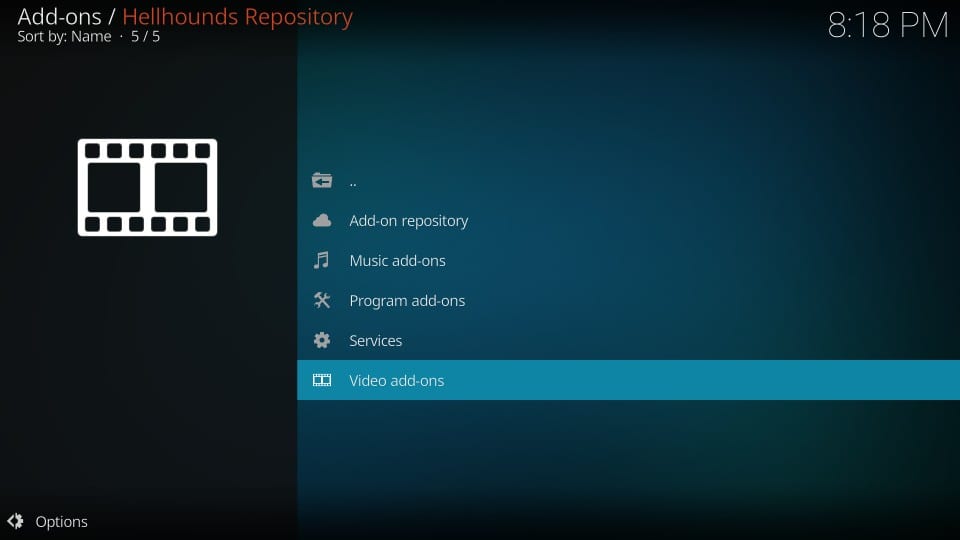
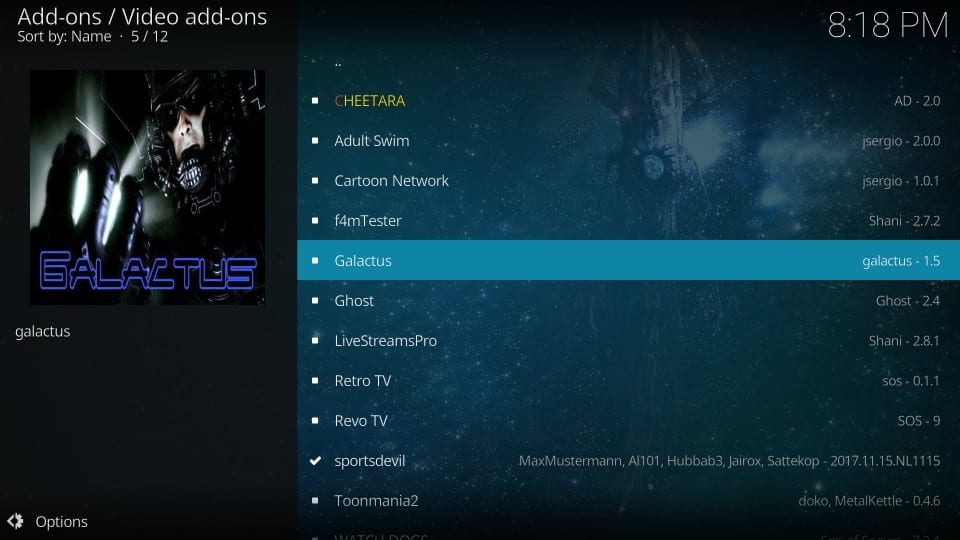
3) After that, select the Video Add-ons option.
18) Finally, it will list all the available add-ons. Locate Galactus and open it.
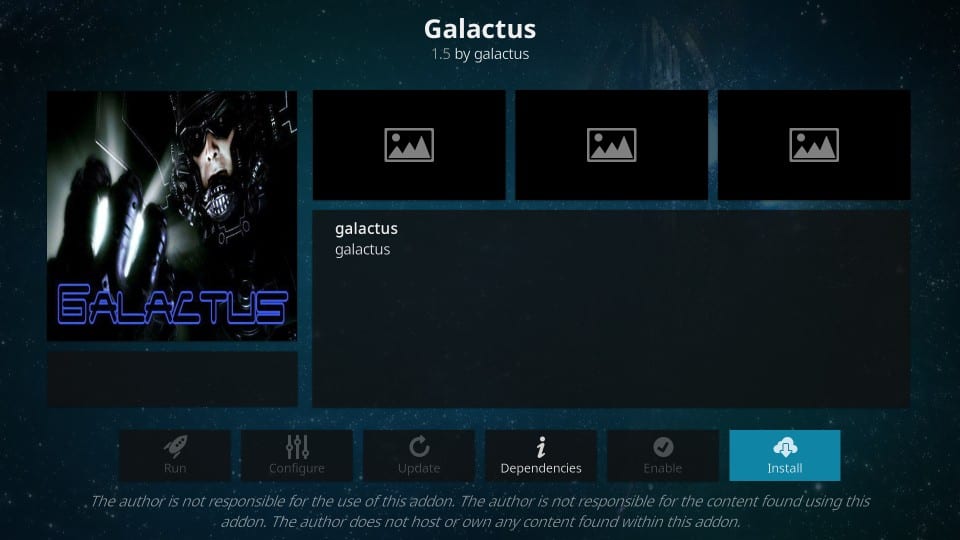
19) Click the Install button at the bottom right on the description window.
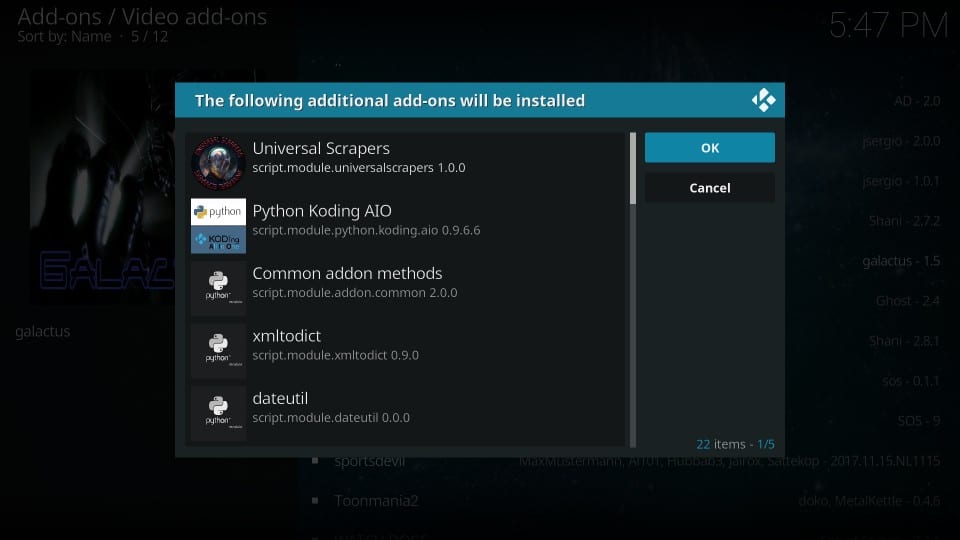
20) If it prompts to install additional add-ons, click Ok to proceed.
21) Installing the Galactus addon on Kodi will take a minute or two. Wait for the Galactus add-on installed notification to appear.
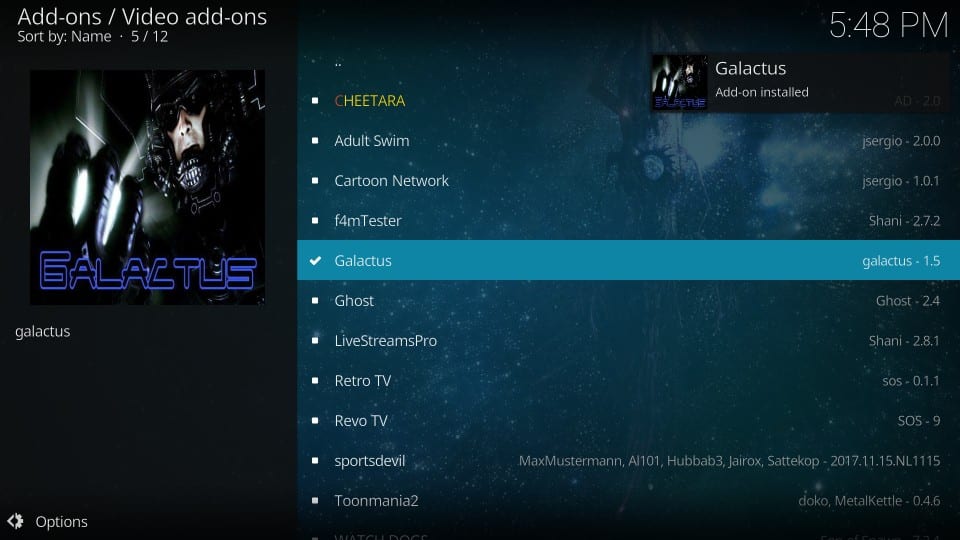
Congratulations! Galactus Addon is successfully installed on the Kodi app.
Why Use VPN for Kodi
Kodi is an open-source streaming player, and it brings entertainment from external sources. Therefore, it is your own responsibility to stay ahead of piracy threats or cyber-attacks that might occur using third-party apps. Also, some unofficial Kodi addons will get you into trouble with risks and dangers. VPN plays an essential role in protecting your web activity, and it encrypts all your data so that nobody can identify your exact IP address. So, you need not worry about copyright infringement problems even if you use unofficial add-ons with the best VPN for Kodi.
How to Use Galactus Addon on Kodi
If you disable the metadata processing option, you can navigate the Kodi app with lightning speed. Follow the instructions one by one.
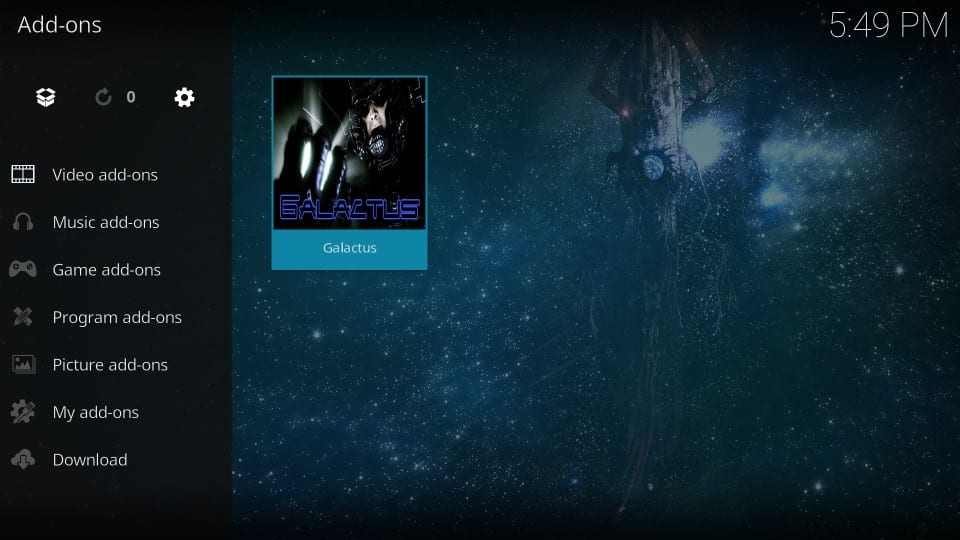
1) From the home screen of Kodi, click the Add-ons menu from the left pane.
2) Next, choose the Video Add-ons option.
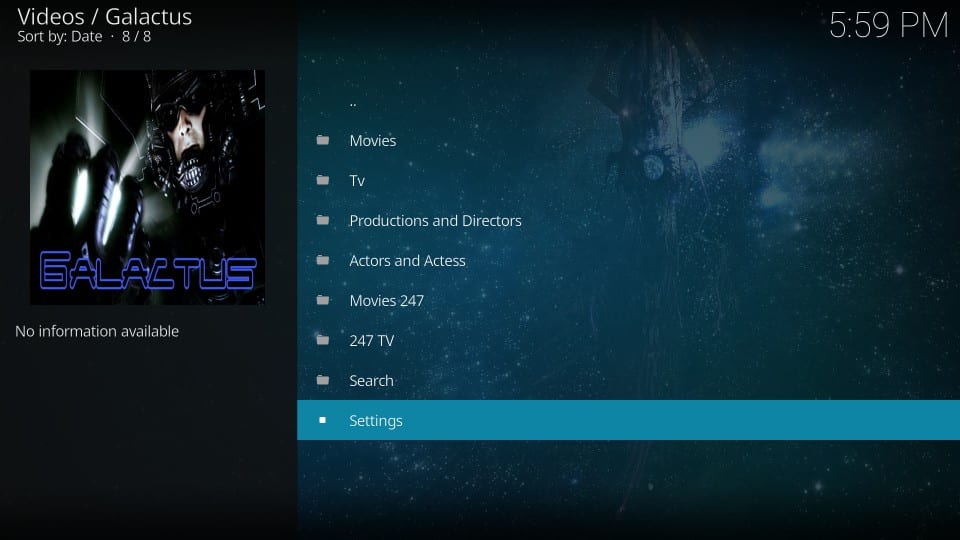
3) On the next window, open Galactus.
4) Following that, scroll down and select the Settings option.
5) The settings window will appear on the screen. Choose the Customization tab on the left.
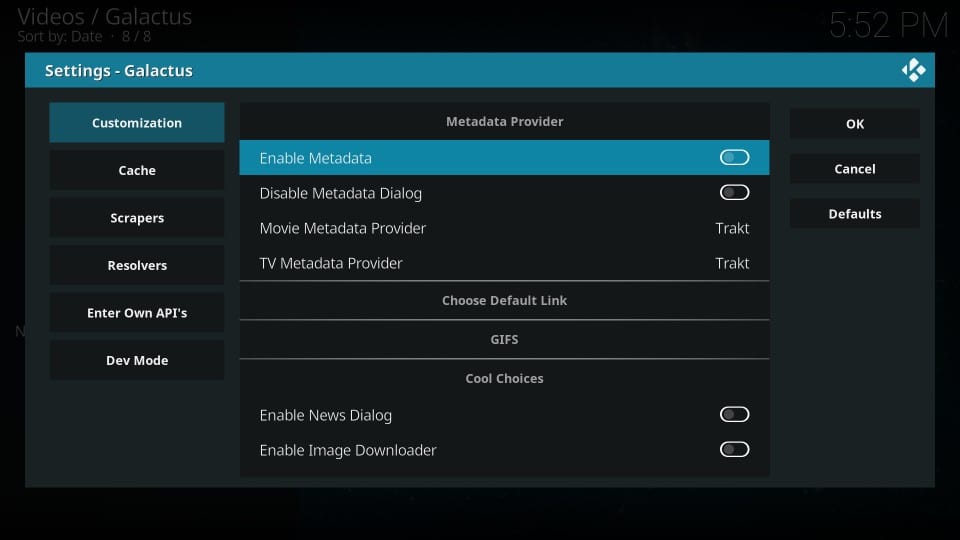
6) Toggle the Enable Metadata on the right side until it gets disabled.
7) Now go back to the Galactus section and start watching movies and TV shows.
8) If you click the movies tab, it will be divided into sub-categories as TMDB Now Playing, Movie Years, Action-Packed, etc.
The addon has a simple interface and it features videos in HD and 1080p. While it is not the best Kodi addon, you shall still use it for your streaming needs.
Frequently Asked Questions
No. It is not working. Instead, you can find the alternatives in our Best Kodi addons.
The Oath, Asgard, Morpheus, and Black Lightning are the popular Kodi Addons for streaming the latest movies.
You can stay anonymous with complete protection of privacy and security if you use a VPN.